Developed by OARC at UCLA in collaboration with SDSC and TACC
Documentation Home · End Users · App Contributors · Tutorials · Systems · Tenant Admin · Reference
System Administrator Guide
This guide covers registering computing and storage resources with OSP, creating credentials for accessing them, and configuring batch application settings. It is intended for HPC center staff, research computing professionals, and IT staff responsible for connecting institutional compute resources to a OneSciencePlace (OSP) tenant deployment.
On this page
- What a system is
- Creating a system
- Setting up system credentials
- Batch app configuration
- Scheduler profiles and queues
- Data Transfer Nodes
What a system is
In OneSciencePlace, a system is a hardware resource — either computing or storage — represented by a server or a collection of servers accessible through a single hostname or IP address. Systems are essential components that enable users to run computational workloads and manage data.
Once a system is authorized, users can view it in the catalog. Users with additional privileges can create their own systems.
System requirements
- Must allow SSH authentication without a passphrase.
- Must not block incoming connections from the OSP deployment (firewall whitelisting may be required).
Creating a system
This section walks through registering an execution host. The example throughout uses an AWS tutorial system, but the same process applies to any Linux host OSP connects to.
Step 1: Accessing the system creation page
- Log in to the OSP deployment.
- Navigate to the Systems section and click Add system.
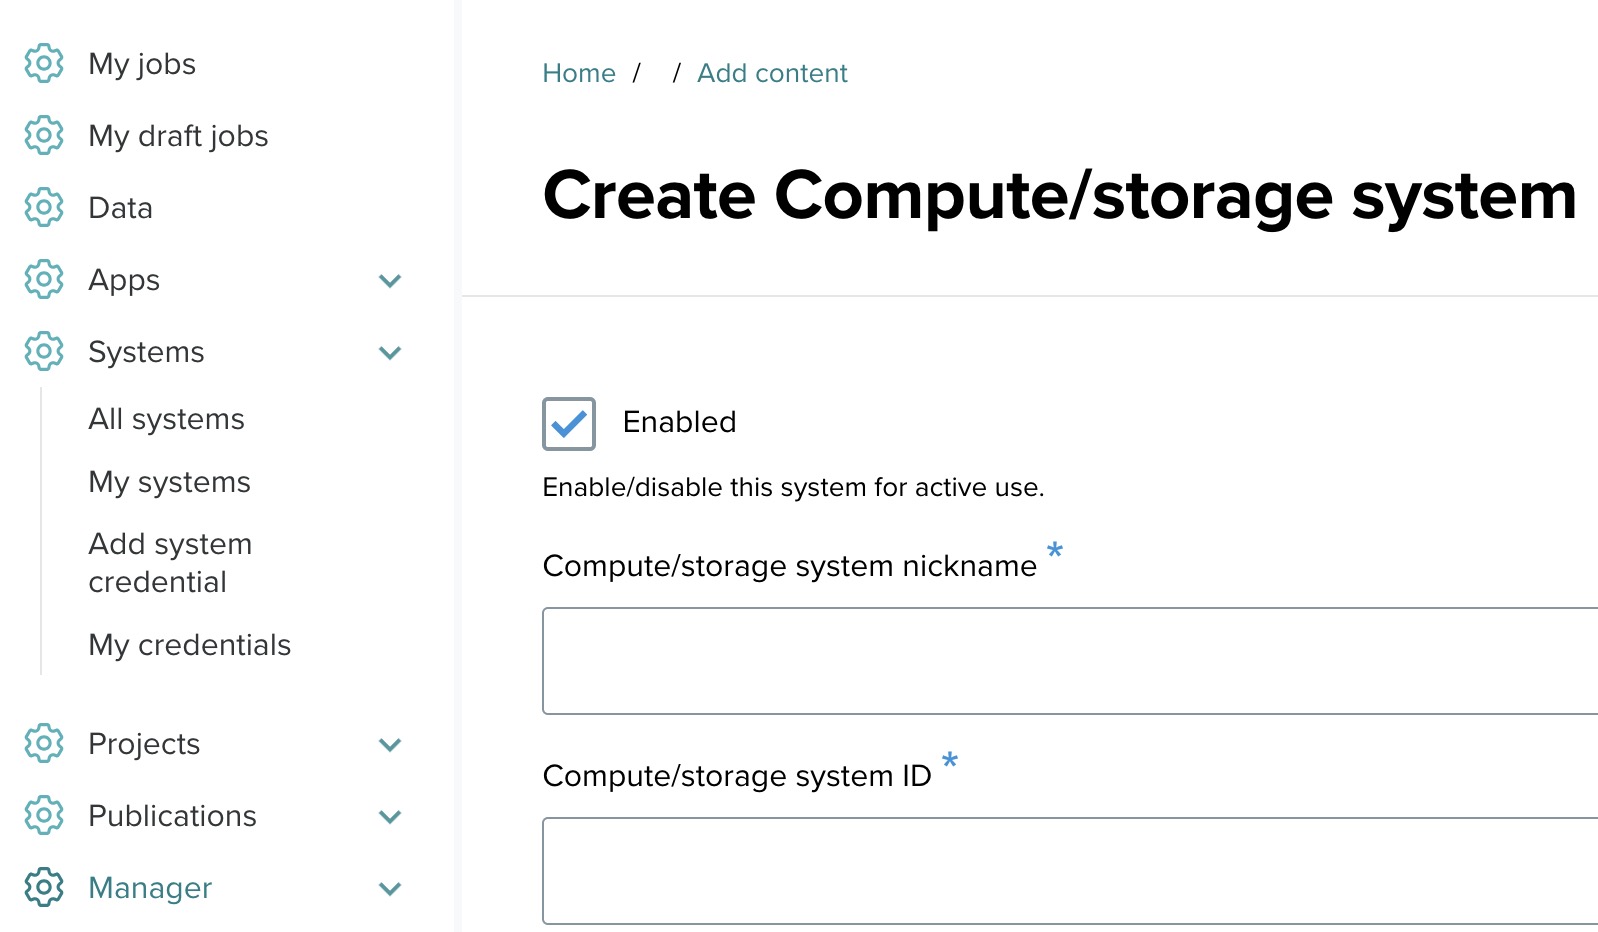
Step 2: Fill out the system form
The system form is organized into several sections. Fill each out in turn.
General information
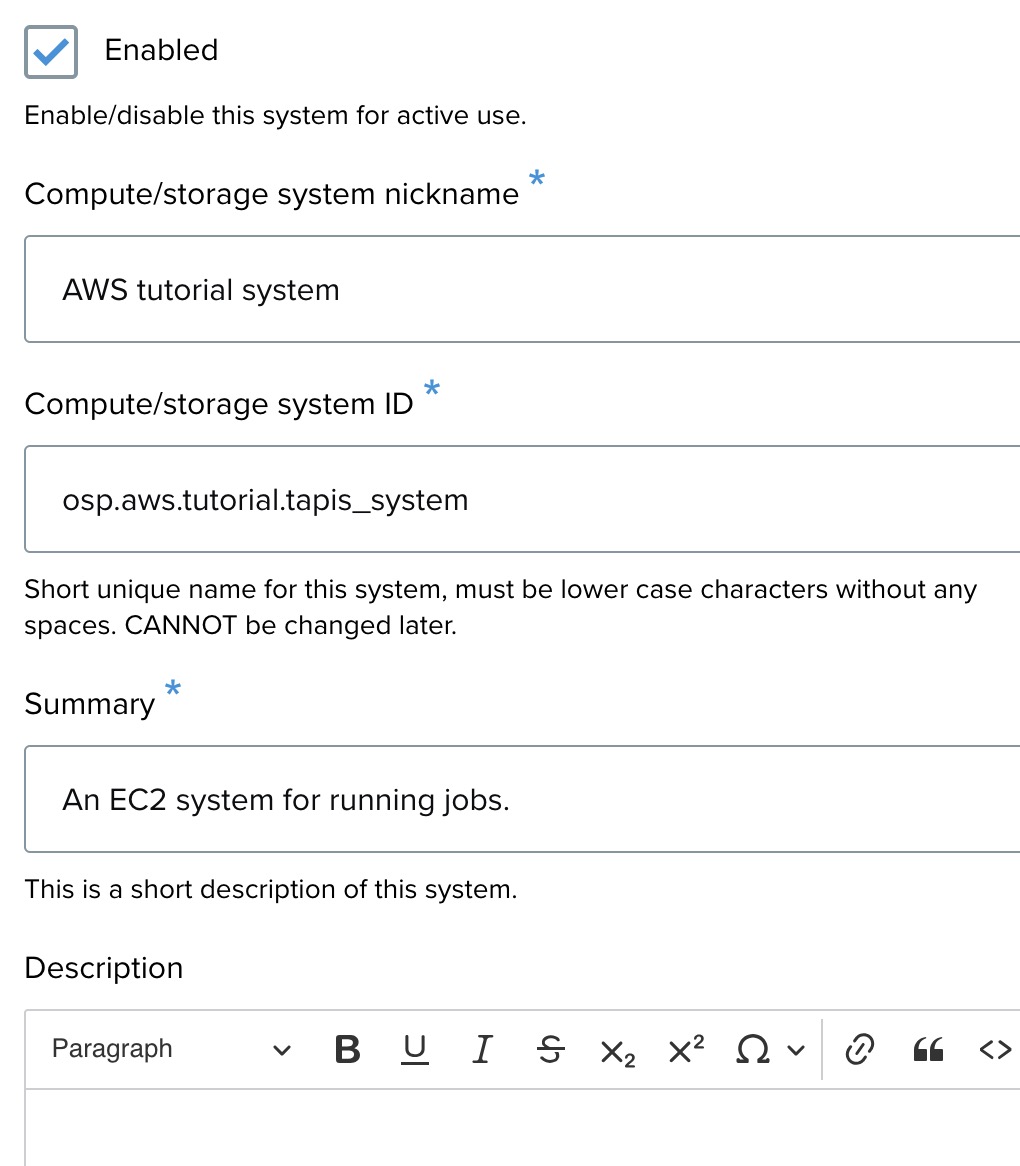
- Enabled — check this to activate the system for use.
- Compute/storage system nickname — a recognizable display name, for example
AWS tutorial system. - Compute/storage system ID — a unique identifier, lowercase with no spaces. Cannot be changed later. Example:
osp.tutorial.aws.tapis_system.v2. - Summary — a brief description. Example: "An EC2 system for running jobs."
- Description — additional details if needed. Optional.
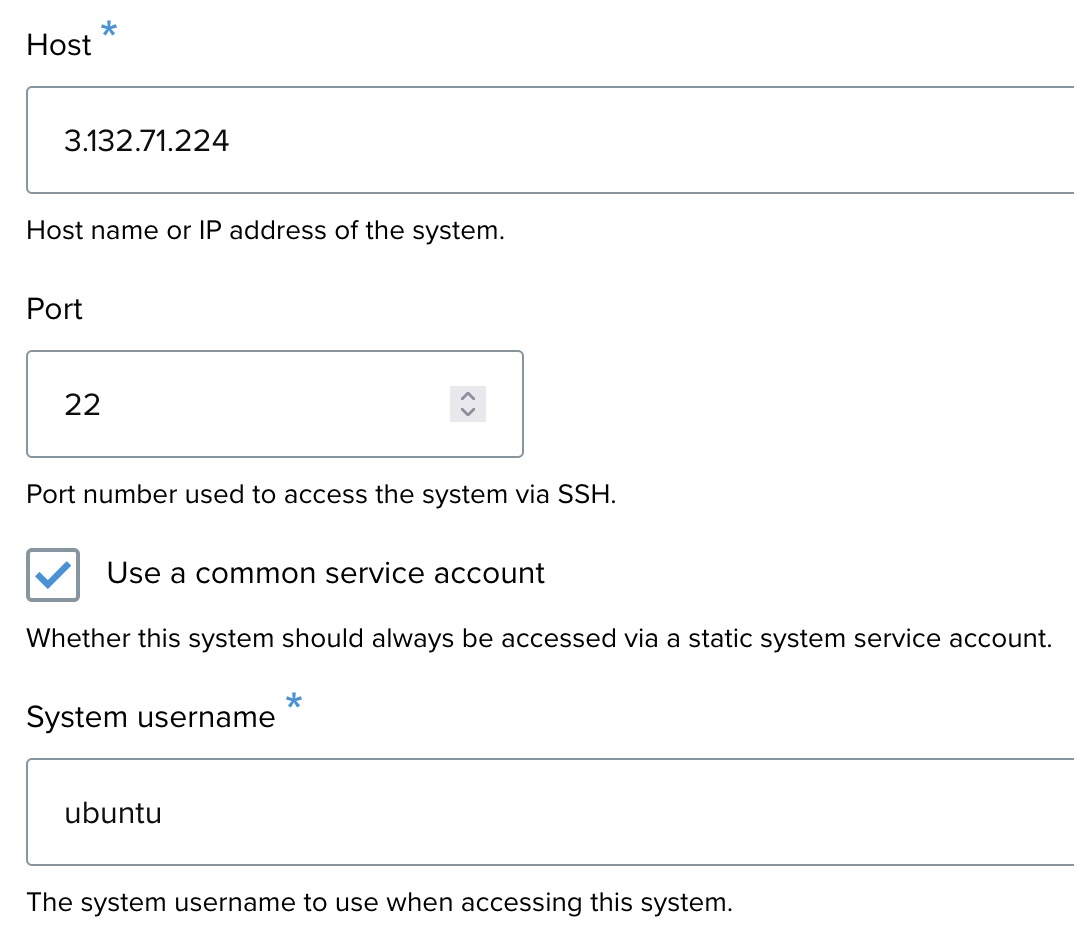
Connection details
- Host — the IP address or hostname for the system. Example:
75.183.82.136. - Port — the port used for SSH. Default:
22. - Use a common service account — check this to access the system using a static service account. Example:
ubuntu.
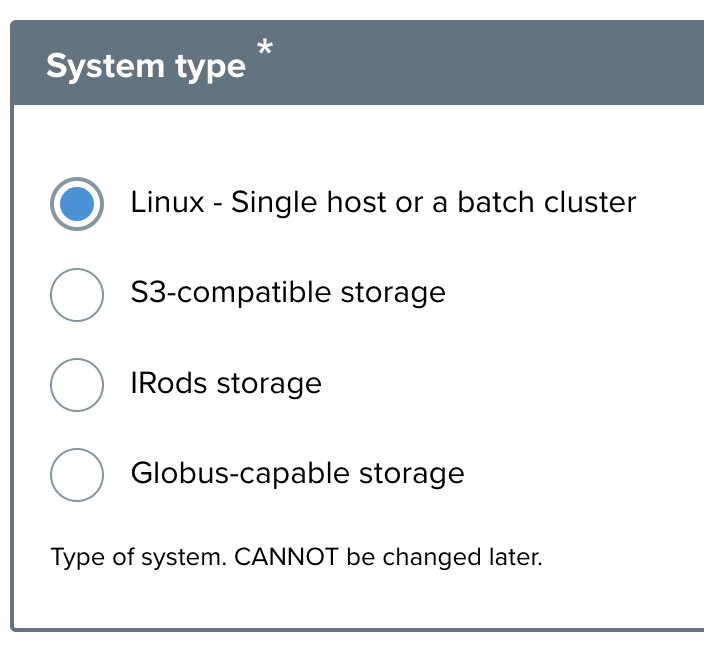
System type
Select Linux — Single host or a batch cluster for Linux-based execution systems. Other options are reserved for storage systems (S3, iRODS, Globus).
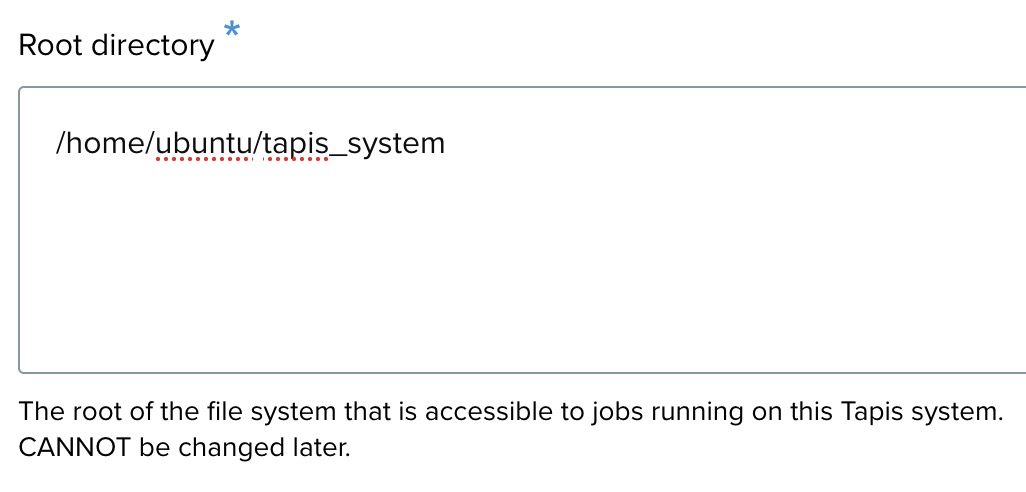
Root directory
Specify the root directory of the system where jobs will run. Example: /home/ubuntu/tapis_system.
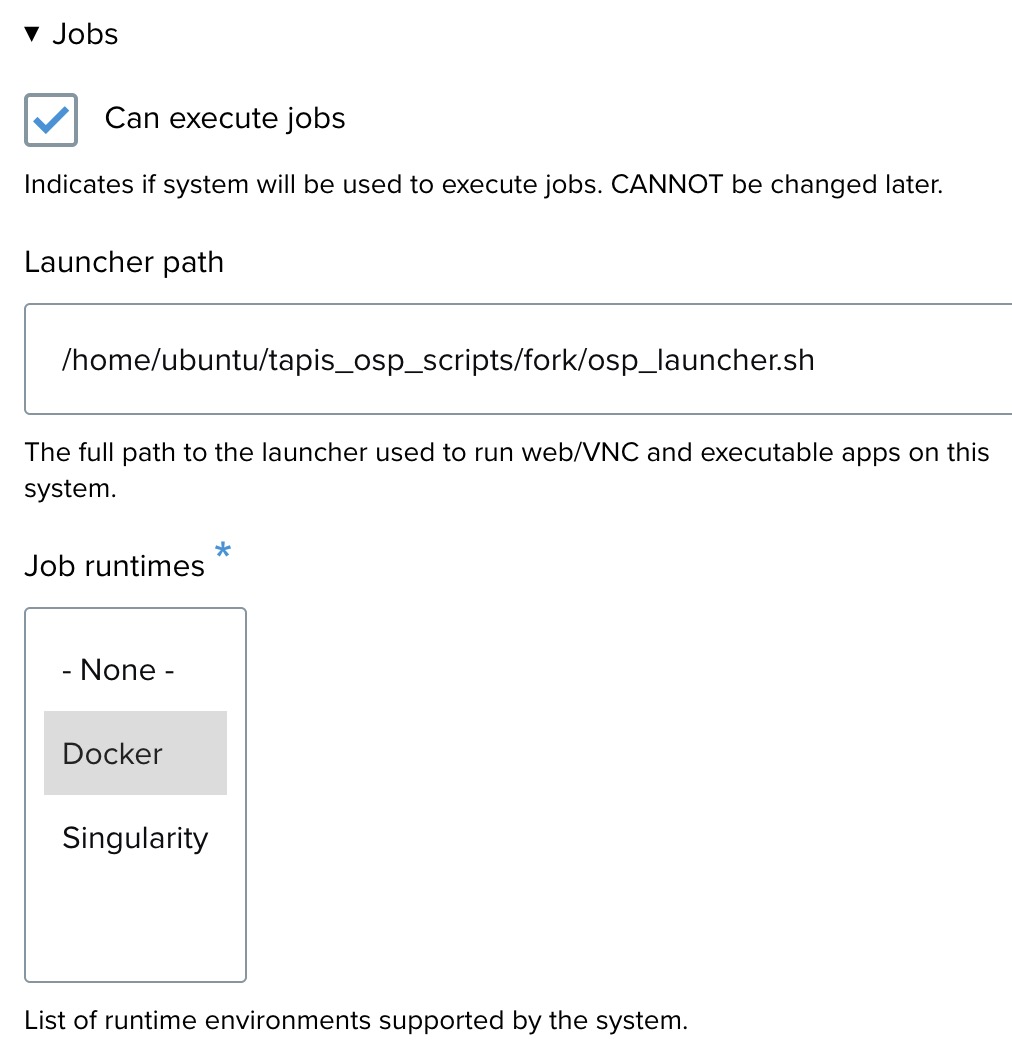
Jobs settings
- Can execute jobs — check this to enable job execution on the system.
- Launcher path — the path to the launcher script. Example:
/home/ubuntu/tapis_osp_scripts/fork/osp_launcher.sh. - Job runtimes — select Docker, Singularity, or both, depending on what the host supports.
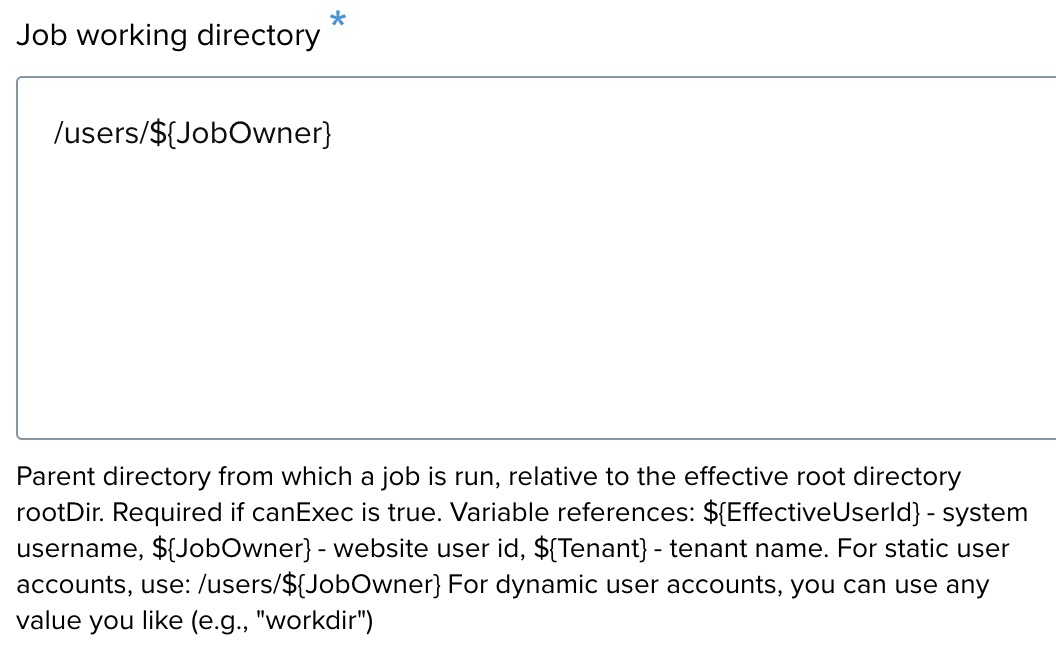
Job working directory
Enter the working directory where jobs will run. The placeholder /users/${JobOwner} dynamically creates a path based on the job owner.
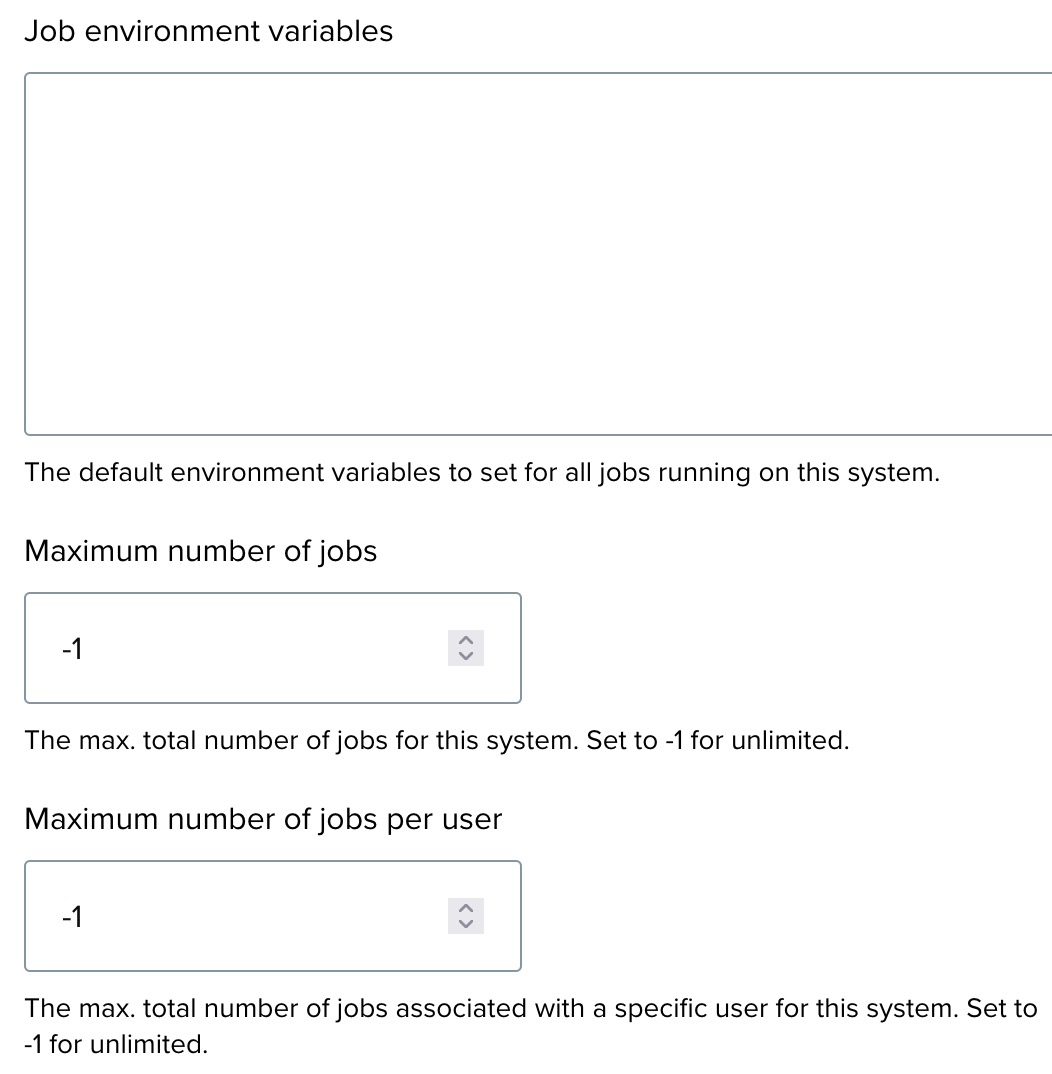
Job environment and limits
- Job environment variables — optional default environment variables for all jobs on this system.
- Maximum number of jobs — total concurrent job limit across all users. Set to
-1for unlimited. - Maximum number of jobs per user — per-user limit. Set to
-1for unlimited.
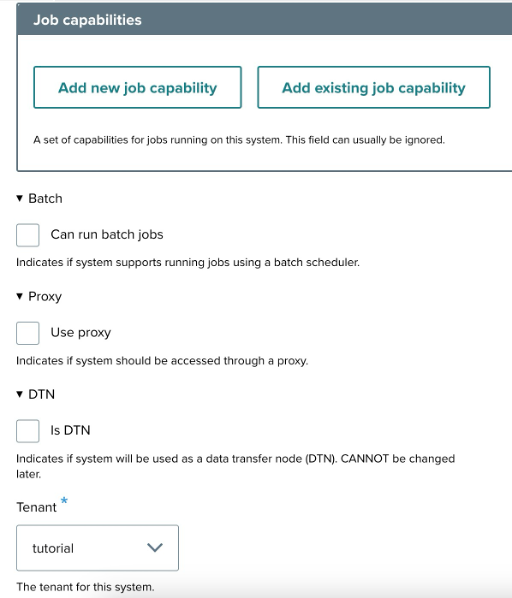
Additional settings
- Job capabilities — optional; used if the app has specific execution requirements that need to be matched against the system.
- Batch — check if the system uses a batch scheduler (for example, Slurm). See Batch app configuration below for details.
- Proxy — check if the system requires a proxy.
- DTN — check if the system serves as a Data Transfer Node. See Data Transfer Nodes below.
- Tenant — select the tenant this system belongs to.
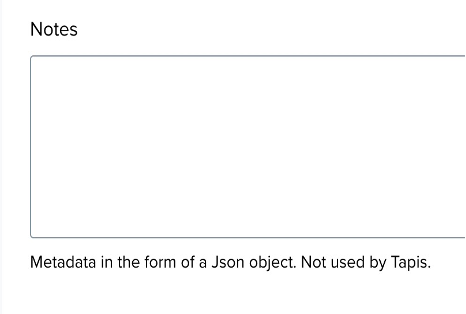
Notes (optional)
Add metadata or organizational information in JSON format. Not required by Tapis but useful for administrative notes.
Step 3: Finalize and save
Review all details and click Save to register the system.
Setting up system credentials
After creating a system, a credential must be added before the system can be used to run jobs. A credential is the authentication information OSP uses to connect to the system on a user's or service account's behalf — typically an SSH key pair.
Prerequisites
- An existing system (created in the previous section).
- SSH access to the target system, so the OSP public key can be added to
~/.ssh/authorized_keys.
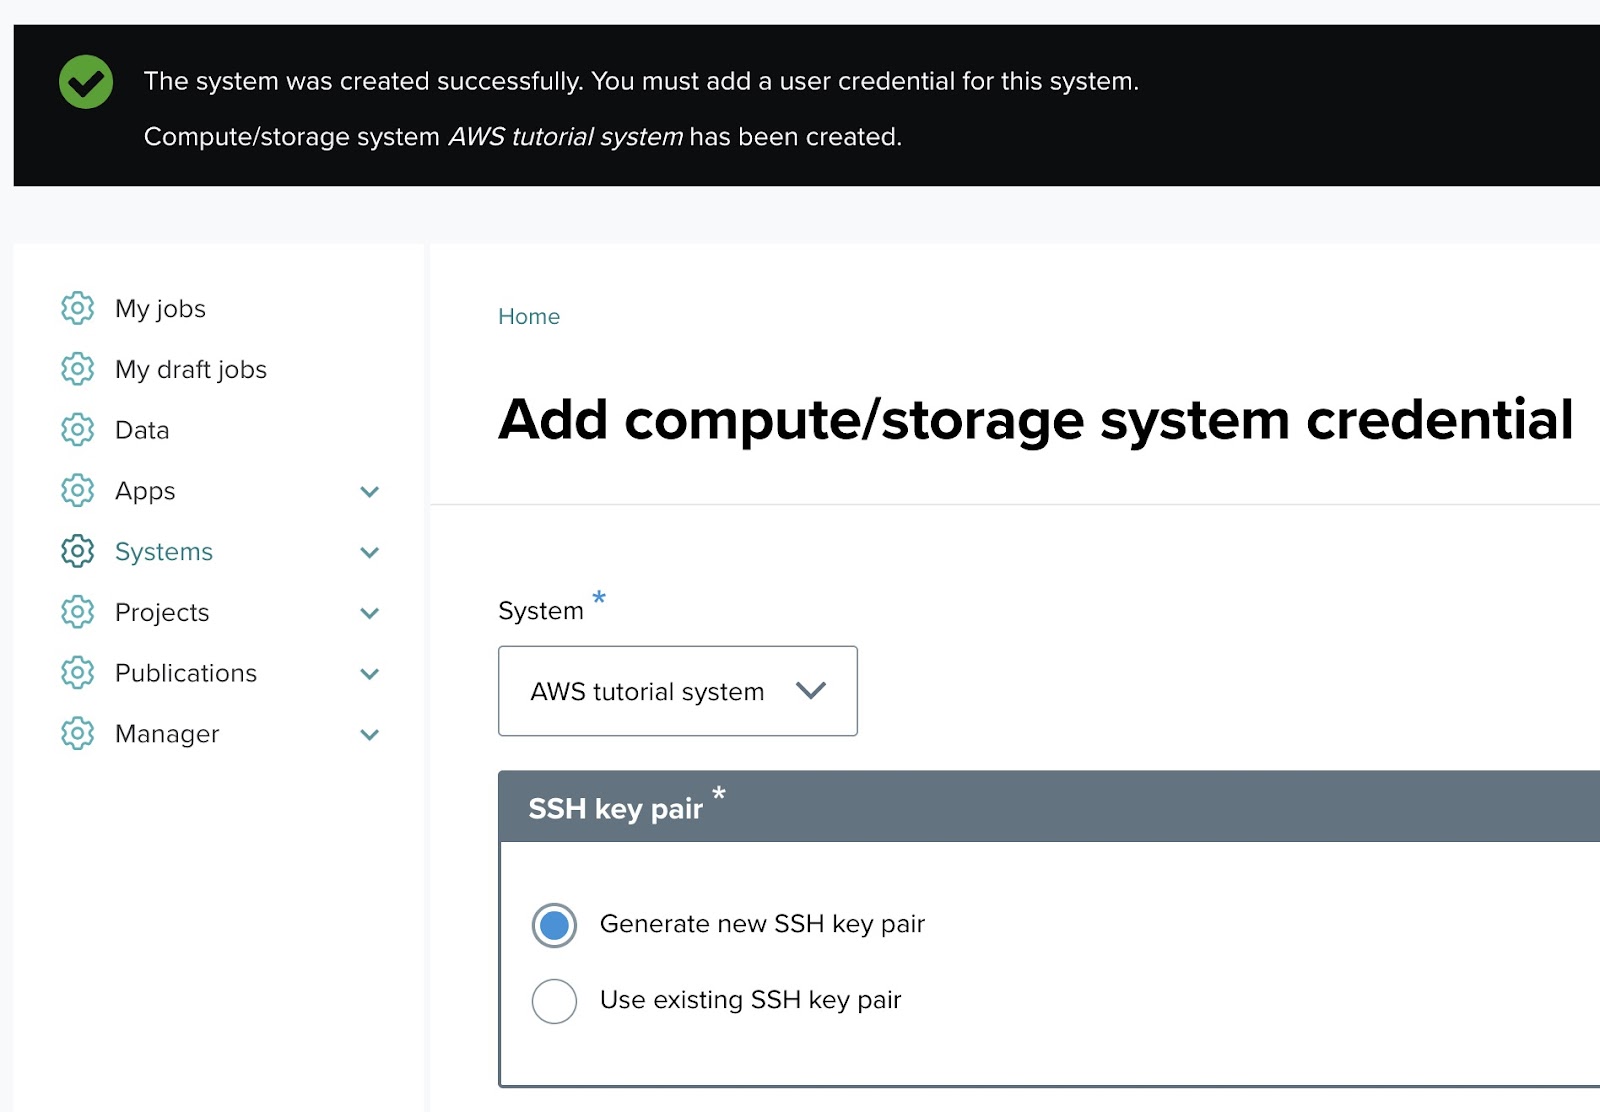
Step 1: Add a system credential
Once the system is created, you will be prompted to add credentials. Navigate to the Systems menu, click Add system credential, and select the system from the dropdown.
Step 2: Fill out the system credential form
SSH key pair
You have two options for the SSH key pair:
- Generate new SSH key pair (default, recommended) — OSP creates a new SSH key for accessing the system.
- Use existing SSH key pair — supply your own public key.
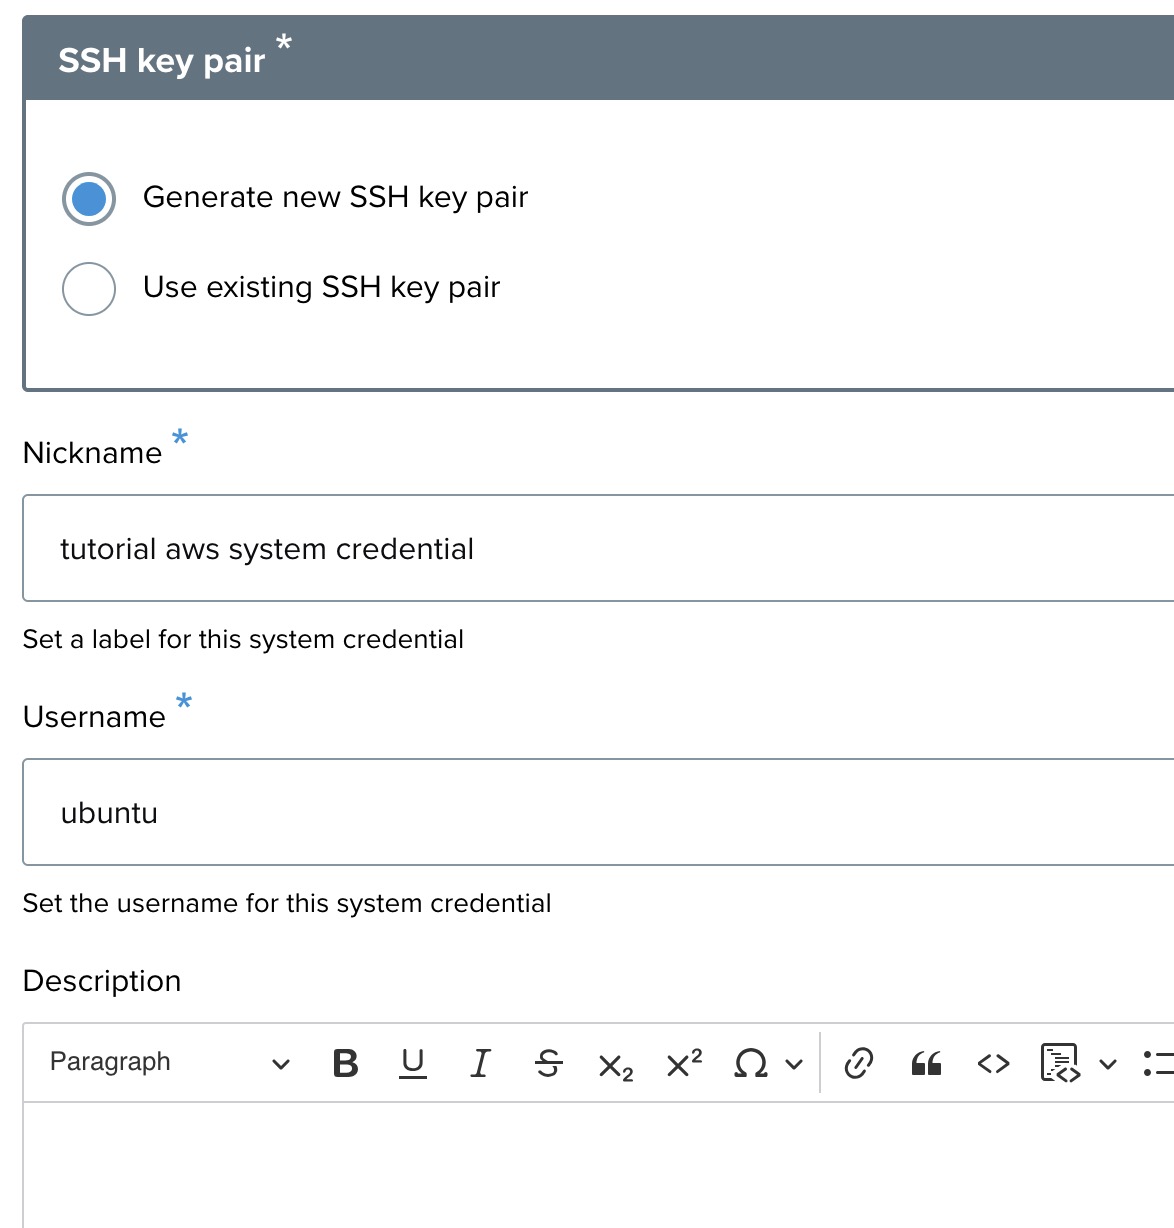
Credential nickname
A recognizable name for the credential, such as aws tutorial credential.
Username
The username used to access the system. Example: ubuntu.
Description
Optional notes about this credential.
Step 3: Add the public key to the system's authorized_keys
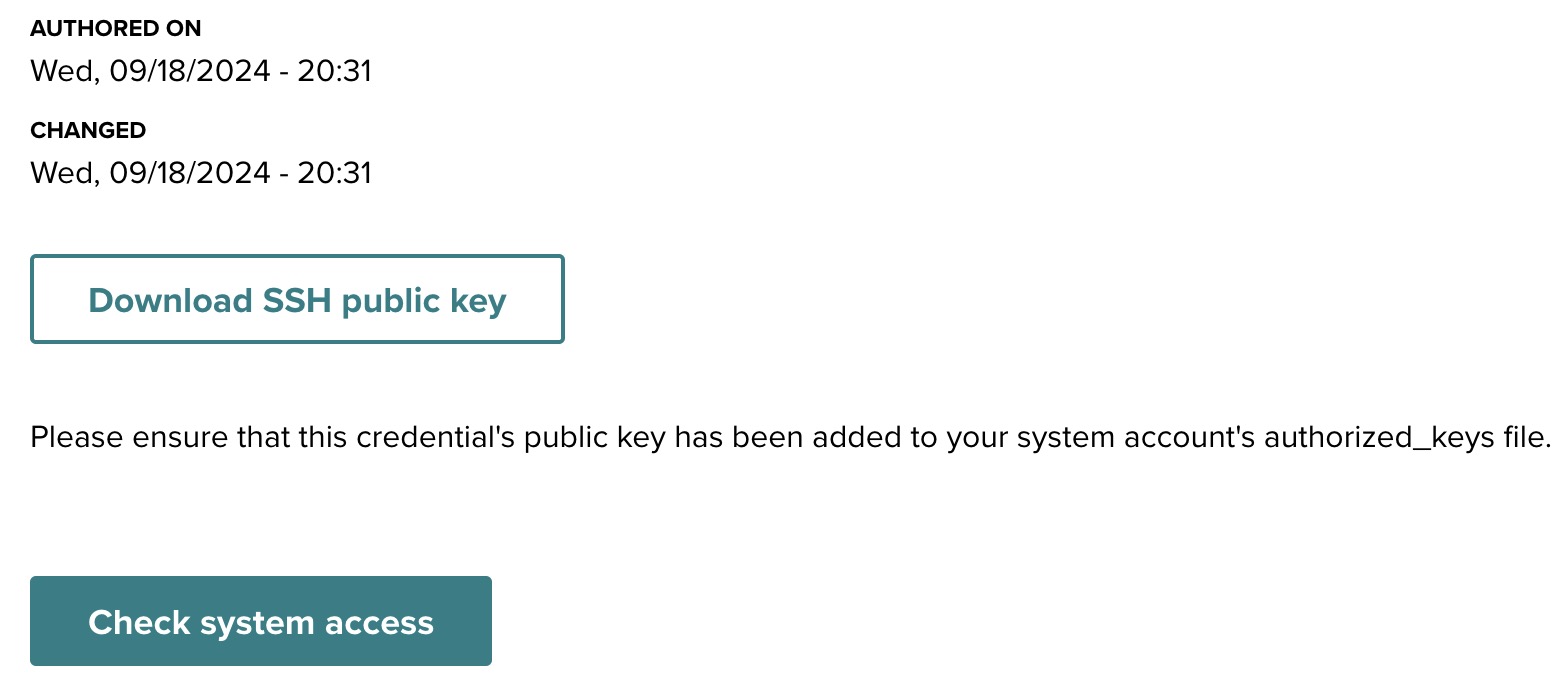
After saving the credential, OSP displays the generated public SSH key along with the system and username.

Follow these steps to complete the setup:
- Log in manually to the target system using the host IP.
- Open
~/.ssh/authorized_keyson the remote system. - Append the public key shown by OSP.
- Save and close the file.
- Ensure file permissions are correct:
chmod 600 ~/.ssh/authorized_keys.
Step 4: Verify system access
Return to the system credential interface and click Check system access. If the key is installed correctly, you will receive a confirmation that the system is accessible and credential setup is complete.
Additional resources
- Download SSH public key — if needed, you can download the public key from the system credential page for future use.
- Troubleshooting — ensure the public key was correctly copied to
authorized_keysand that file permissions are correct (chmod 600 ~/.ssh/authorized_keys).
Automating per-user credential setup
The procedure above uses a service account — a shared account that OSP connects to on the system, with jobs running under that account. For many OSP deployments this is sufficient. When users need to run jobs under their own per-user accounts on the target system, there are additional options including the Tapis Trust Manager System (TMS) and deployment-specific automation. See the Identity and access configuration section of the Tenant Administrator Guide for the full discussion.
Batch app configuration
If the system uses a batch scheduler such as Slurm, configure the batch settings.
Step 1: Batch job settings
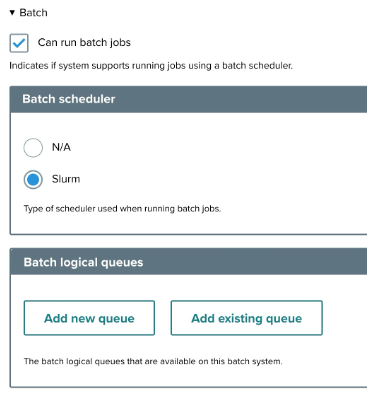
- Can run batch jobs — check this to enable batch job execution through a scheduler.
- Batch scheduler — select the appropriate scheduler:
- N/A — default option if no batch scheduler is used.
- Slurm — Slurm batch scheduler.
- Batch logical queues — manage the logical queues for job submission:
- Add new queue — create a new queue (see Scheduler profiles and queues).
- Add existing queue — use a previously configured queue.
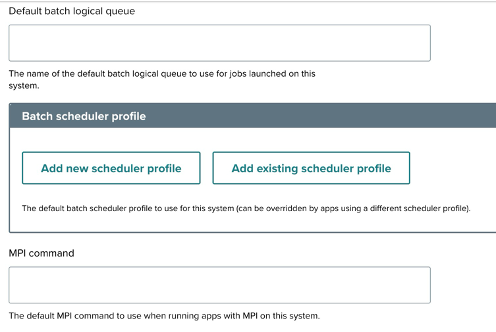
- Default batch logical queue — the default queue for jobs on this system.
- Batch scheduler profile — manage profiles that customize how jobs are submitted to the scheduler:
- Add new scheduler profile — create a new profile.
- Add existing scheduler profile — use an existing profile.
- MPI command — the default MPI command for running MPI applications.
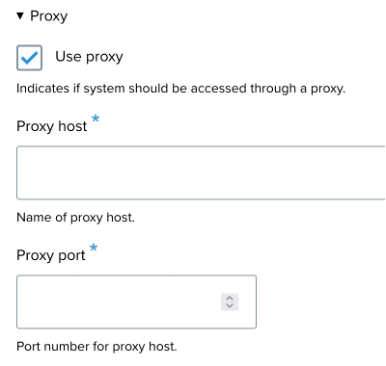
Proxy settings
- Use proxy — enable if the system requires a proxy to reach the scheduler.
- Proxy host — the proxy server's host address.
- Proxy port — the proxy server's port number.
Scheduler profiles and queues
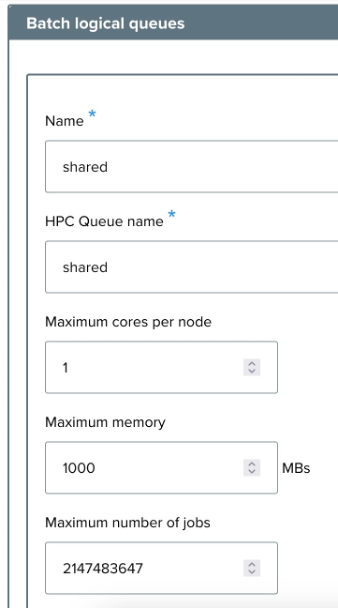
Adding a batch logical queue
A logical queue represents a named submission target within the scheduler. When adding a queue, fill in the following fields:
- Name — the name of the new queue (example:
shared). - HPC queue name — the queue name as recognized by the HPC scheduler.
- Maximum cores per node — example:
1. - Maximum memory — in MB. Example:
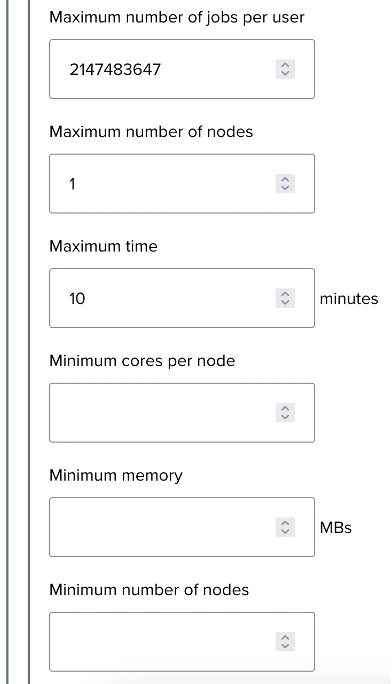
1000. - Maximum number of jobs — total job cap for the queue.
- Maximum number of jobs per user — per-user cap. Example:
2147483647(effectively unlimited). - Maximum number of nodes — upper bound on nodes per job. Example:
1. - Maximum time — upper bound on runtime in minutes. Example:
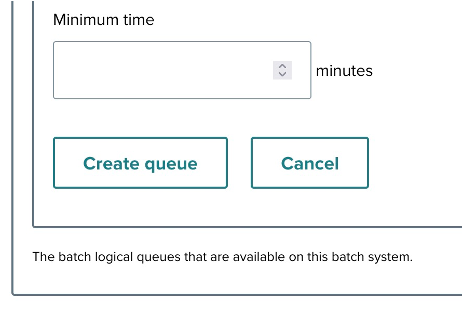
10. - Minimum cores per node, Minimum memory, Minimum number of nodes, Minimum time — lower bounds for values users can submit.
Click Create queue to save, or Cancel to discard.
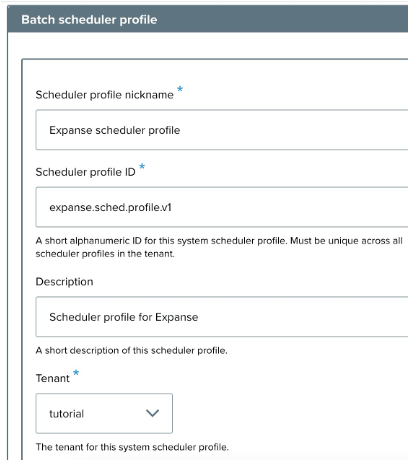
Configuring a scheduler profile
A scheduler profile customizes how jobs are handled at the scheduler level. When creating a profile:
- Scheduler profile nickname — a descriptive name. Example:
Expanse scheduler profile. - Scheduler profile ID — a unique identifier. Example:
osp.tutorial.expanse.sched.profile. - Description — brief description of the profile's purpose. Example: "Scheduler profile for Expanse."
- Tenant — the tenant this profile applies to.
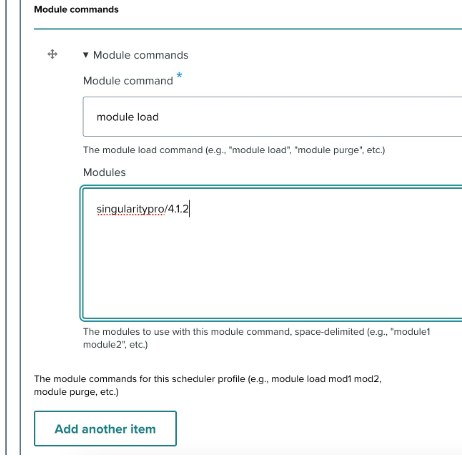
- Module commands — any required module-loading commands:
- Module command — example:
module load. - Modules — example:
singularity:latest. - Use Add another item to include additional commands.
- Module command — example:
Data Transfer Nodes
A Data Transfer Node (DTN) is a dedicated system for handling file transfers between nodes. Configuring a DTN provides an alternative system for file operations, typically used when the primary compute nodes are not optimized for transfer workloads or where a dedicated DTN offers better throughput.
DTN configuration options
- Add new node — create and configure a new DTN system.
- Add existing node — select a previously configured DTN system.
A DTN is itself a system in OSP — the same Creating a system procedure applies. The distinction is how it's used: rather than being a job execution target, a DTN is referenced by other systems as the transfer endpoint.
Previous: ← App Contributor Tutorials | Next: Tenant Administrator Guide →