Developed by OARC at UCLA in collaboration with SDSC and TACC
Documentation Home · End Users · App Contributors · Tutorials · Systems · Tenant Admin · Reference
App Contributor Tutorials
Three worked tutorials that take you through complete app creation from scratch on a OneSciencePlace (OSP) tenant. Each covers a different system type and runtime, so together they cover the main scenarios an app contributor will encounter. For the concept reference and field-by-field documentation, see the App Contributor Guide.
On this page
- Tutorial: Calculator app on OSP compute — a Bash script wrapped as a batch app, with a multi-field form
- Tutorial: Classifier app on HPC — a Singularity container on an HPC cluster with Slurm
- Tutorial: Jupyter notebook web app on HPC — an interactive web app with container mounts and a password token
Tutorial: Calculator app on OSP compute
This tutorial creates a simple Bash calculator app that runs on an OSP compute host. It demonstrates app creation with the Executable runtime (instead of a container) and shows how to build a multi-field launch form with Number, Select, and Text Field elements.
Application overview
The Bash script is a simple command-line calculator that accepts input parameters as key-value pairs: first_operator=, operand=, second_operator=, and output=. It performs basic arithmetic (addition, subtraction, multiplication, division) based on the given inputs and writes the result to the specified output file.
How it works
- Input parsing — the script uses a loop to parse input arguments passed in key-value format.
- Validation — the script checks if all required arguments are provided. If any argument is missing, it exits with an error message and usage instructions.
- Arithmetic operations — four basic operations: addition (
plus), subtraction (minus), multiplication (multiply), division (divide). Division by zero is checked. - Output — the result is saved to the specified output file as
Result: <value>. A success message confirms the file has been written.
Example usage
Add two numbers and save to a file:
./calculator.sh first_operator=1 operand=plus second_operator=2 output=result.txtMultiply two numbers:
./calculator.sh first_operator=3 operand=multiply second_operator=4 output=output.txtStep 1: Accessing the application creation page
- Log in to the OSP deployment.
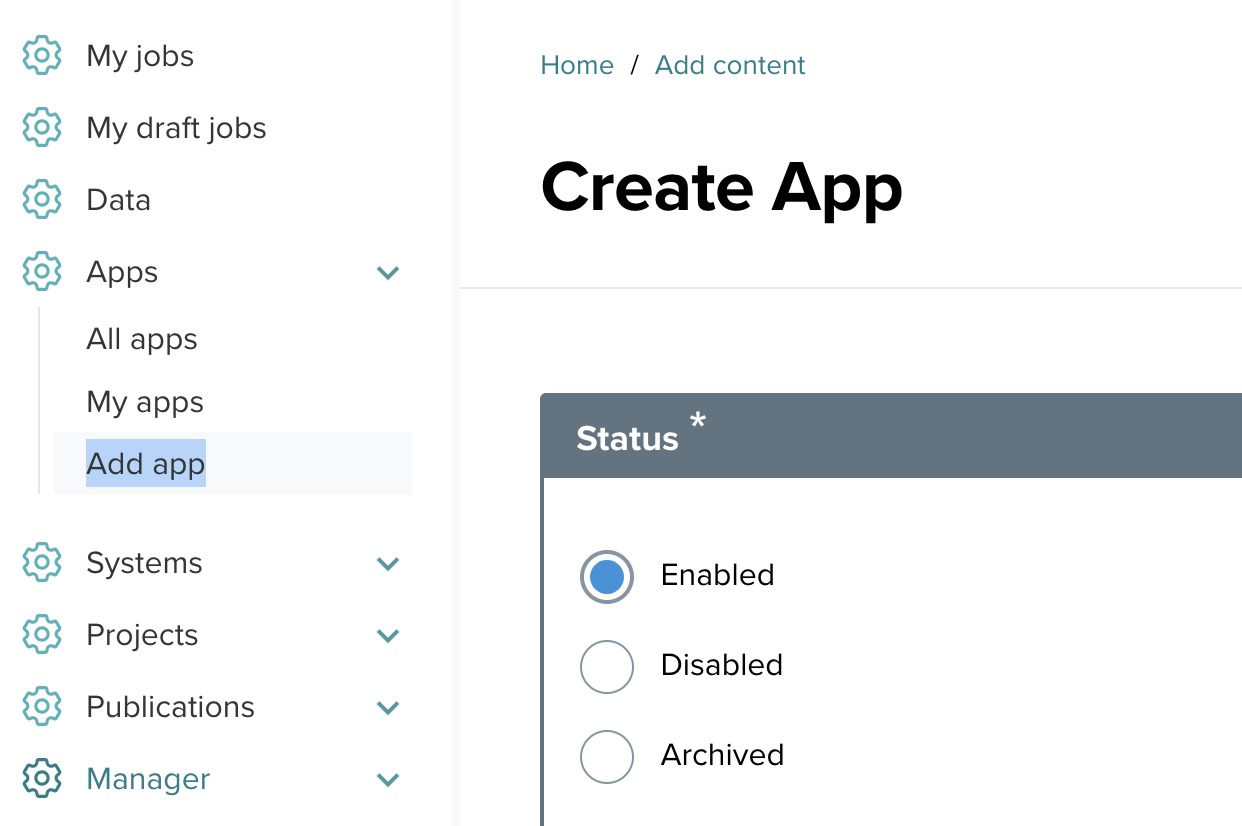
- Navigate to the Apps menu and click Add app.

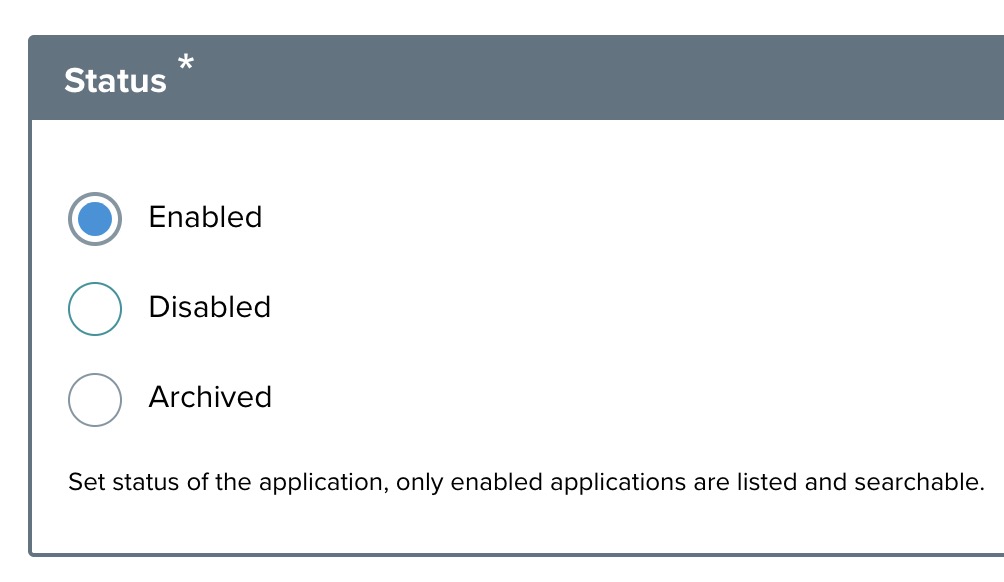
Step 2: Set the status
Select Enabled for this tutorial.
Step 3: Provide app details
- App nickname — a short display name.
- App ID — lowercase with no spaces. Example:
[youruserid].cyoun.tutorial.calculator. - App version — example:
0.1.0. - Summary — one-line description.
- Long description — detailed description via the rich text editor.

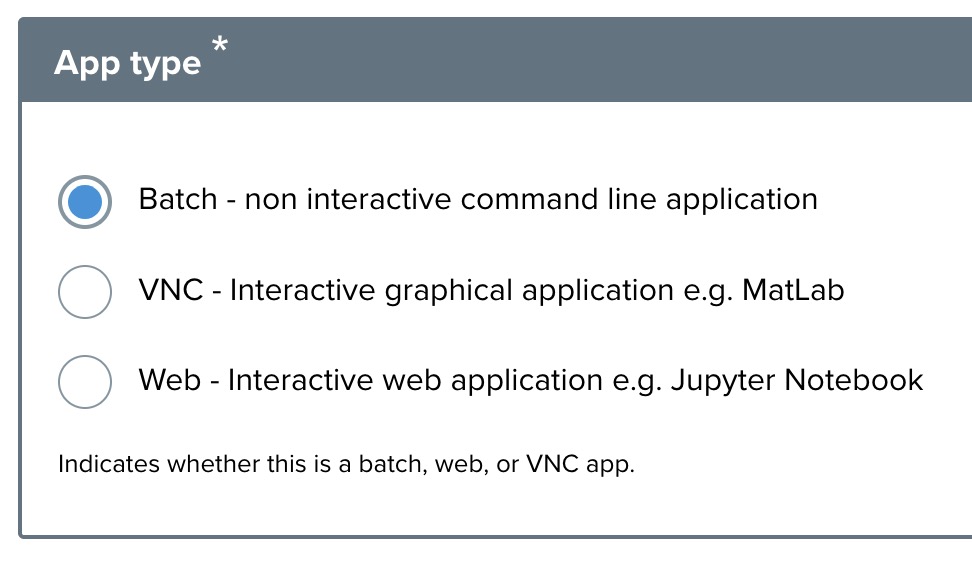
Step 4: Select app type
Select Batch.

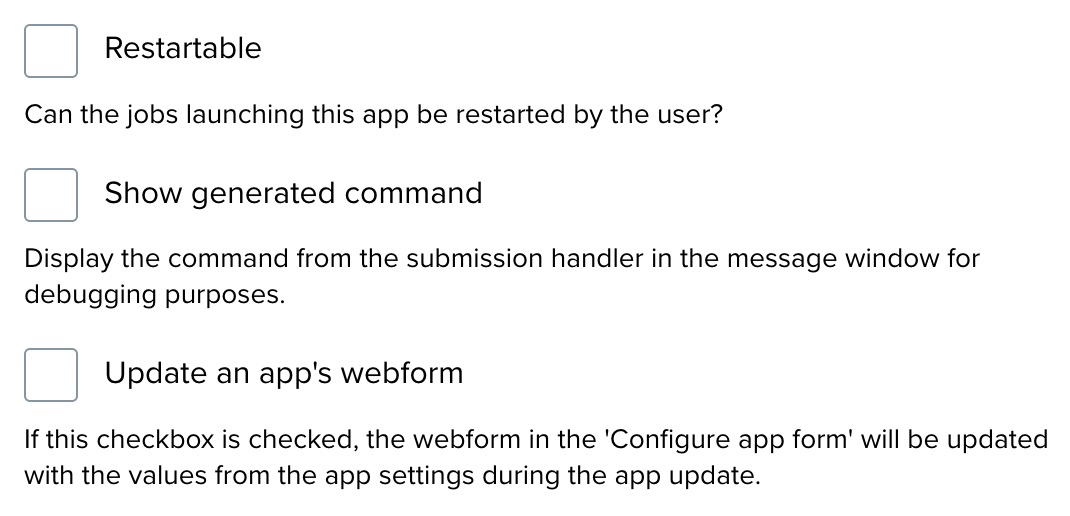
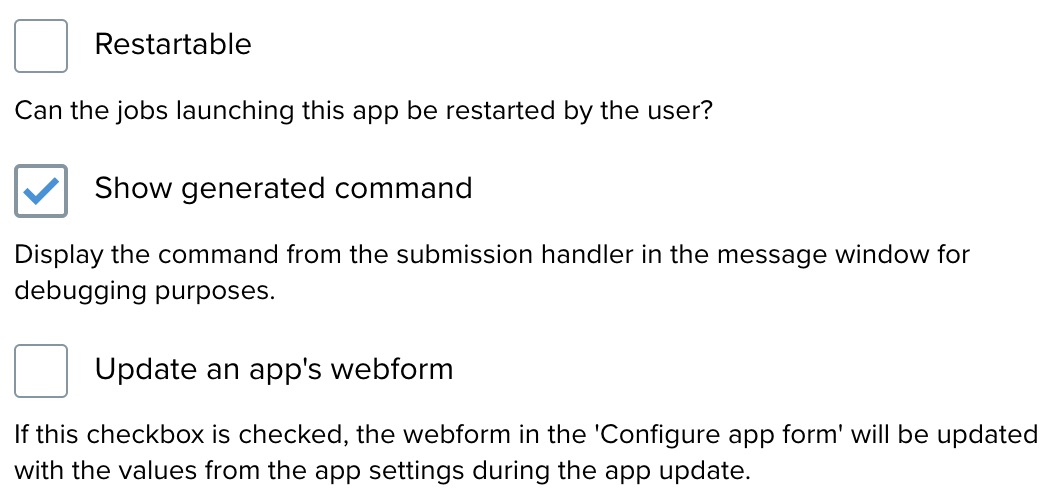
Step 5: Miscellaneous settings
- Restartable — optional.
- Show generated command — useful for troubleshooting.
- Update the app's webform — updates the app settings with form values.
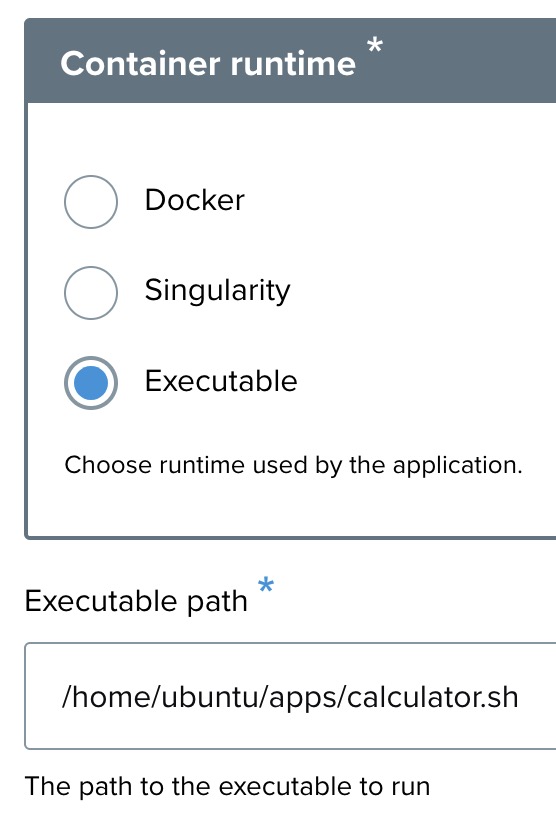
Step 6: Select container runtime
For this tutorial, select Executable and enter the executable path: /home/ospexec1/apps/calculator.sh.
Step 7: Batch scheduler
For this tutorial, leave Use batch scheduler unchecked — the calculator runs directly on OSP compute without a scheduler.

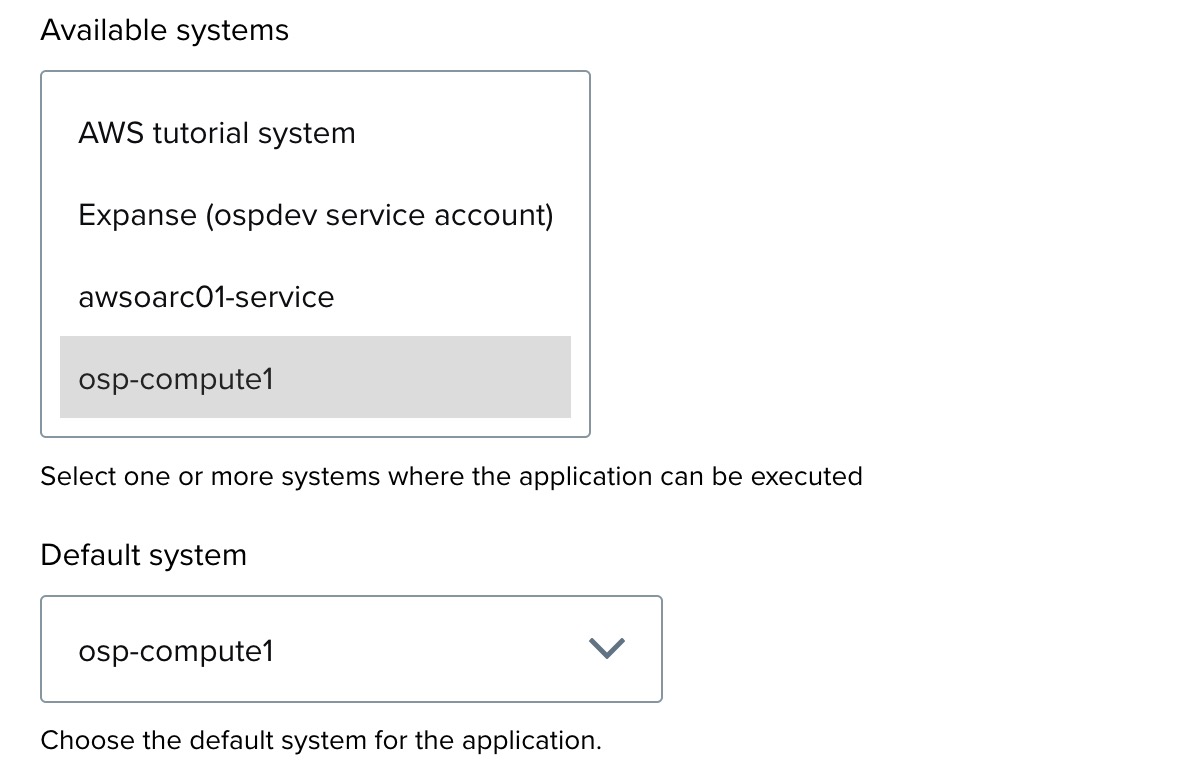
Step 8: System selection
For Available systems and Default system, select osp-compute1. For Tenant, select tutorial.
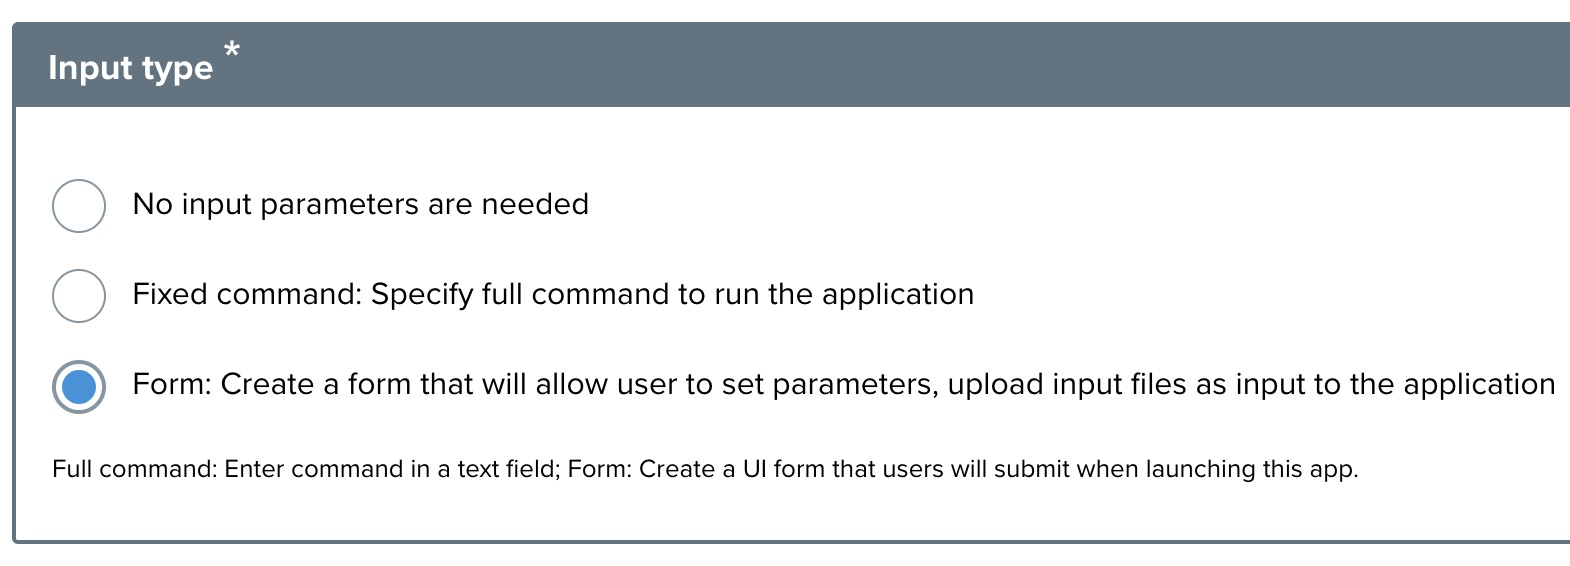
Step 9: Input type configuration
Select Form to allow users to provide parameters through a generated UI.

Step 10: Finalize and save
- Review all details.
- Click Save to register the application.
Step 11: Creating input elements for the calculator form
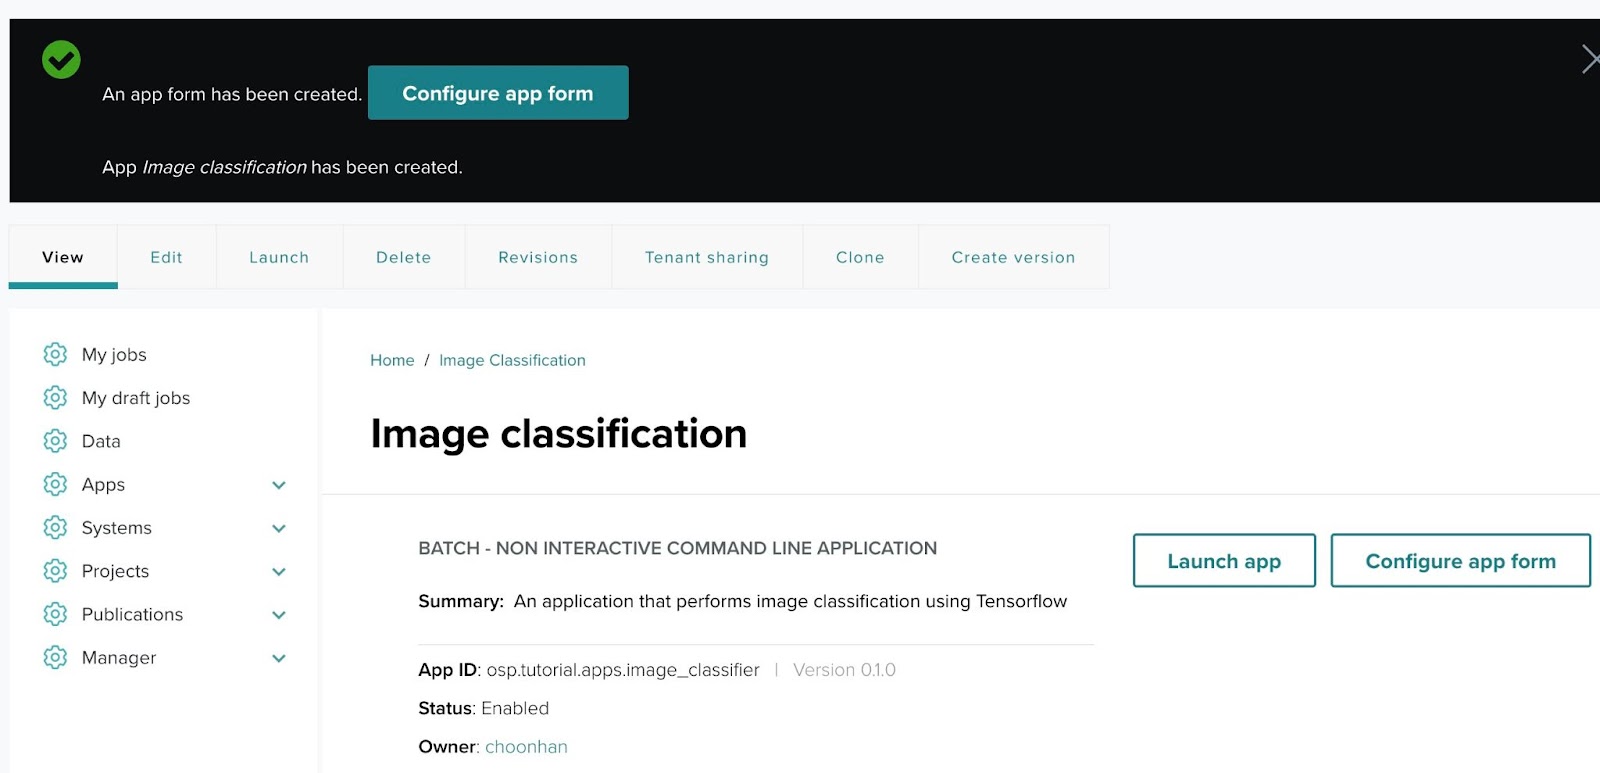
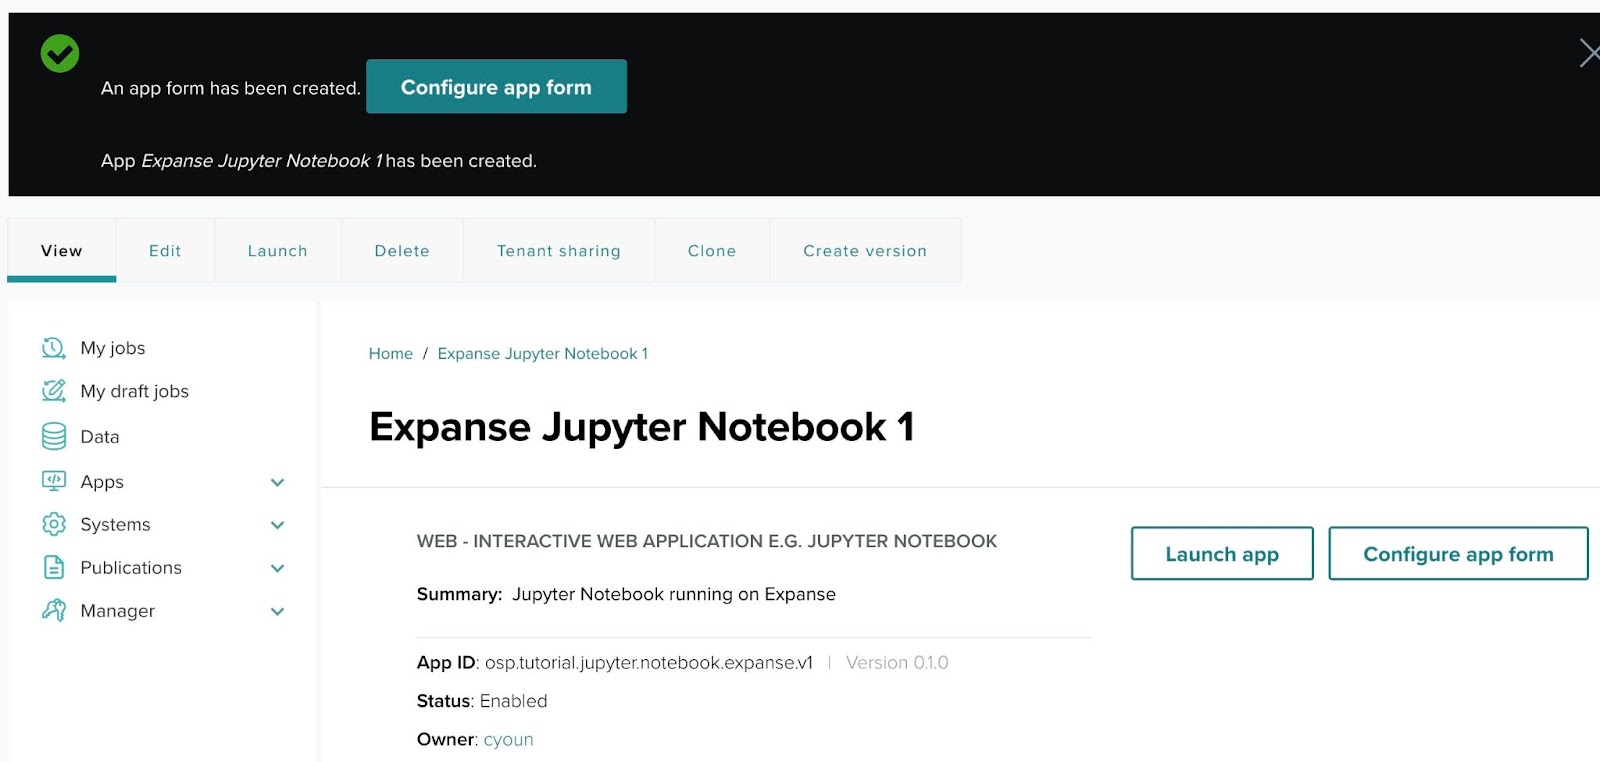
Once the app is saved, you see a confirmation: "An app form has been created. Calculator has been created." Click Configure app form to add input elements. The calculator needs four inputs — first number, operand, second number, and output file name.
Step 11-1: Application created
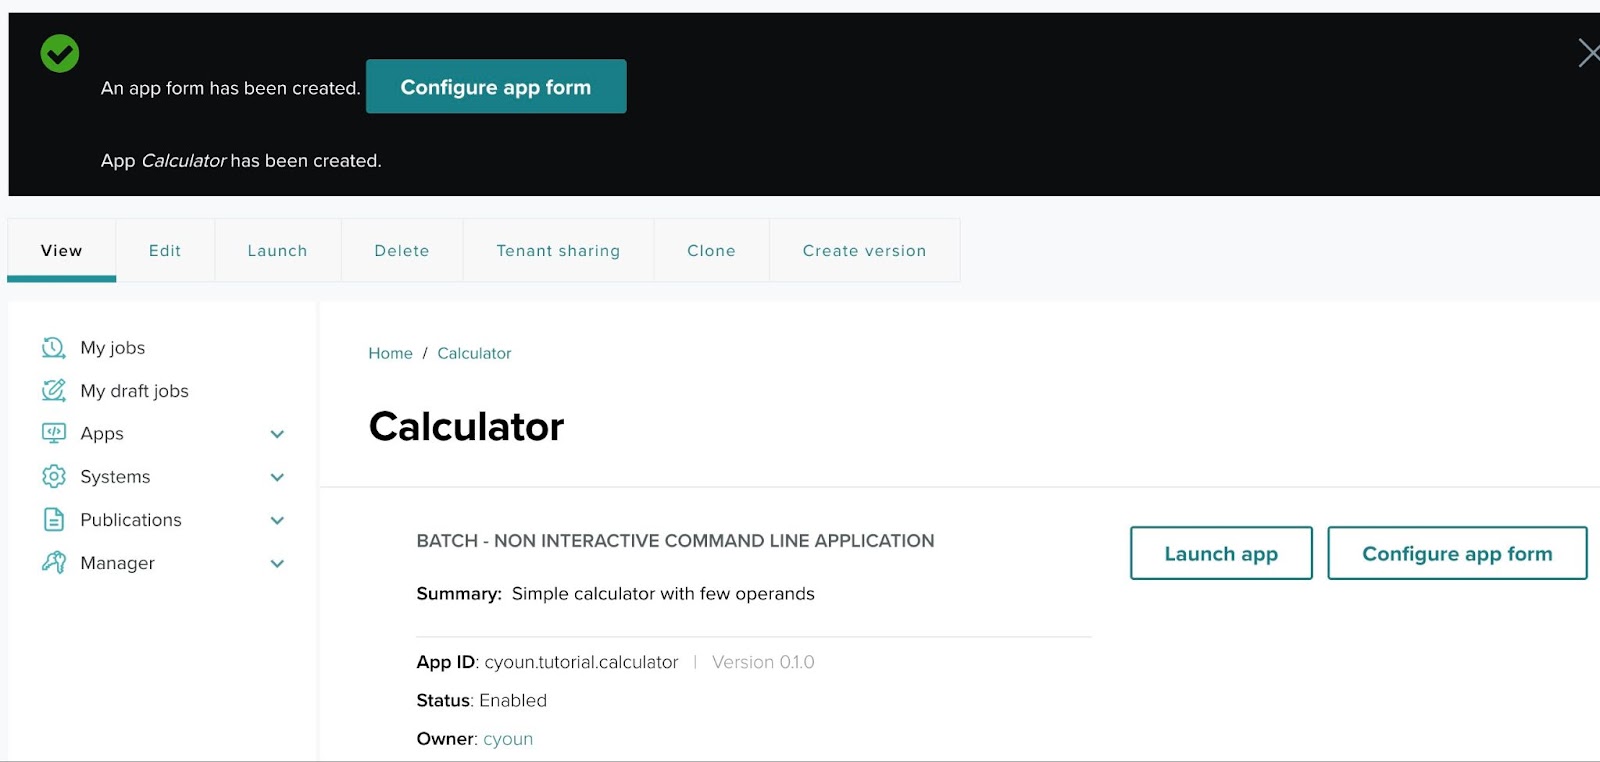
Step 11-2: Begin configuring the app form
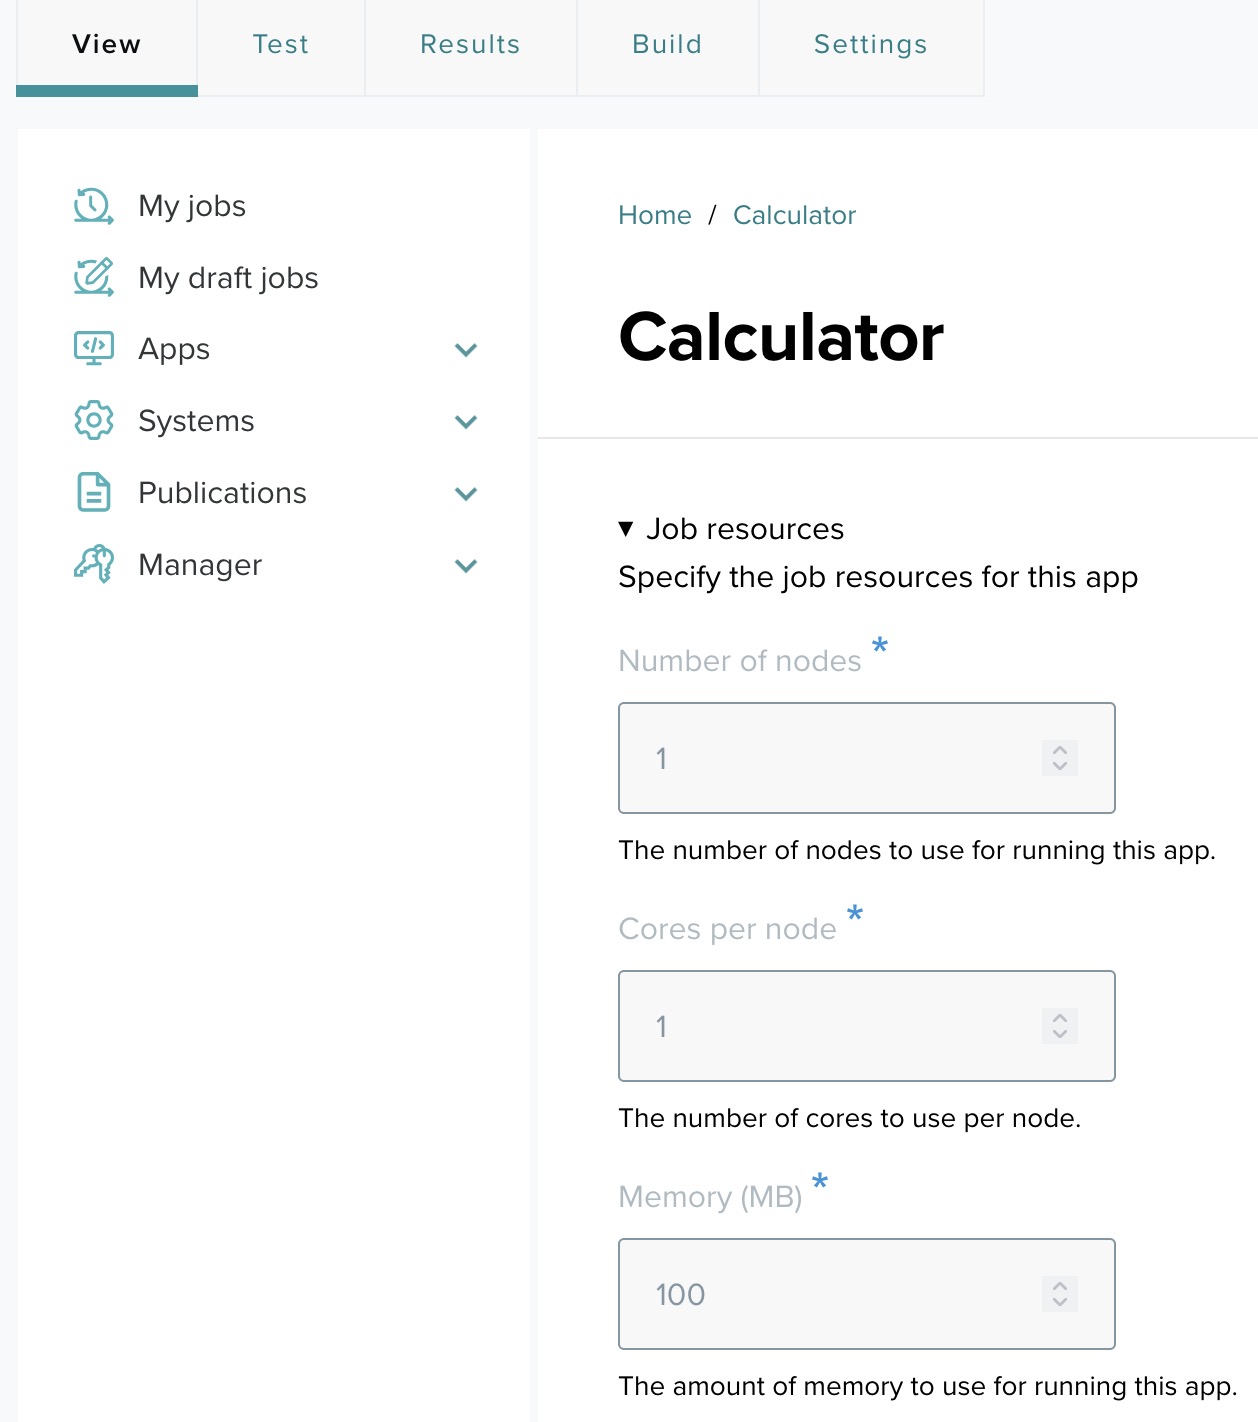
After clicking Configure app form, you will be directed to a page where you can specify job resources and add input fields.
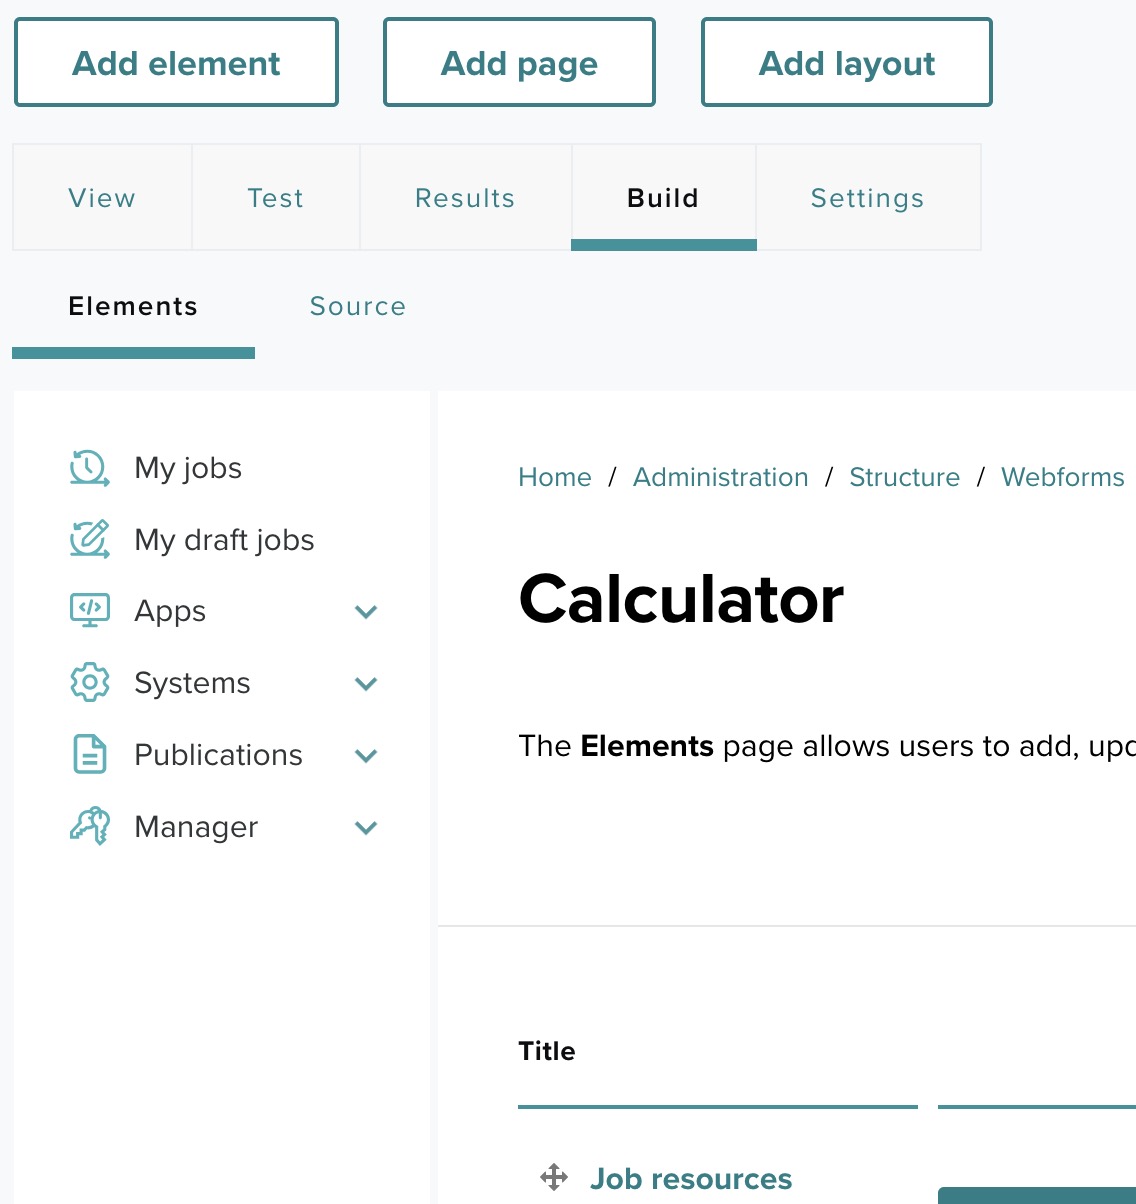
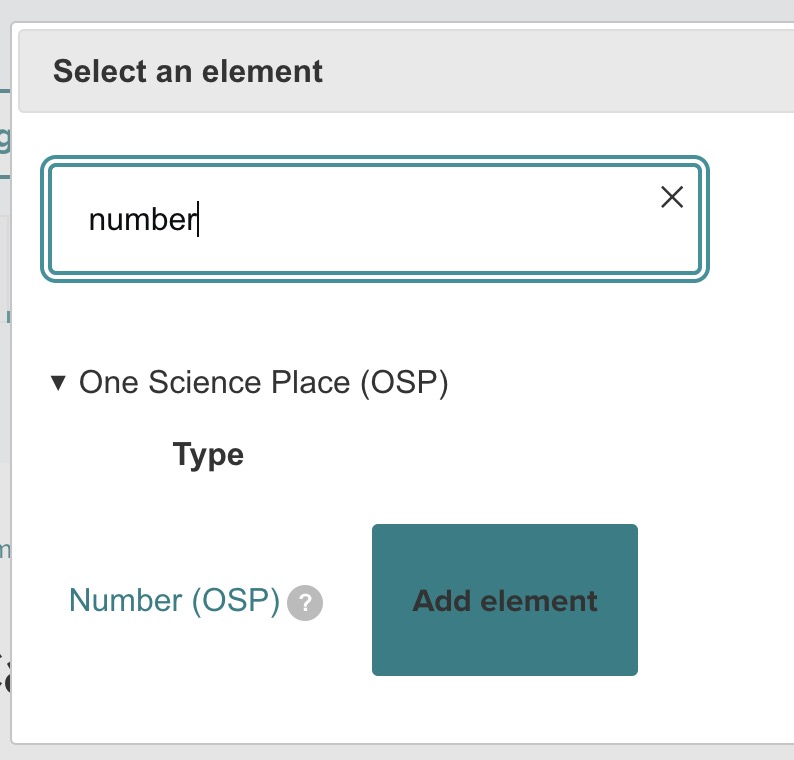
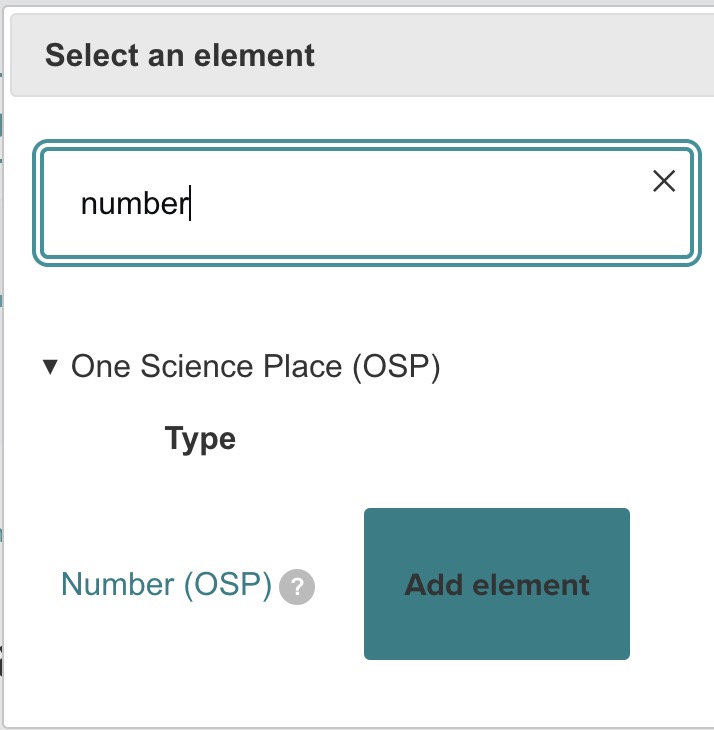
Step 11-3: Search for elements (First number)
Click Build, then Add element, and search for "number". Choose Number (OSP) to capture the First number input.
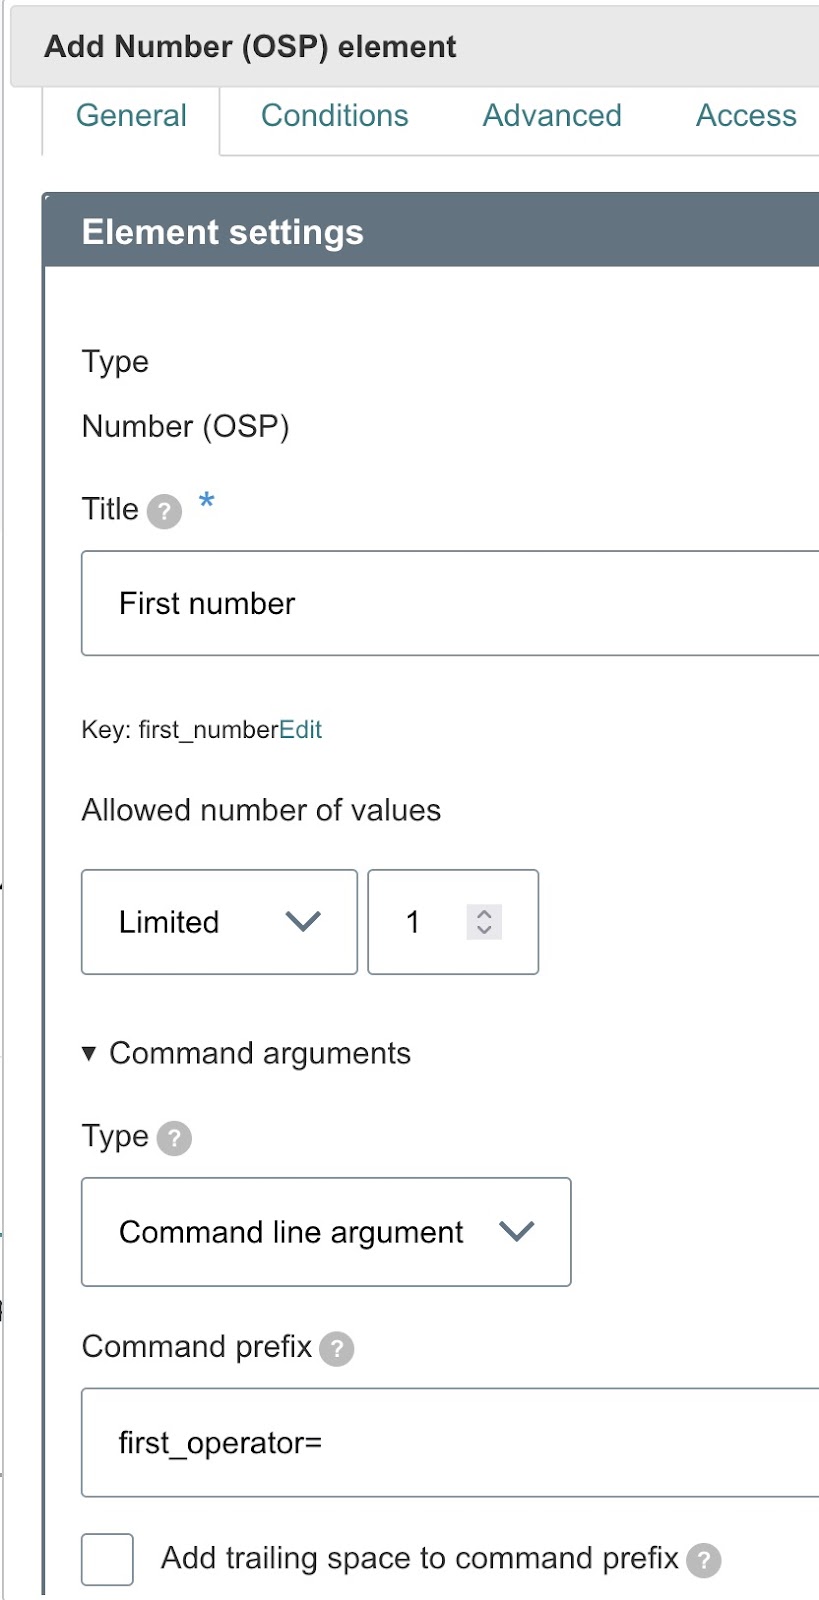
Step 11-4: Add and configure the Number element
Configure the Number element:
- Title — First number.
- Type — Command line argument.
- Command prefix —
first_operator=. - Add trailing space to command prefix — unchecked.
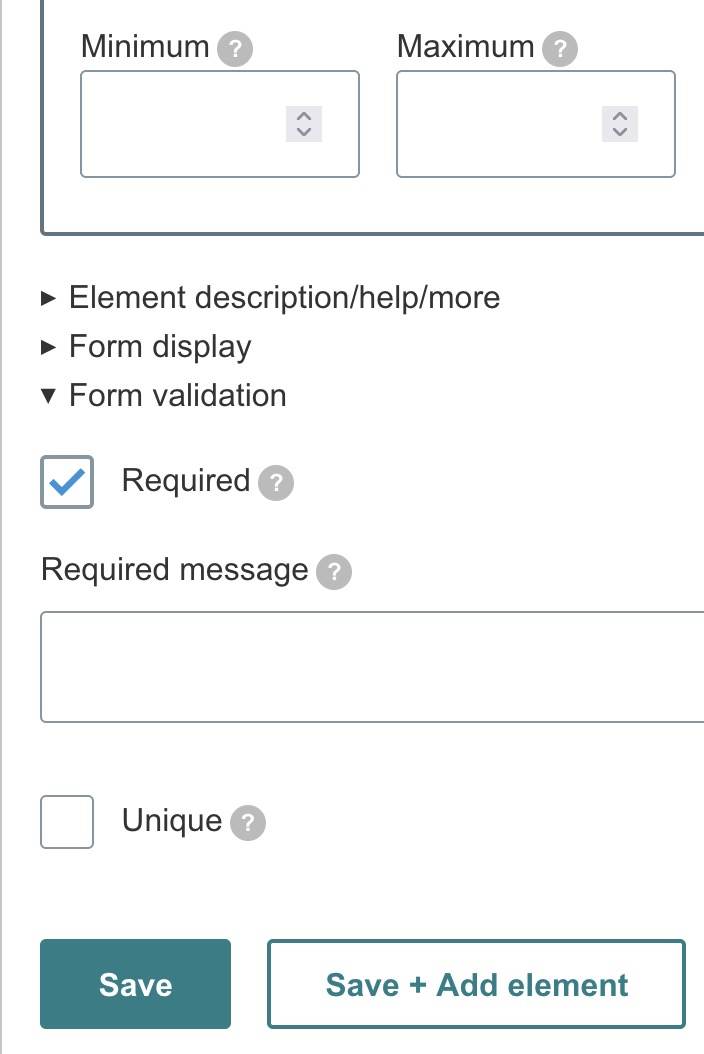
- Form validation — Required.
Click Save.
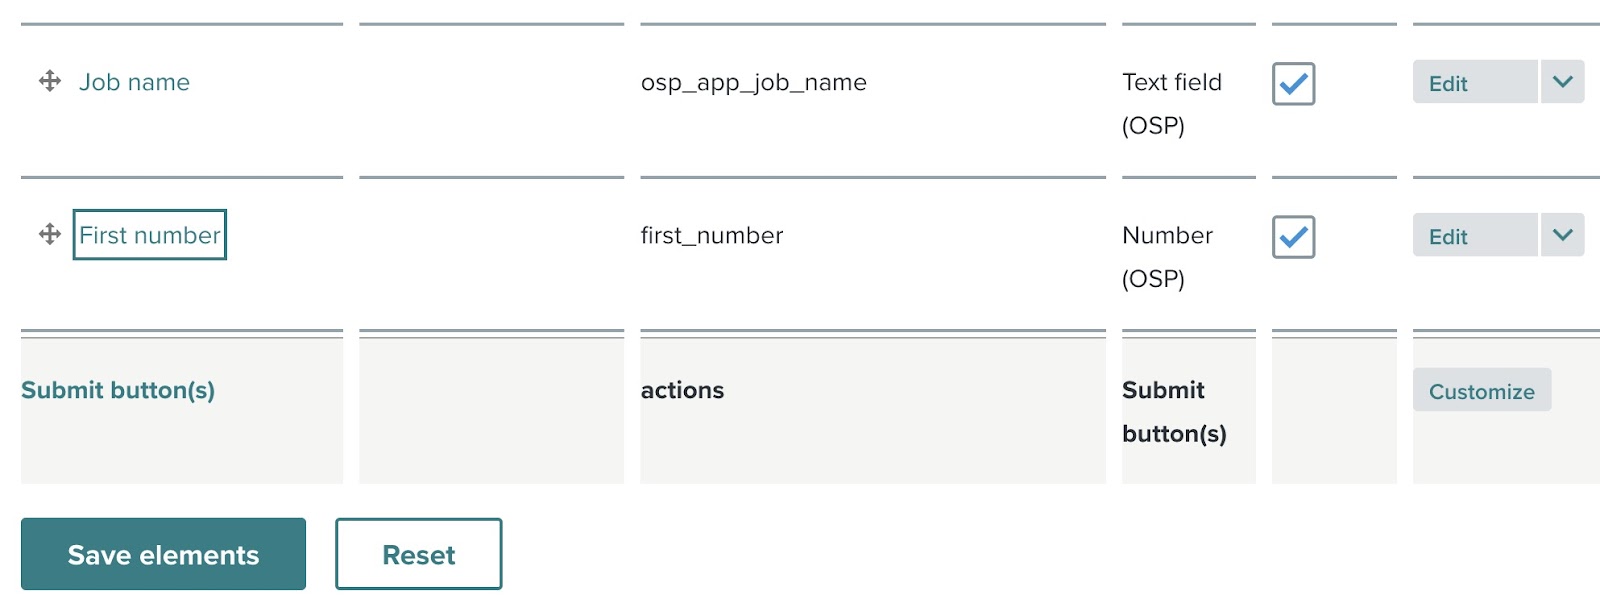
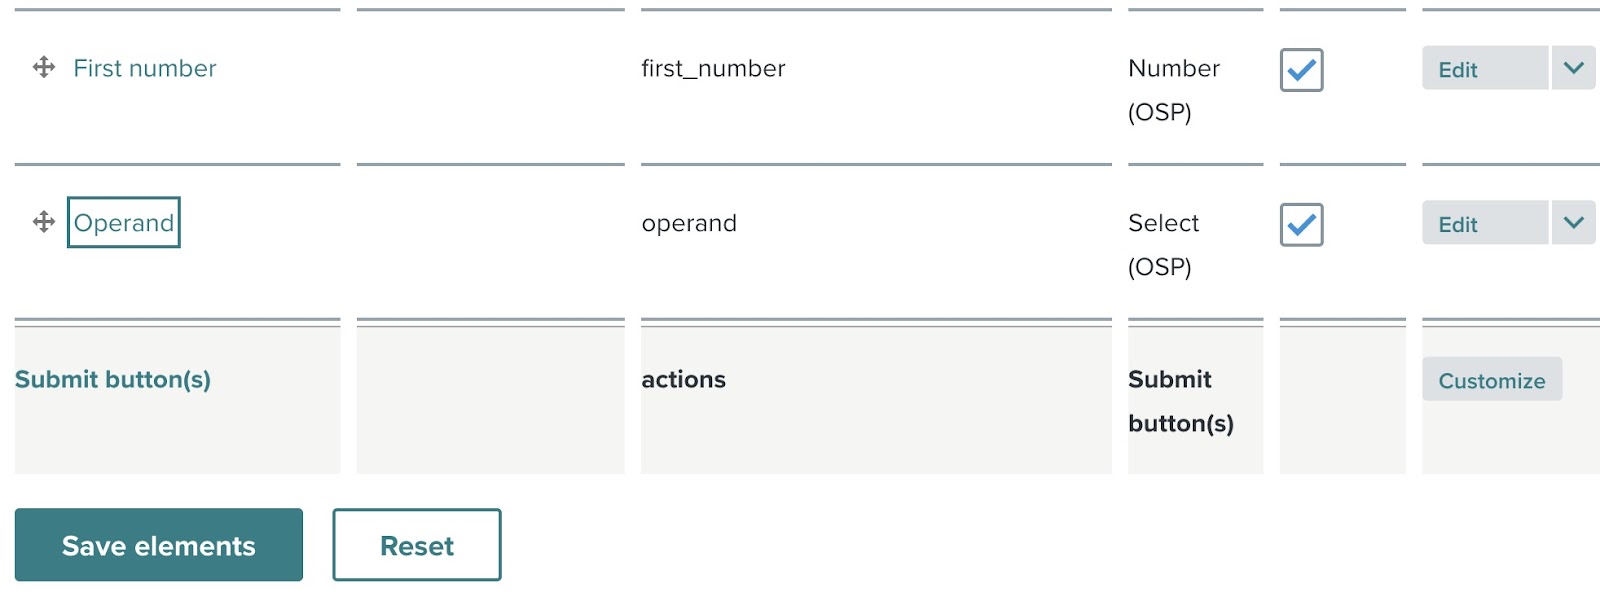
Step 11-5: Review added element
The First number element now appears in the element list on the right side of the form builder.
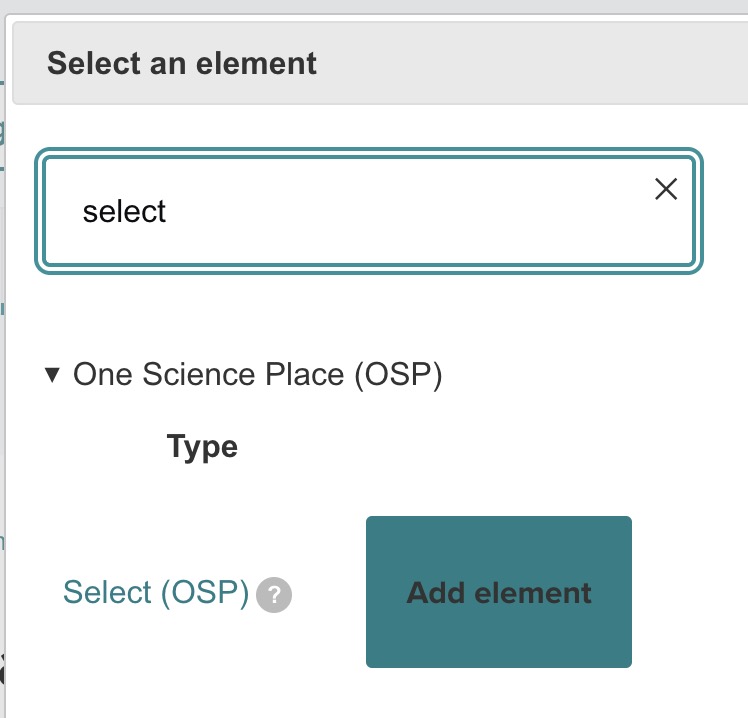
Step 11-6: Search for elements (Operand)
Add another element, searching for "select". Choose Select (OSP) to capture the Operand.
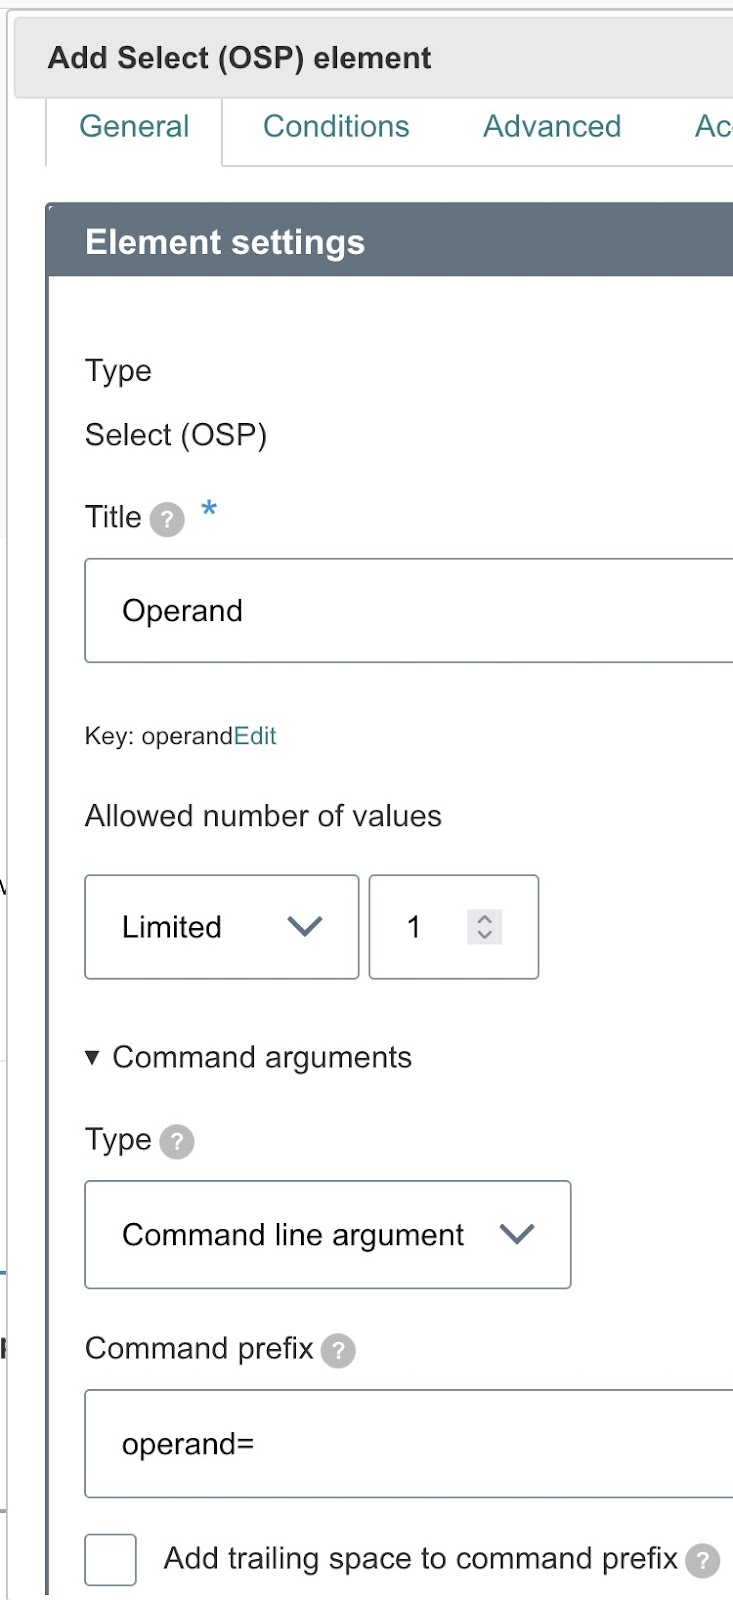
Step 11-7: Add and configure the Select element
Configure the Select element:
- Title — Operand.
- Type — Command line argument.
- Command prefix —
operand=. - Add trailing space to command prefix — unchecked.
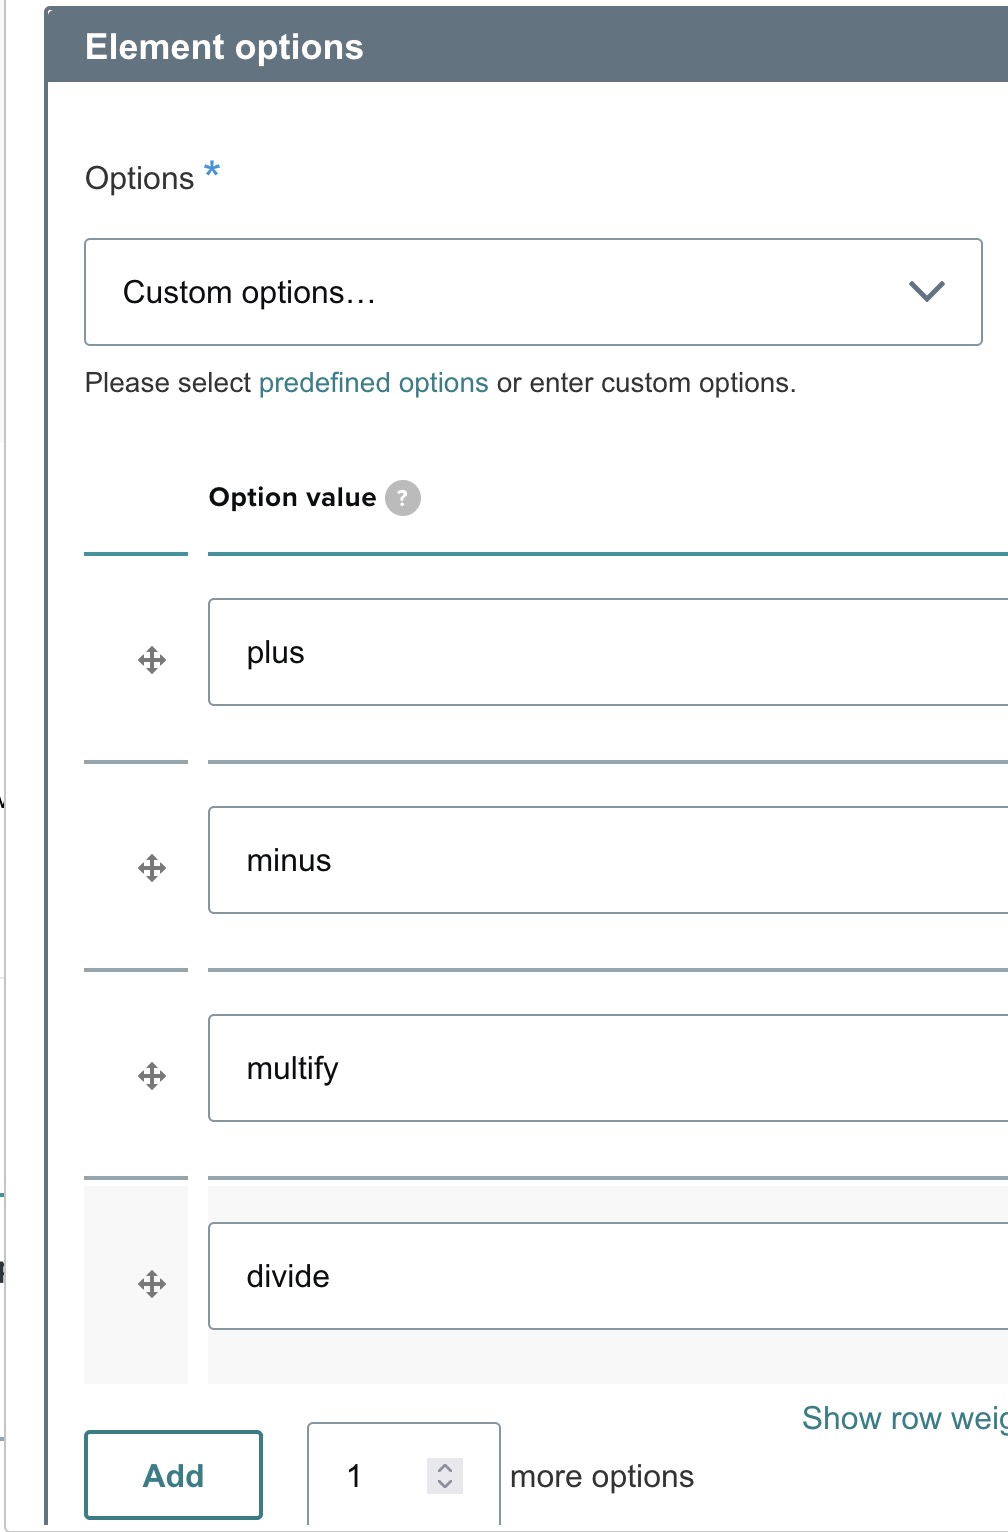
- Options — four rows:
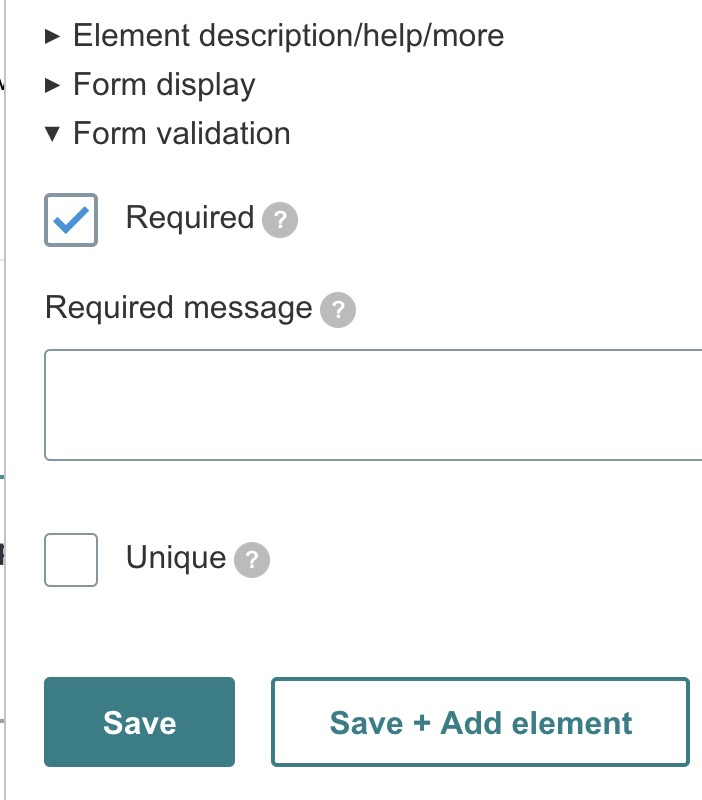
plus→+,minus→−,multiply→×,divide→÷. - Form validation — Required.
Click Save.
Step 11-8: Review added element
The Operand element now appears in the element list.
Step 11-9: Search for elements (Second number)
Add another element, searching for "number". Choose Number (OSP) again for the Second number input.
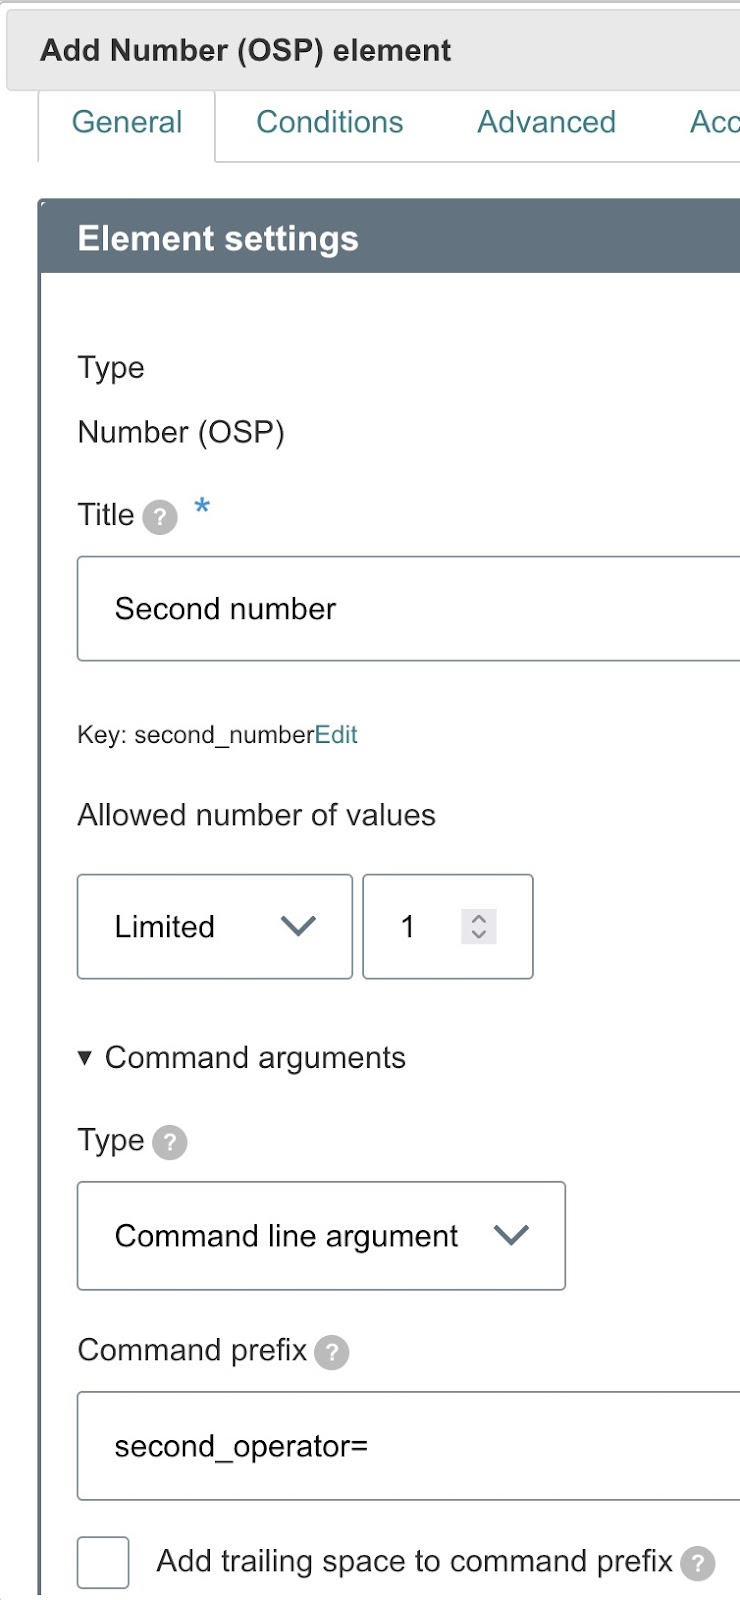
Step 11-10: Add and configure the Number (second)
Configure as before, with these values:
- Title — Second number.
- Command prefix —
second_operator=. - Form validation — Required.
Click Save.

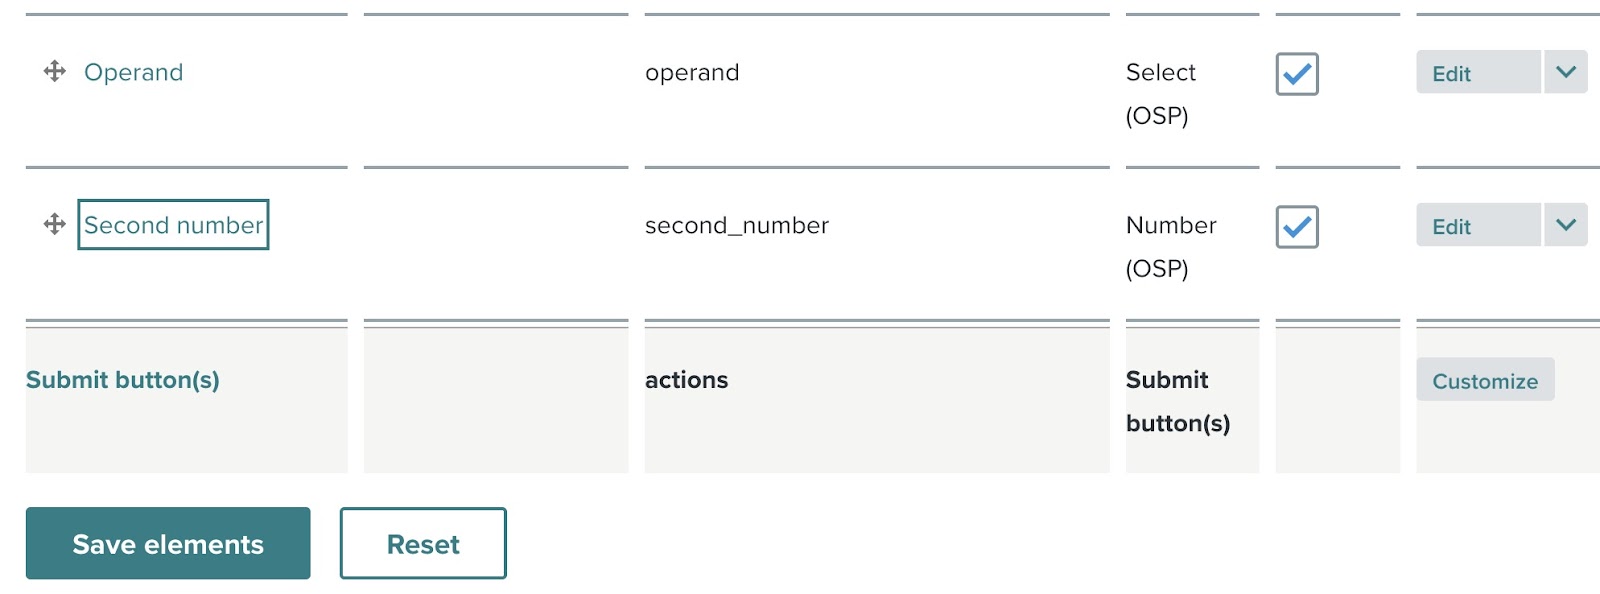
Step 11-11: Review added element
The Second number element now appears in the element list.
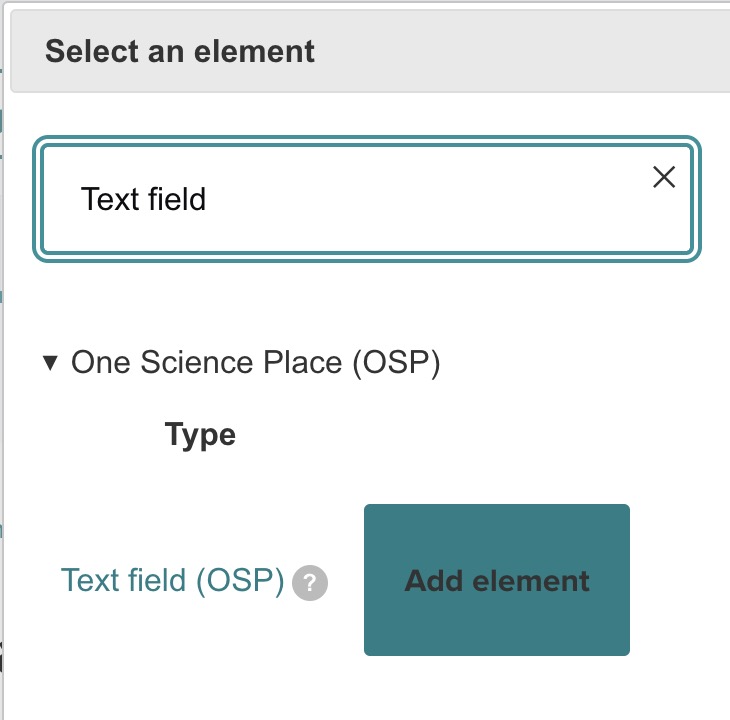
Step 11-12: Search for elements (Output file name)
Add another element, searching for "text field". Choose Text Field (OSP) for the Output file name input.
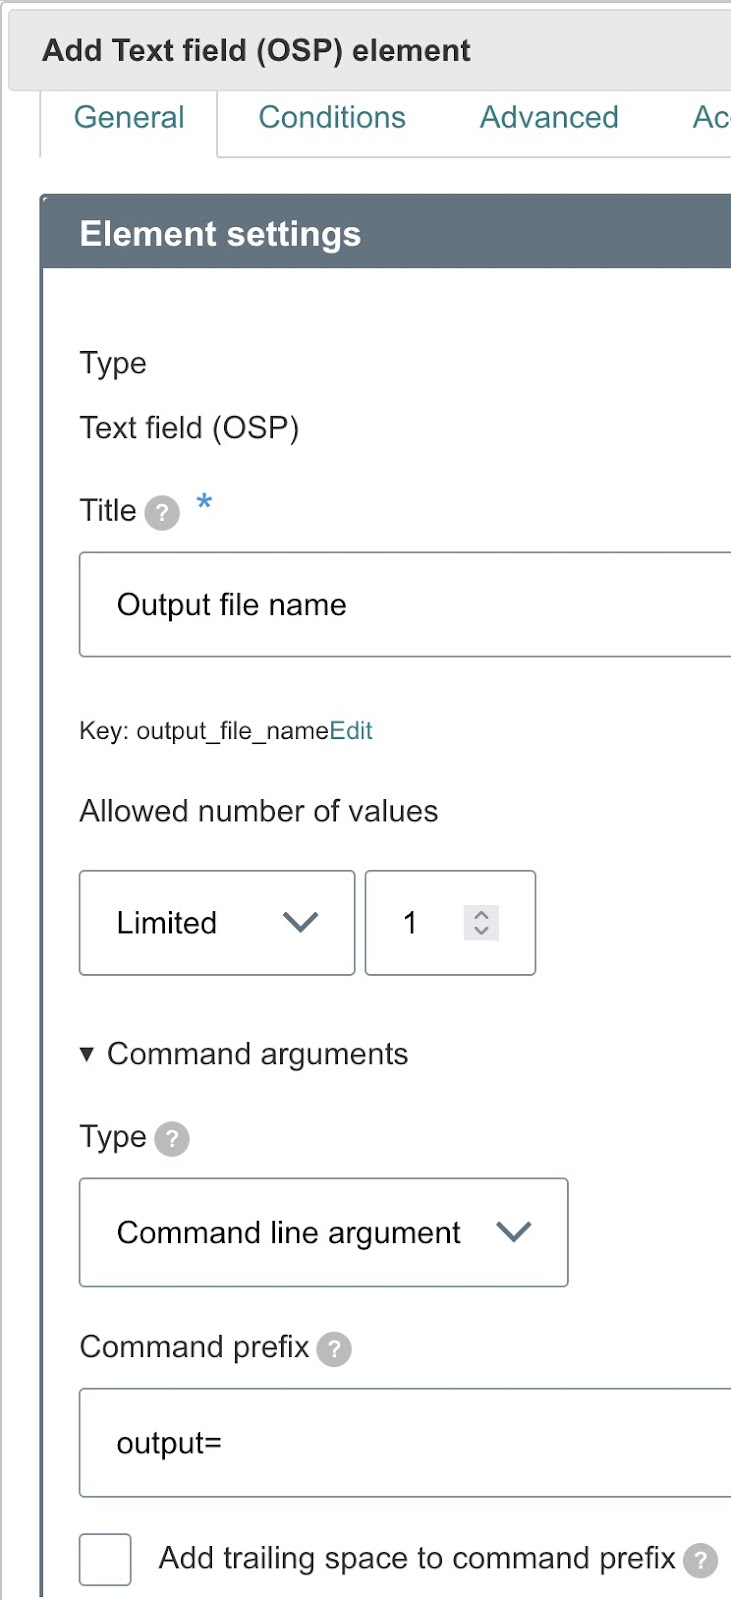
Step 11-13: Add and configure the Text field
Configure the Text Field:
- Title — Output file name.
- Command prefix —
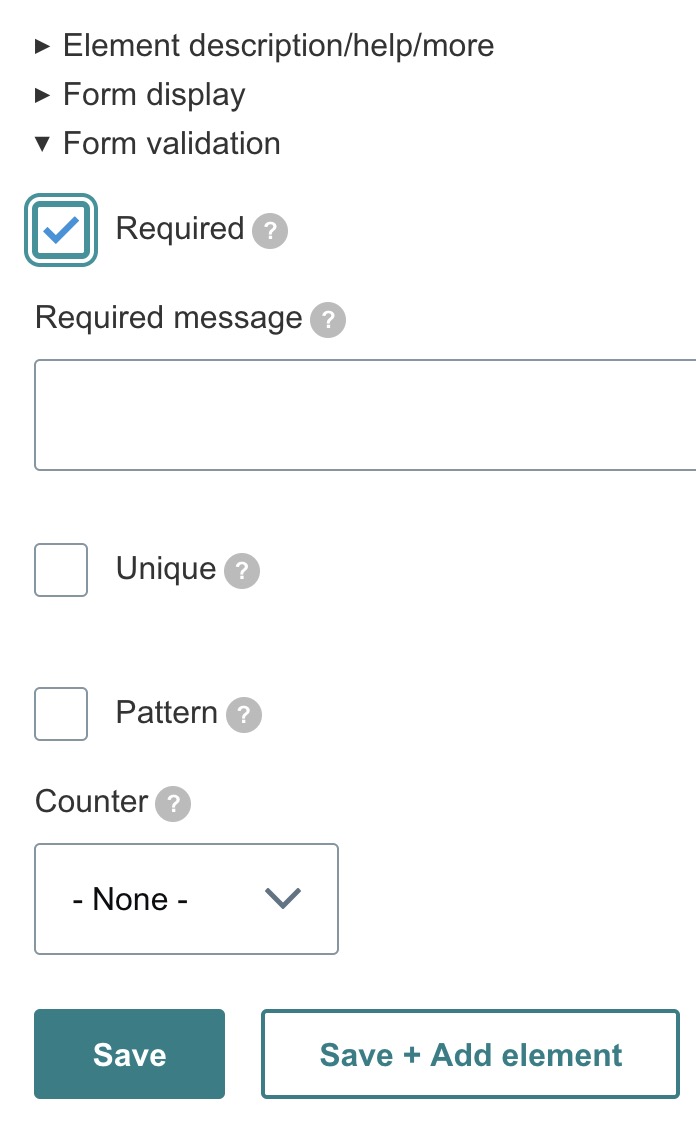
output=. - Form validation — Required.
Click Save.
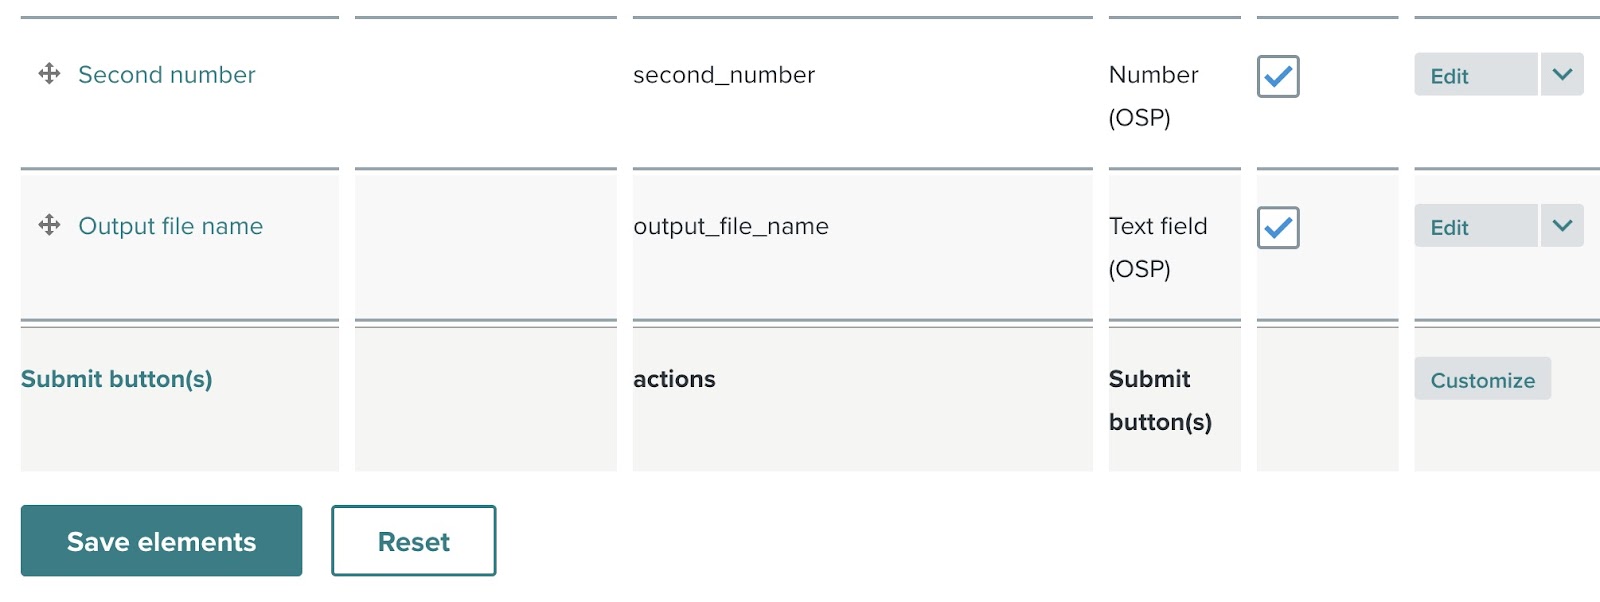
Step 11-14: Review added element
All four elements are now in the form.
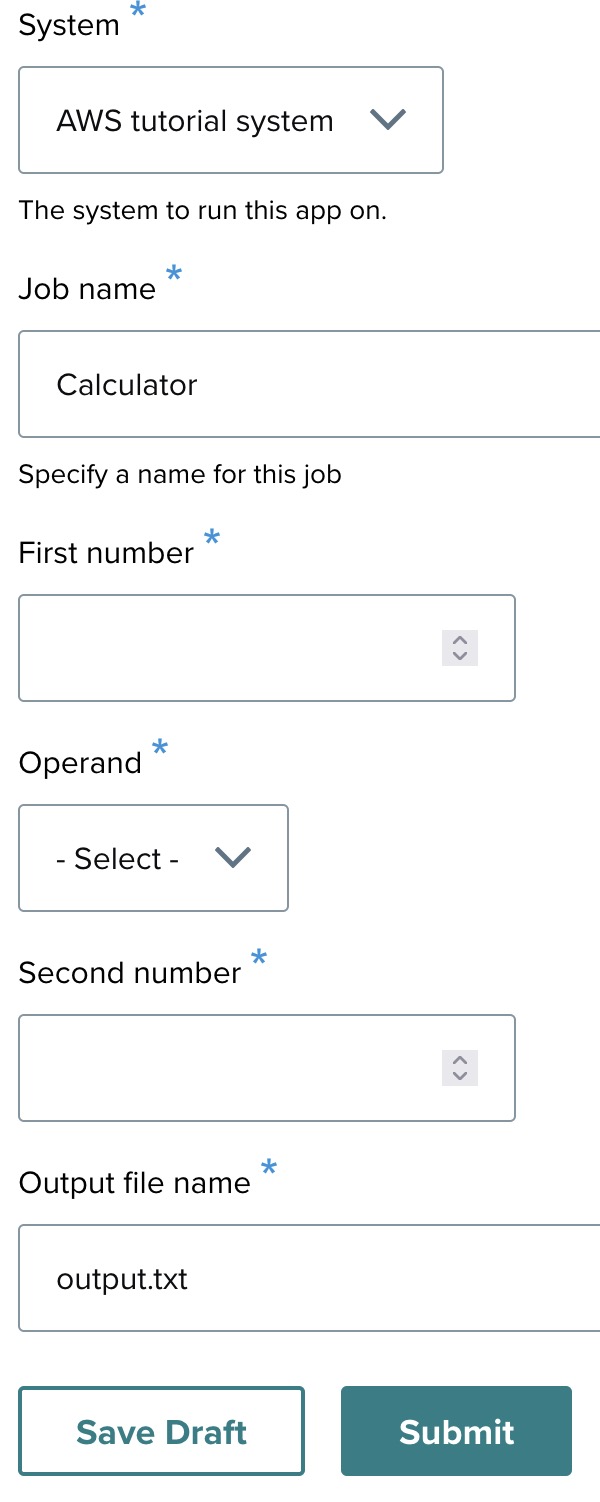
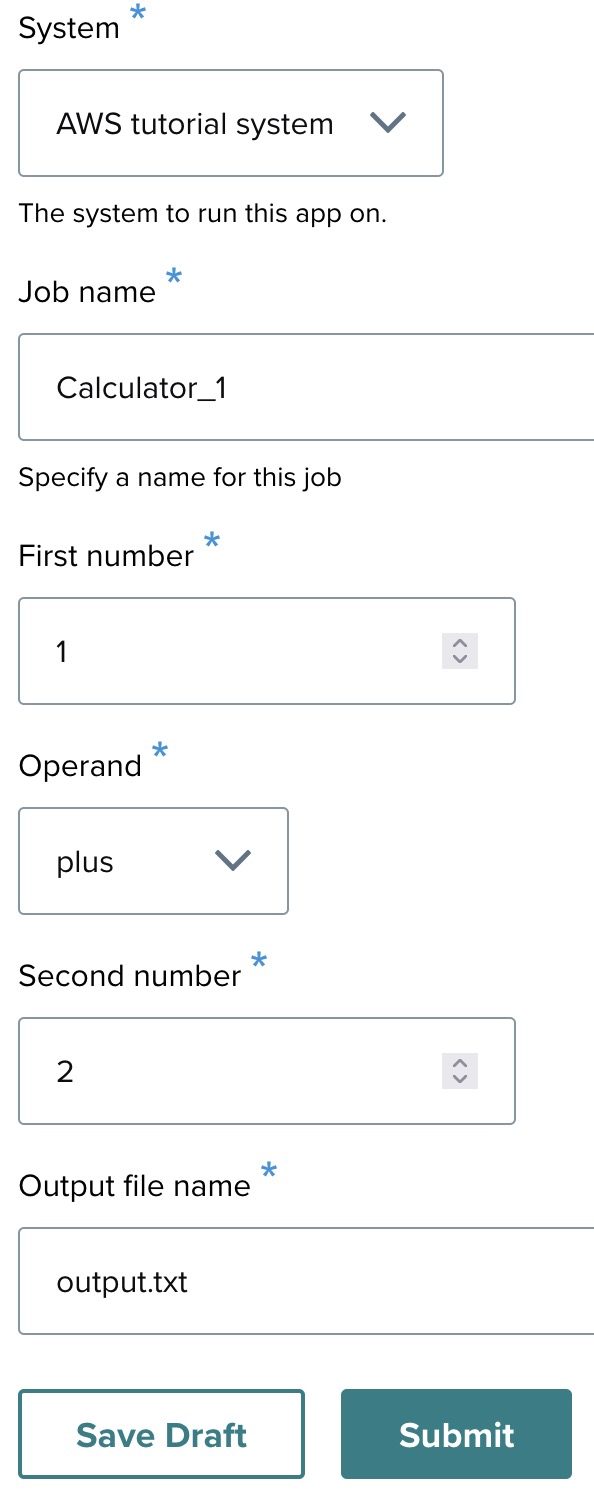
Step 12: The final app form
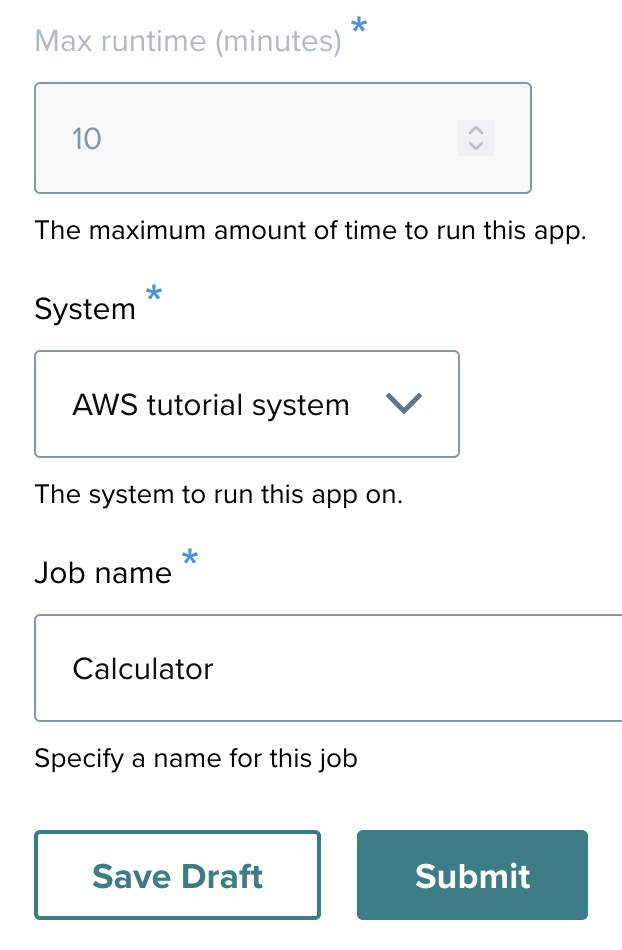
Click View in the top left corner. The completed launch form displays all four inputs. Fill in values and click Submit to launch a calculator job.
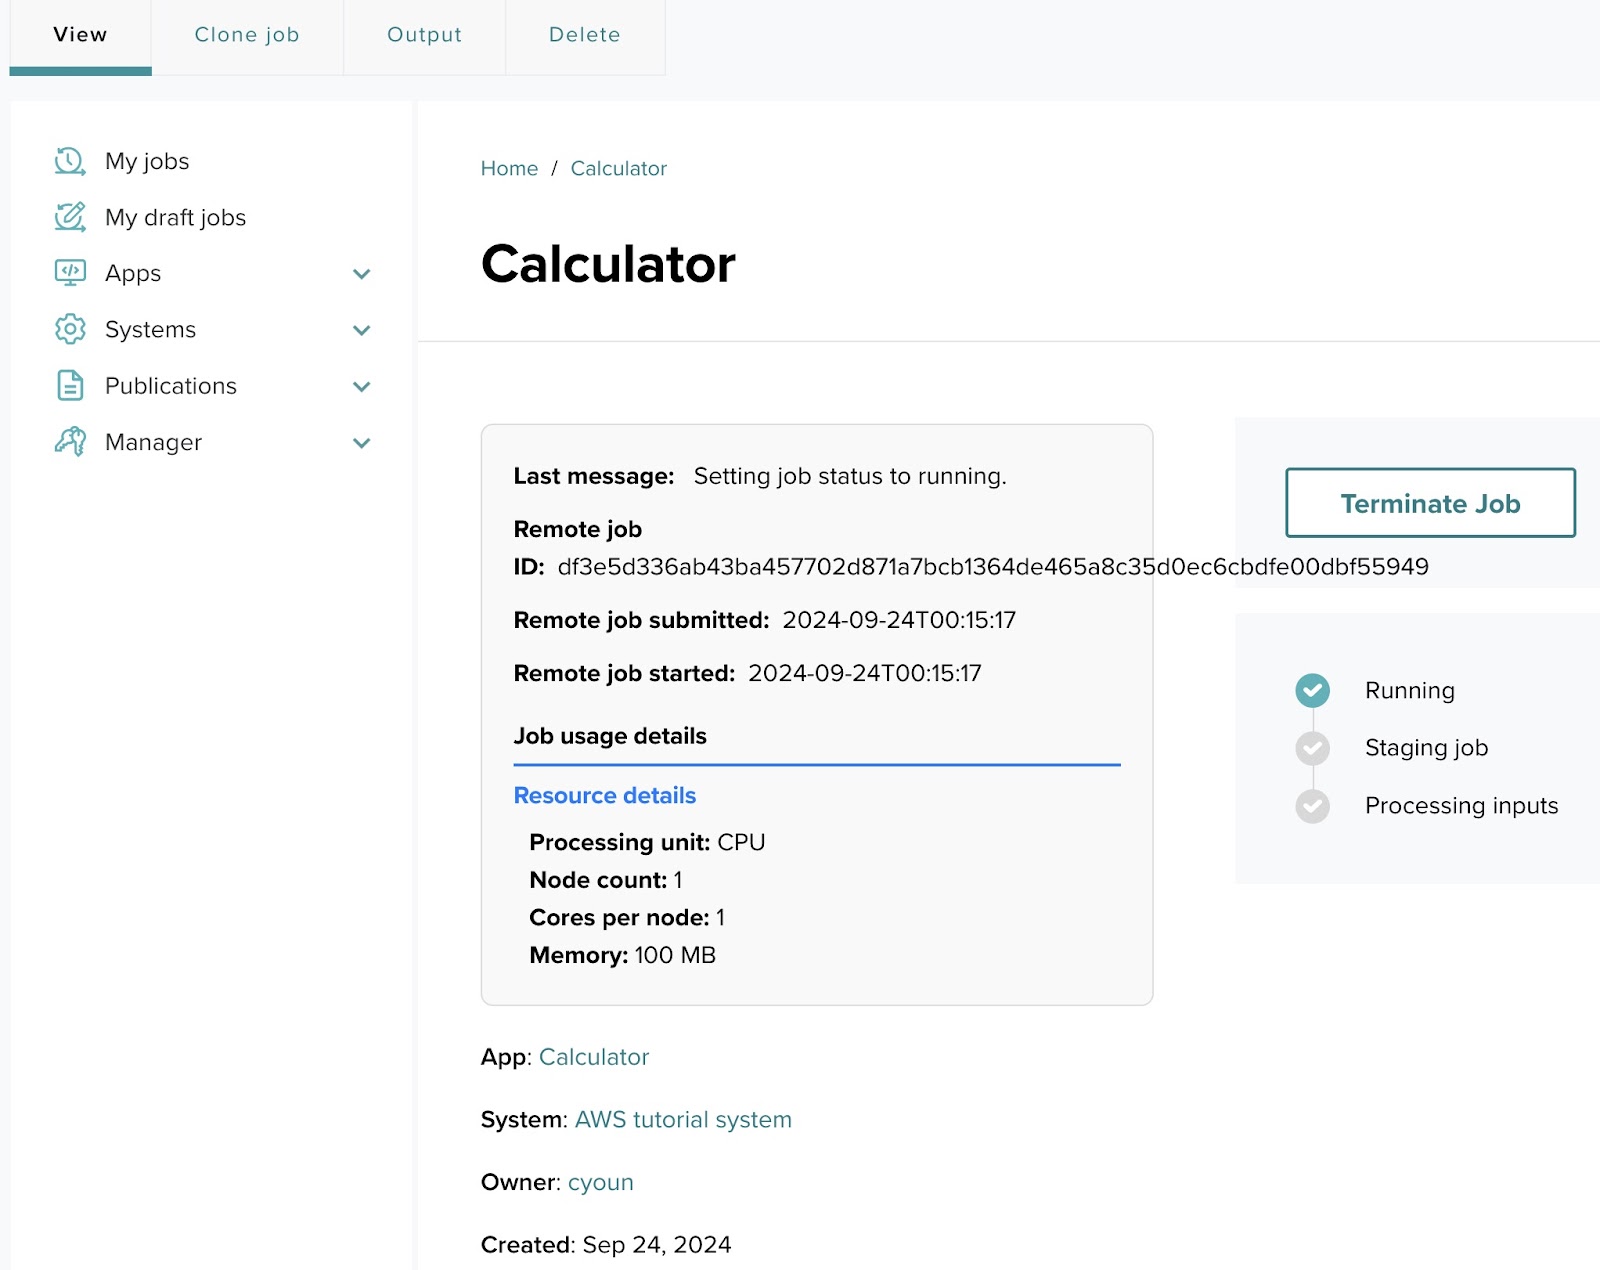
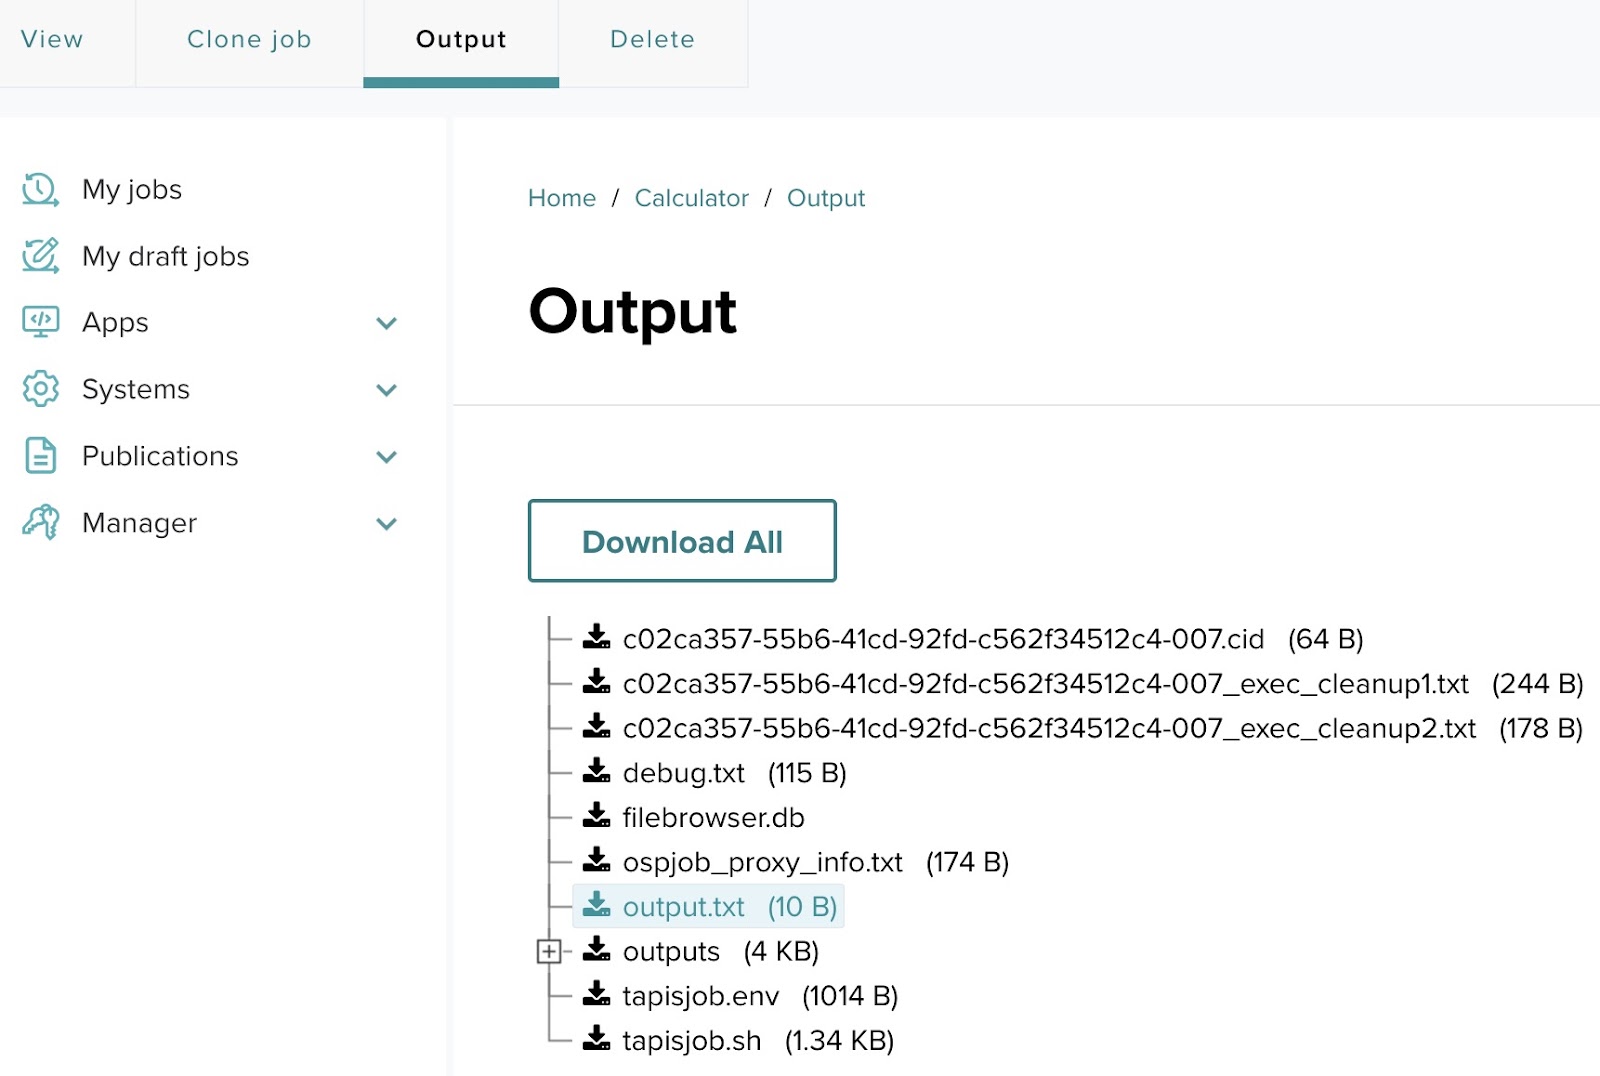
Step 13: Monitoring job status
After submitting, the status page shows the job's progress. Possible statuses include Staging, Processing inputs, Running, Finished, Failed. You can terminate a running or queued job from this page by clicking Terminate Job. Click Output to review results after completion.
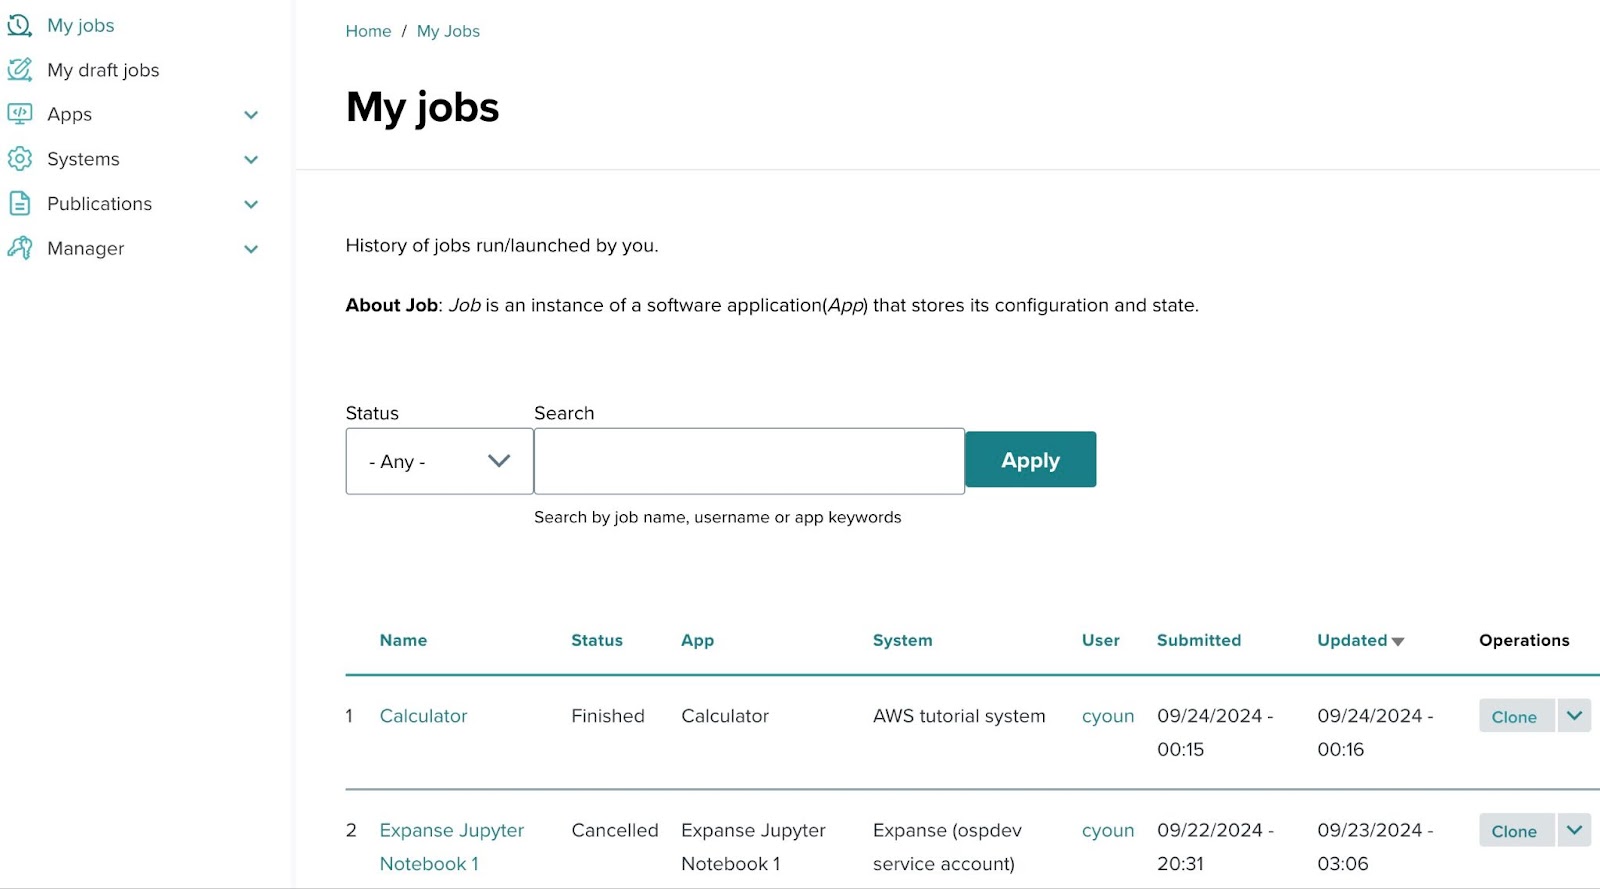
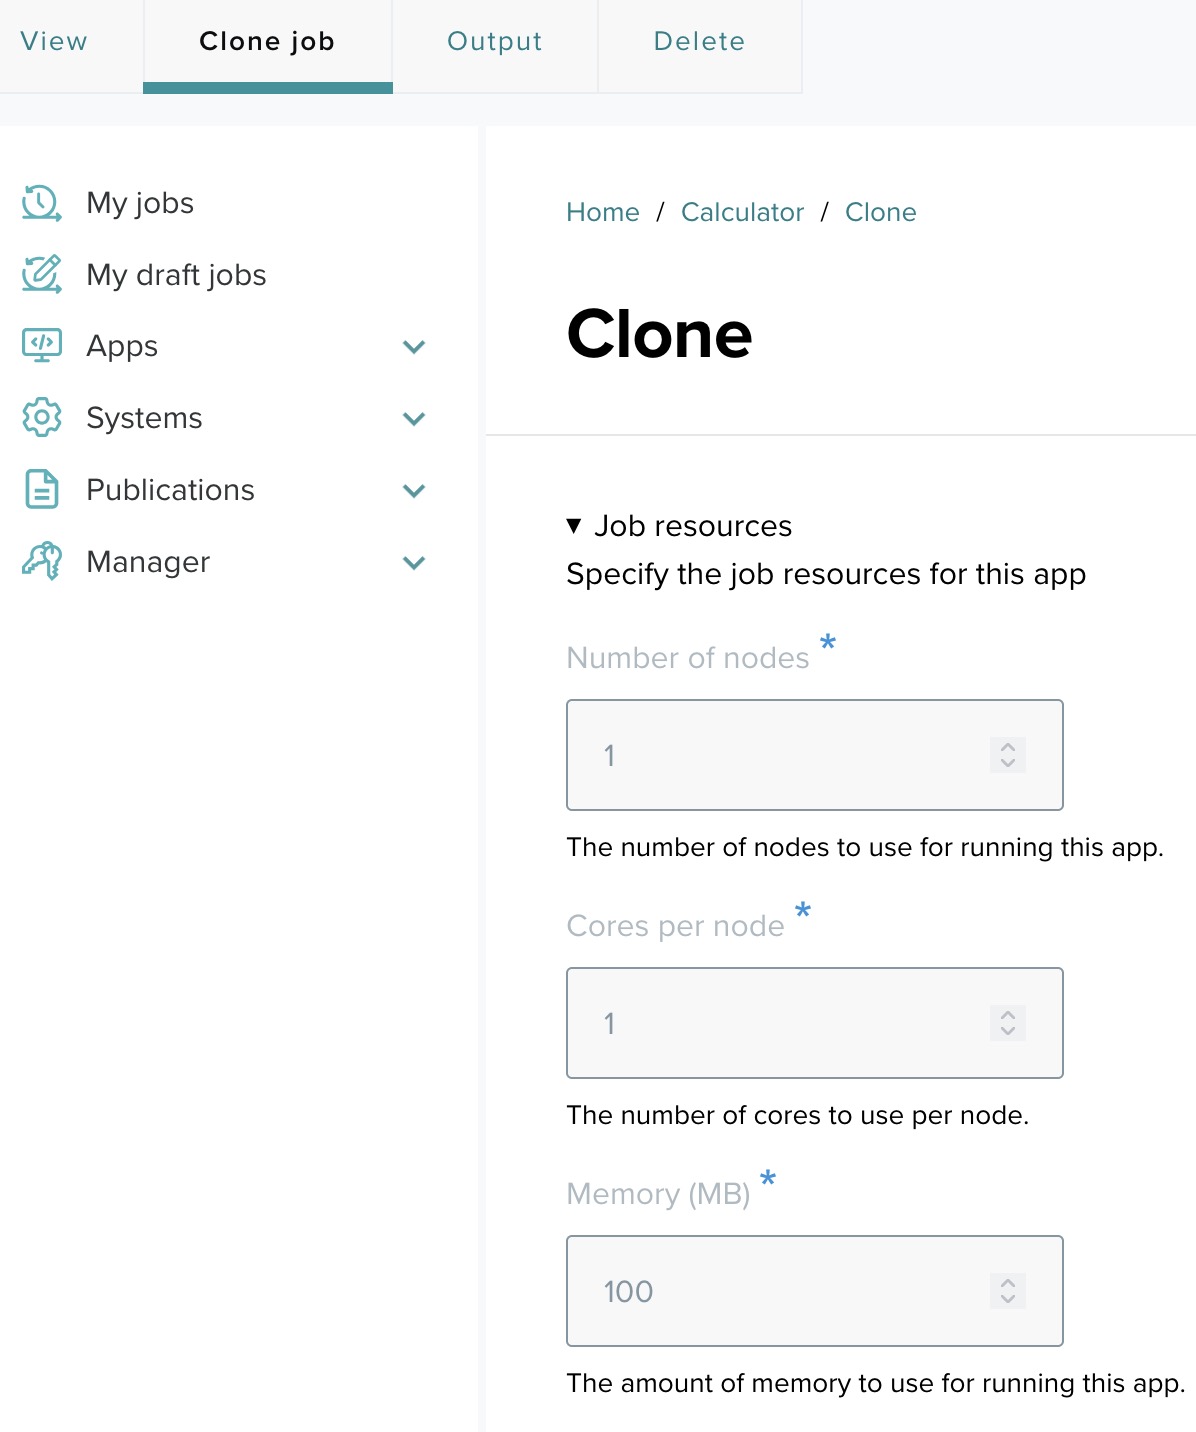
Step 14: Cloning and re-submitting jobs
From the My Jobs menu, you can view all submitted jobs. Click Clone next to any job to open the submission form pre-filled with that job's parameters. Modify any field and submit, or save as a draft.
Tutorial: Classifier app on HPC
This tutorial creates a batch image classification application that runs on the Expanse cluster (SDSC). It demonstrates app creation with a Singularity container on an HPC system using Slurm.
Application overview
The image classify application performs image classification using TensorFlow on the Expanse cluster. Once you submit a job, image classify handles everything automatically — input files are staged, the classification runs, and results appear in the output directory.
To classify an image, pass the image file through the command line using the --image_file argument. Test command using the Singularity image:
singularity run /home/ospdev/apps/img-classify.sif \
  --image_file=https://example.com/path/to/image.jpg
Step 1: Accessing the application creation page
- Log in to the OSP deployment.
- Navigate to Apps and click Add app.

Step 2: Set the status
Select Enabled.

Step 3: Provide app details
- App nickname — a short display name.
- App ID — example:
[youruserid].apps.image_classification.expanse.1. - App version — example:
0.1.0. - Summary and Long description.

Step 4: Select app type
Select Batch.
Step 5: Miscellaneous settings
Configure restartable, show generated command, and update webform options as needed.
Step 6: Select container runtime
Select Singularity, then Singularity run.

Step 7: Batch scheduler
Check Use batch scheduler. Search for "expanse" in the scheduler profile search box and add the existing Expanse profile.

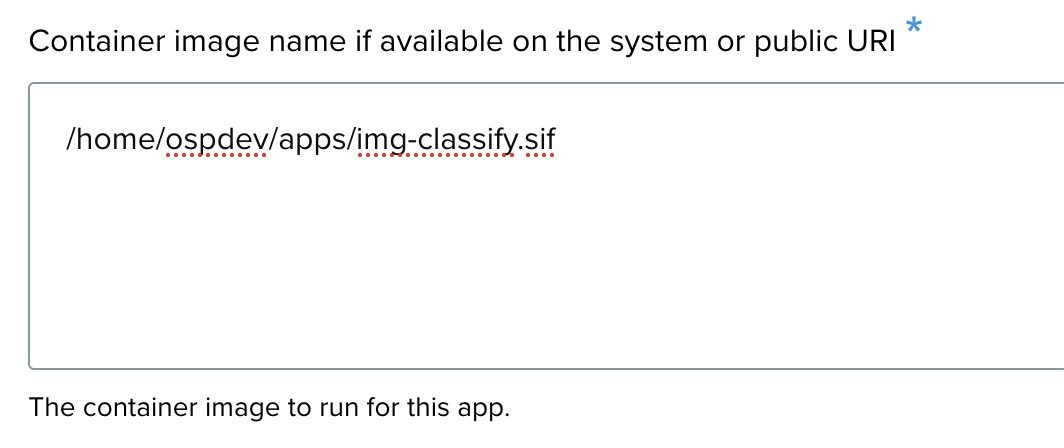
Step 8: Container image setup
Select Public image and enter the image URI: /home/ospdev/apps/img-classify.sif.
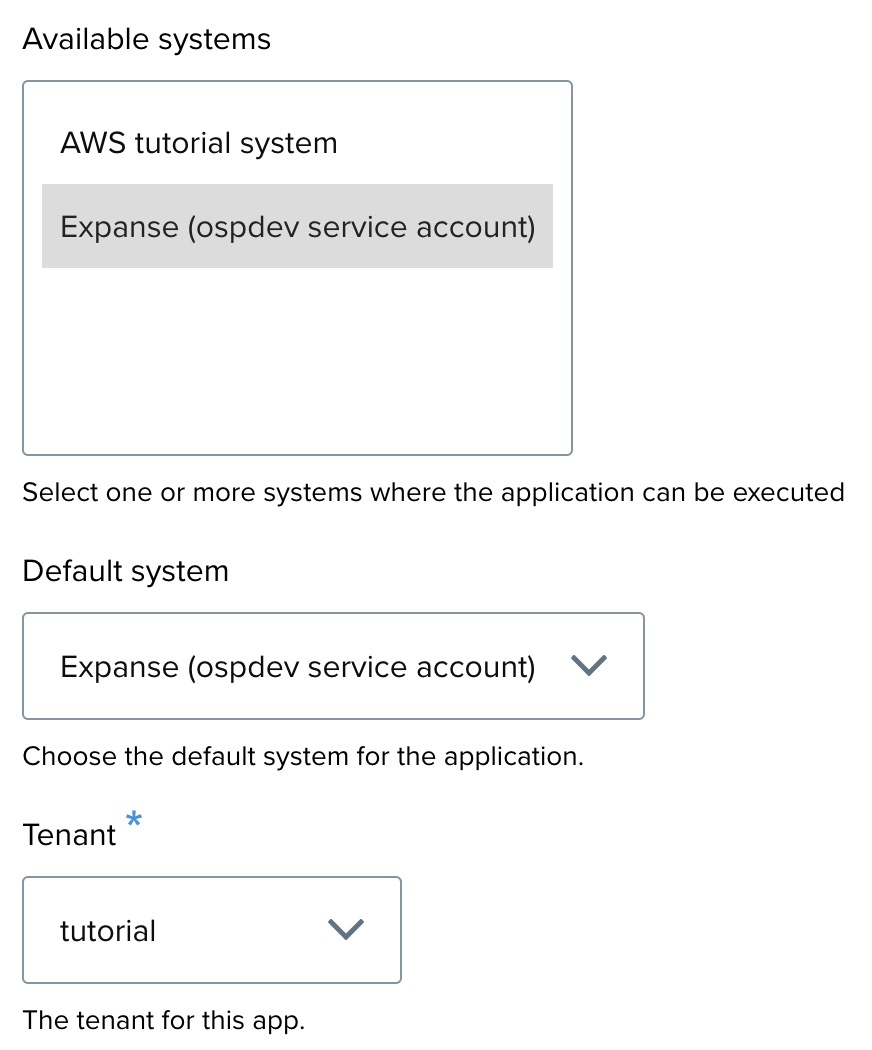
Step 9: System selection
Select Expanse (ospdev service account) for Available systems and Default system. Select Tenant tutorial.
Step 10: Input type configuration
Select Form.
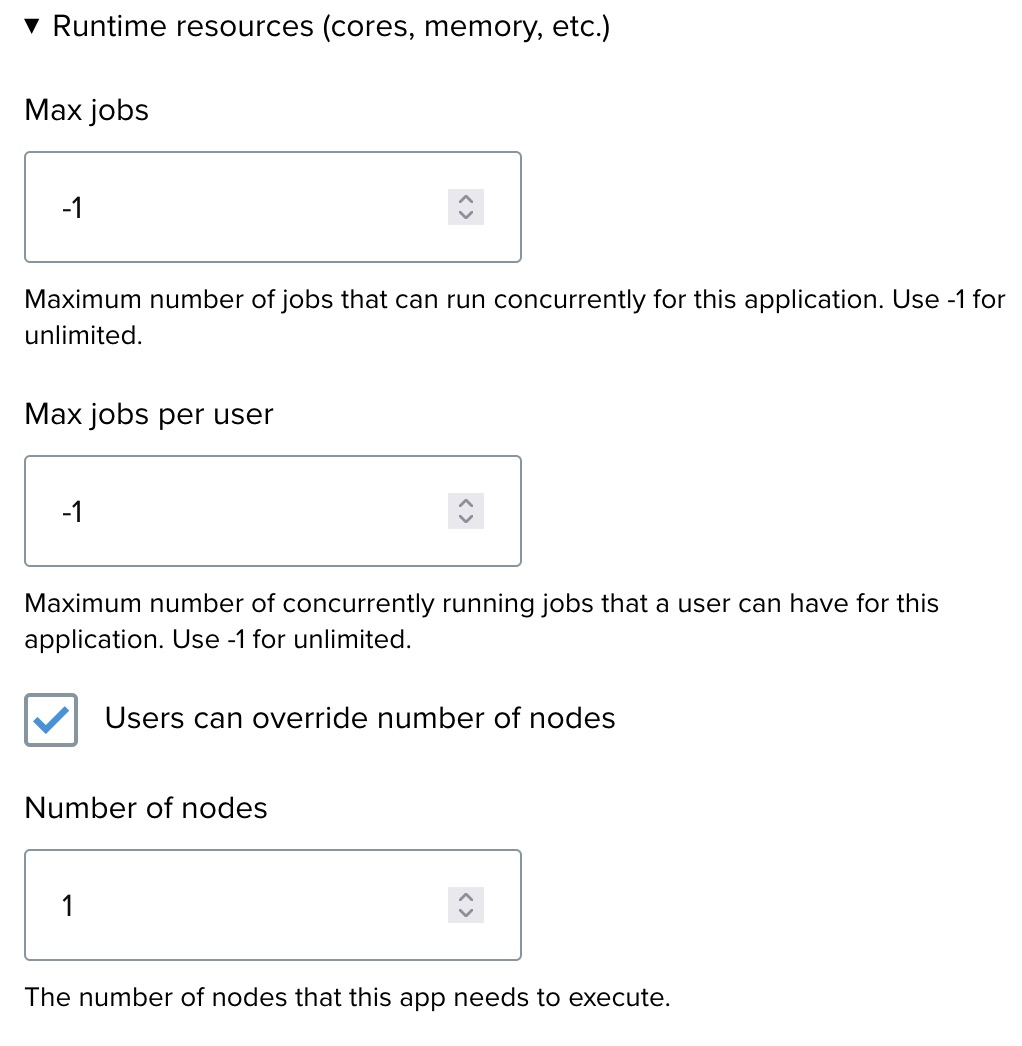
Step 11: Configure resource limits
Set Memory to 1000 MB required for this app. Other resource limits can be adjusted or left at defaults.

Step 12: Finalize and save
- Review all details.
- Click Save to register the application.
Step 13: Creating input elements
Click Configure app form from the confirmation message to add the input field for the image URL.
Step 13-1: Application created
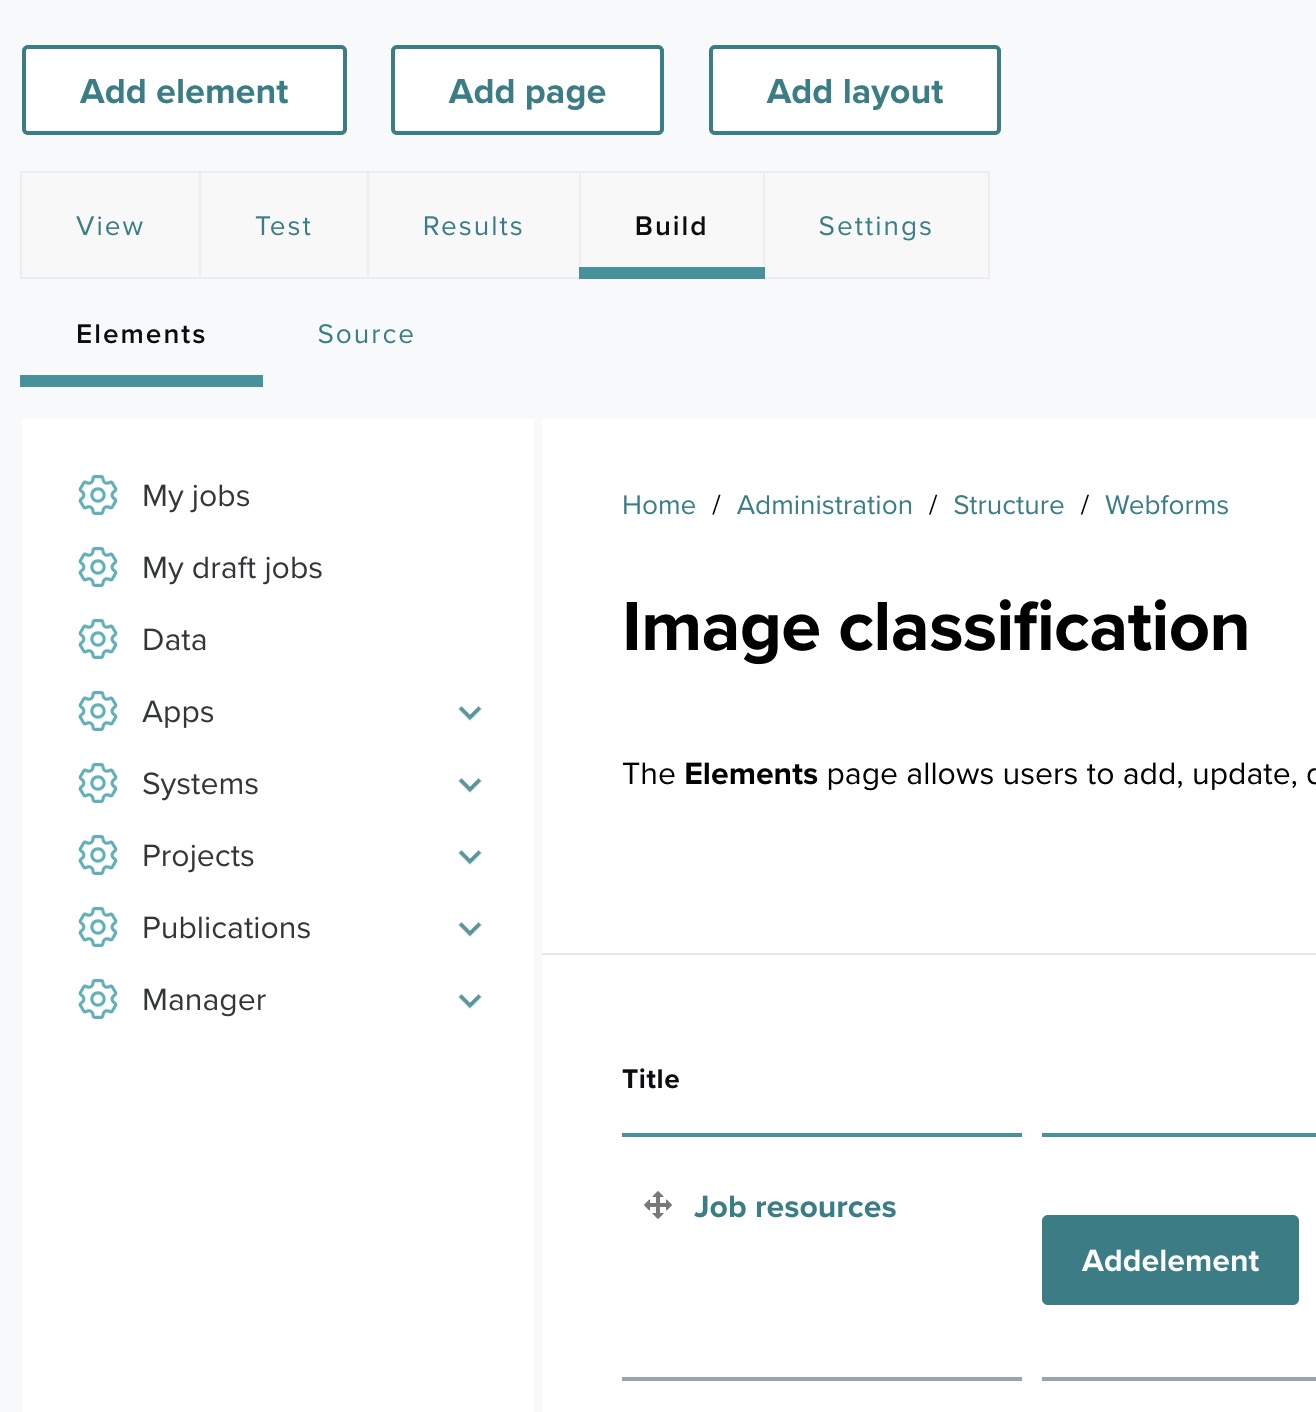
Step 13-2: Begin configuring the app form
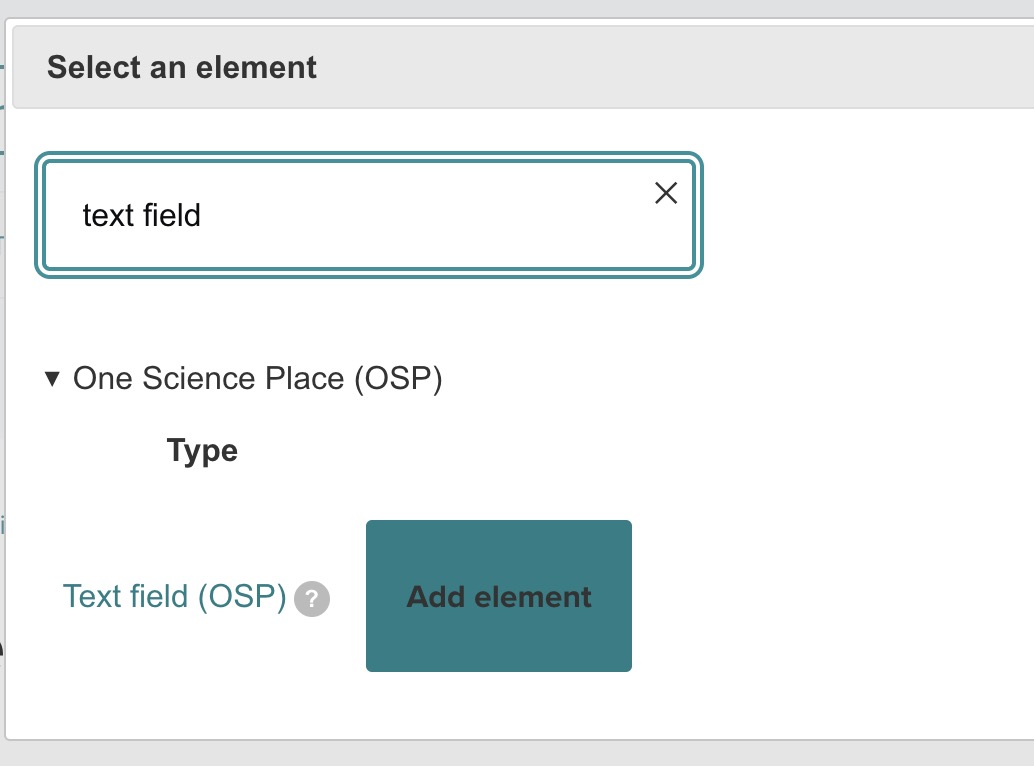
Step 13-3: Search for elements
Click Build, then Add element, search for "text field", and choose Text Field (OSP).
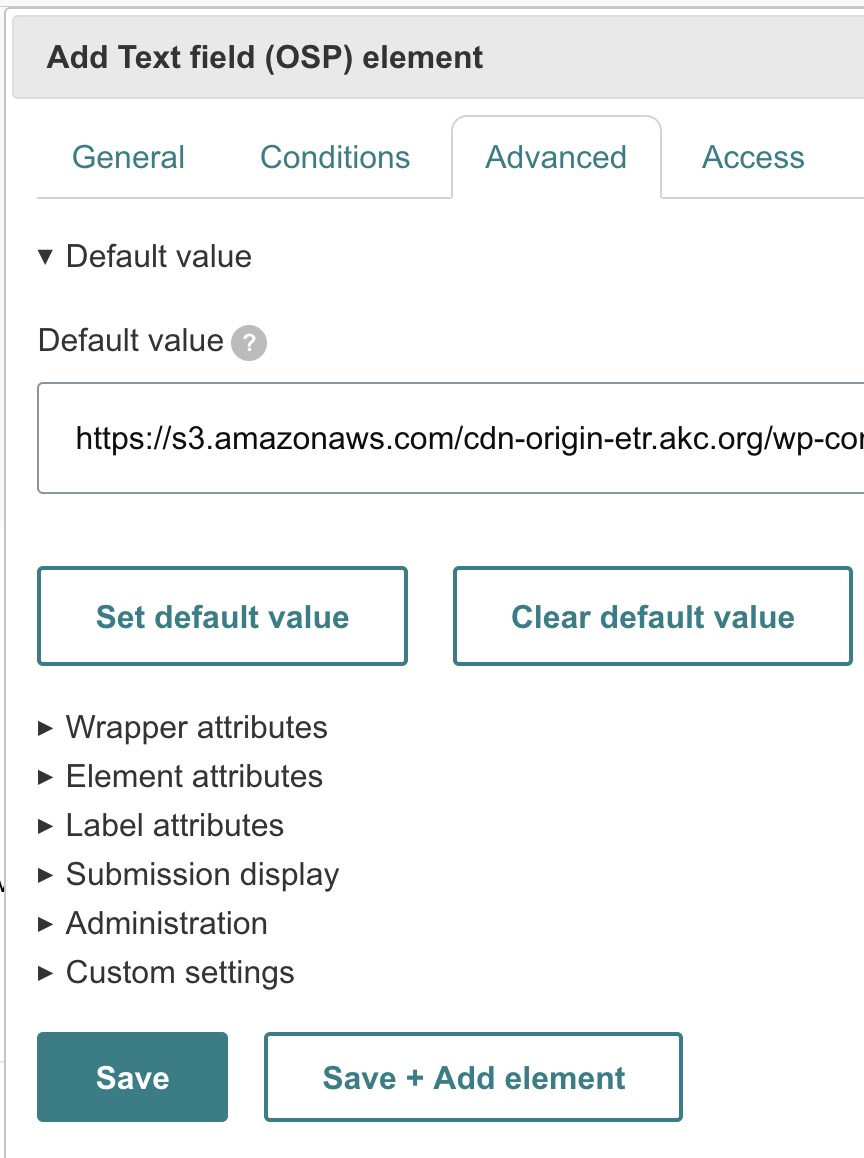
Step 13-4: Add and configure the Text Field
Configure the text field:
- Title — image url.
- Key — auto-generated as
image_url. - Command arguments — set type to Command line argument, prefix to
--image_file=, trailing space unchecked.
Click Save.

Step 13-5: Review added element
The image url element appears in the element list.
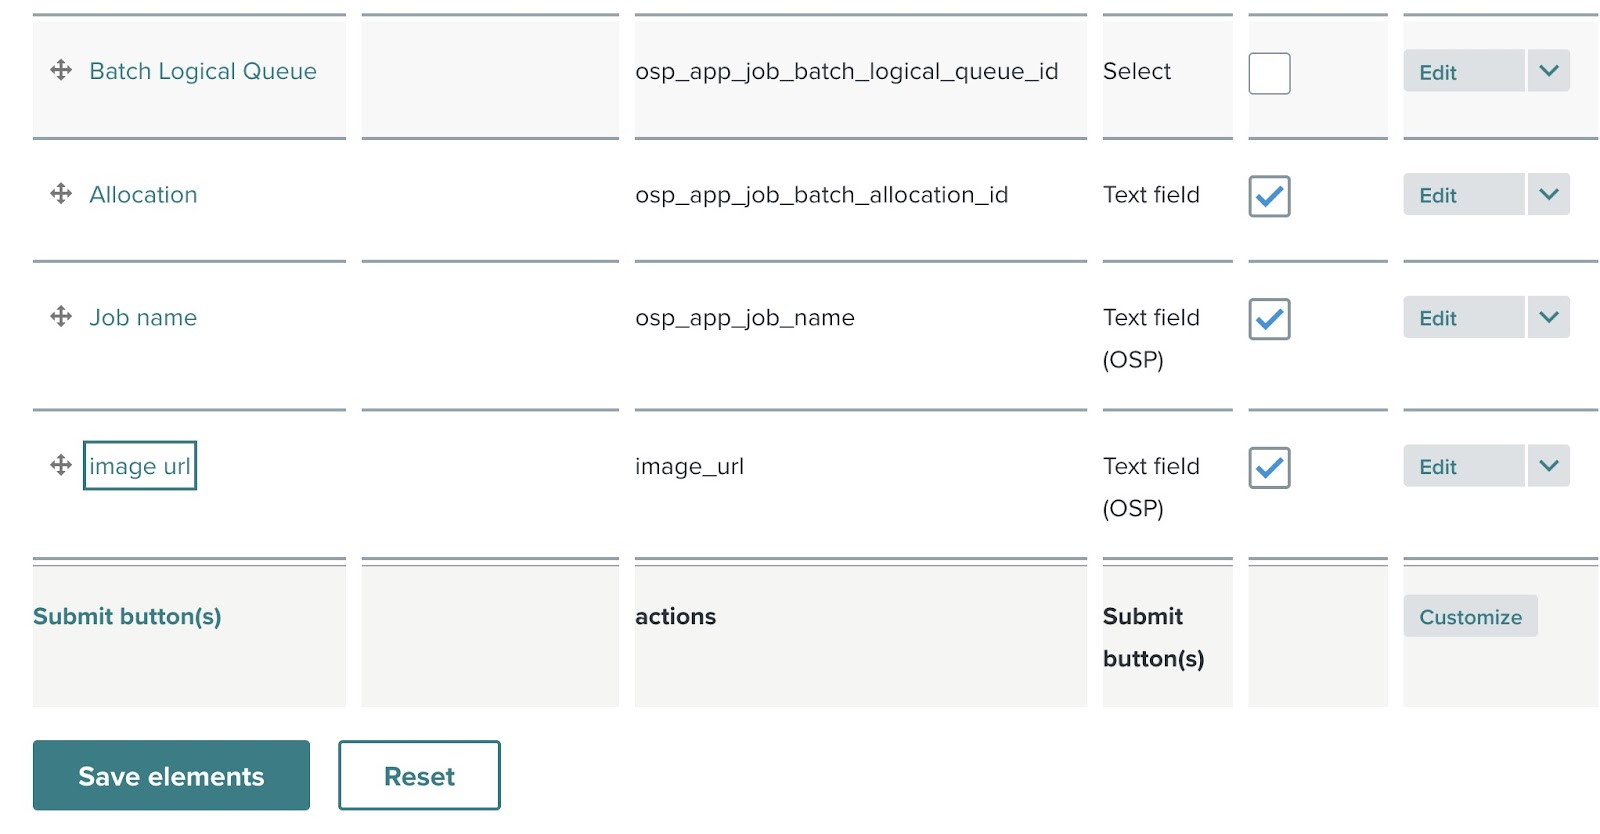
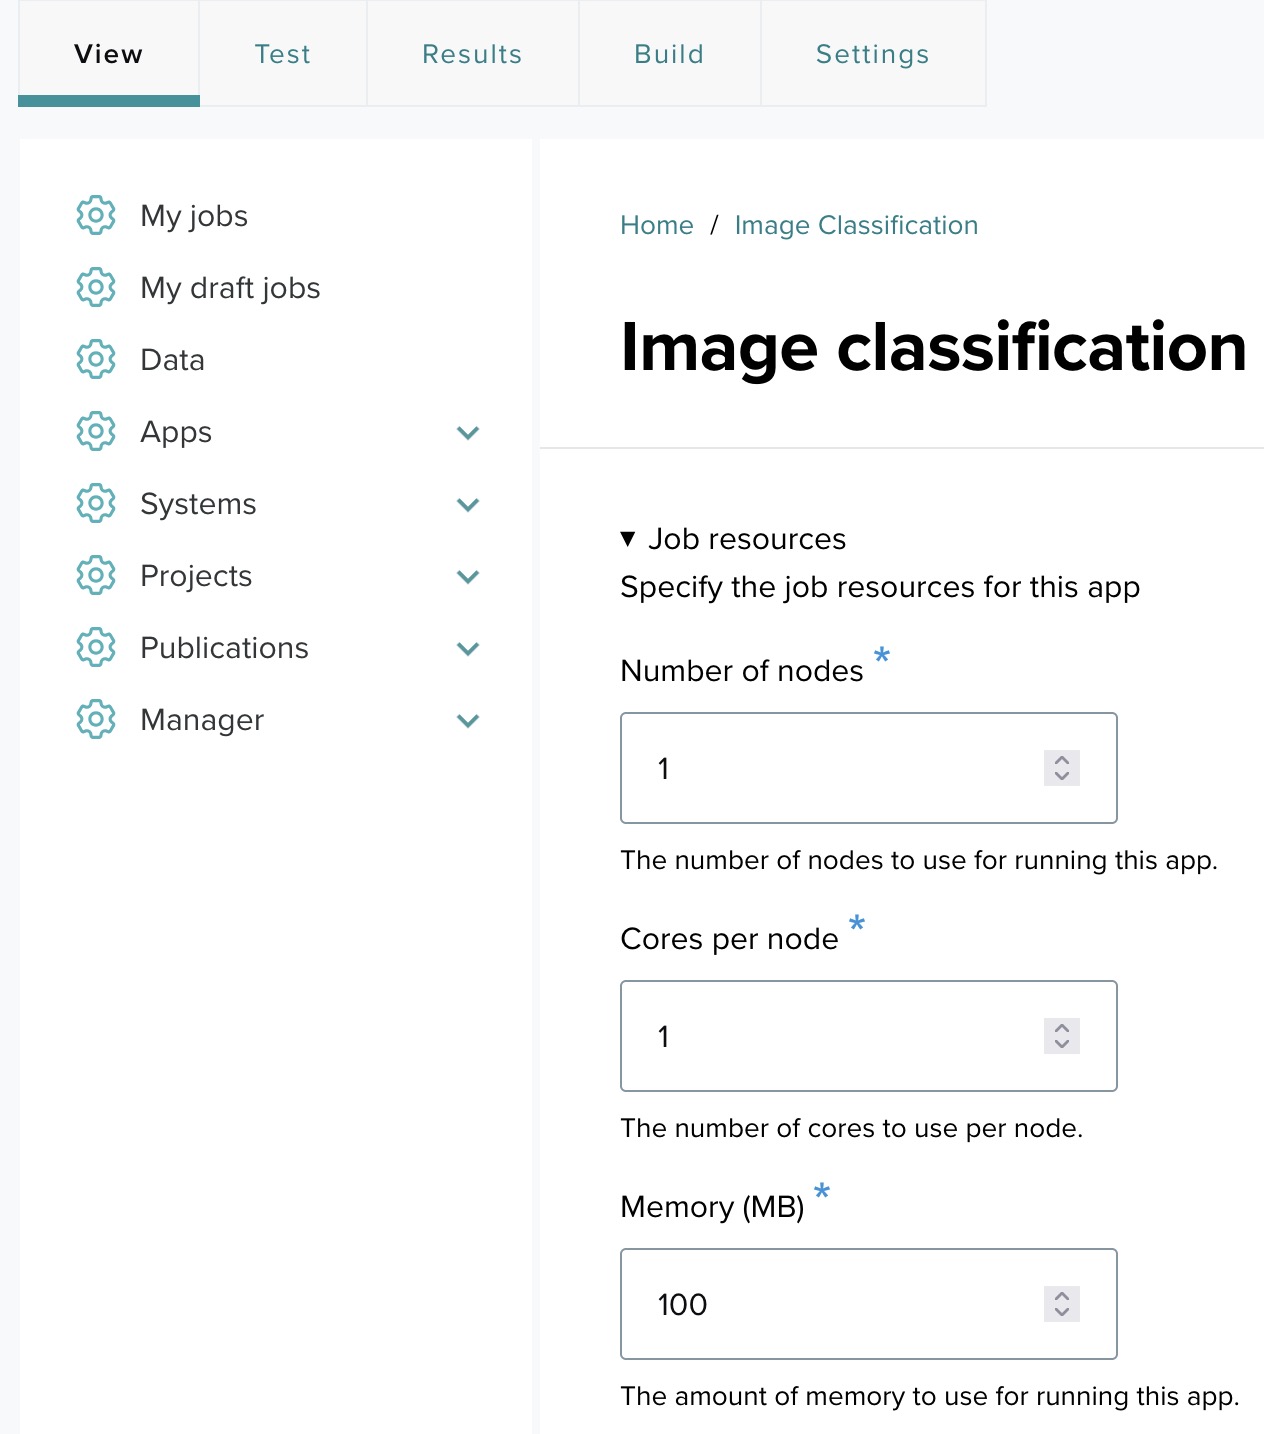
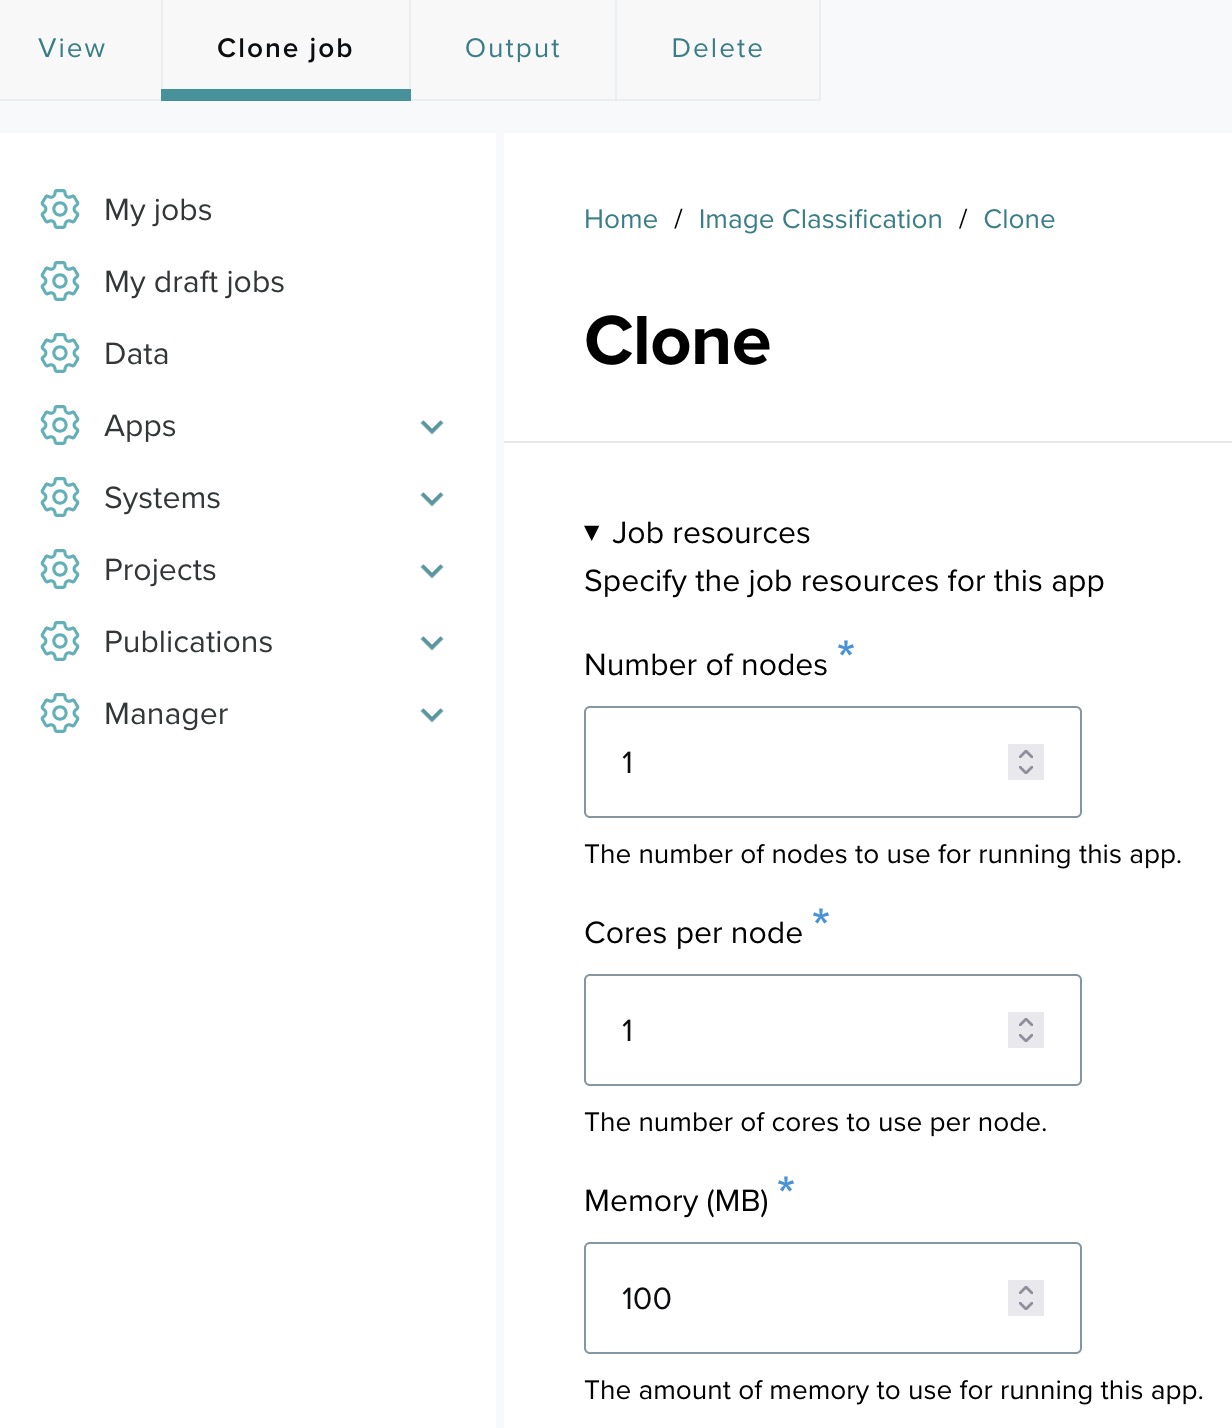
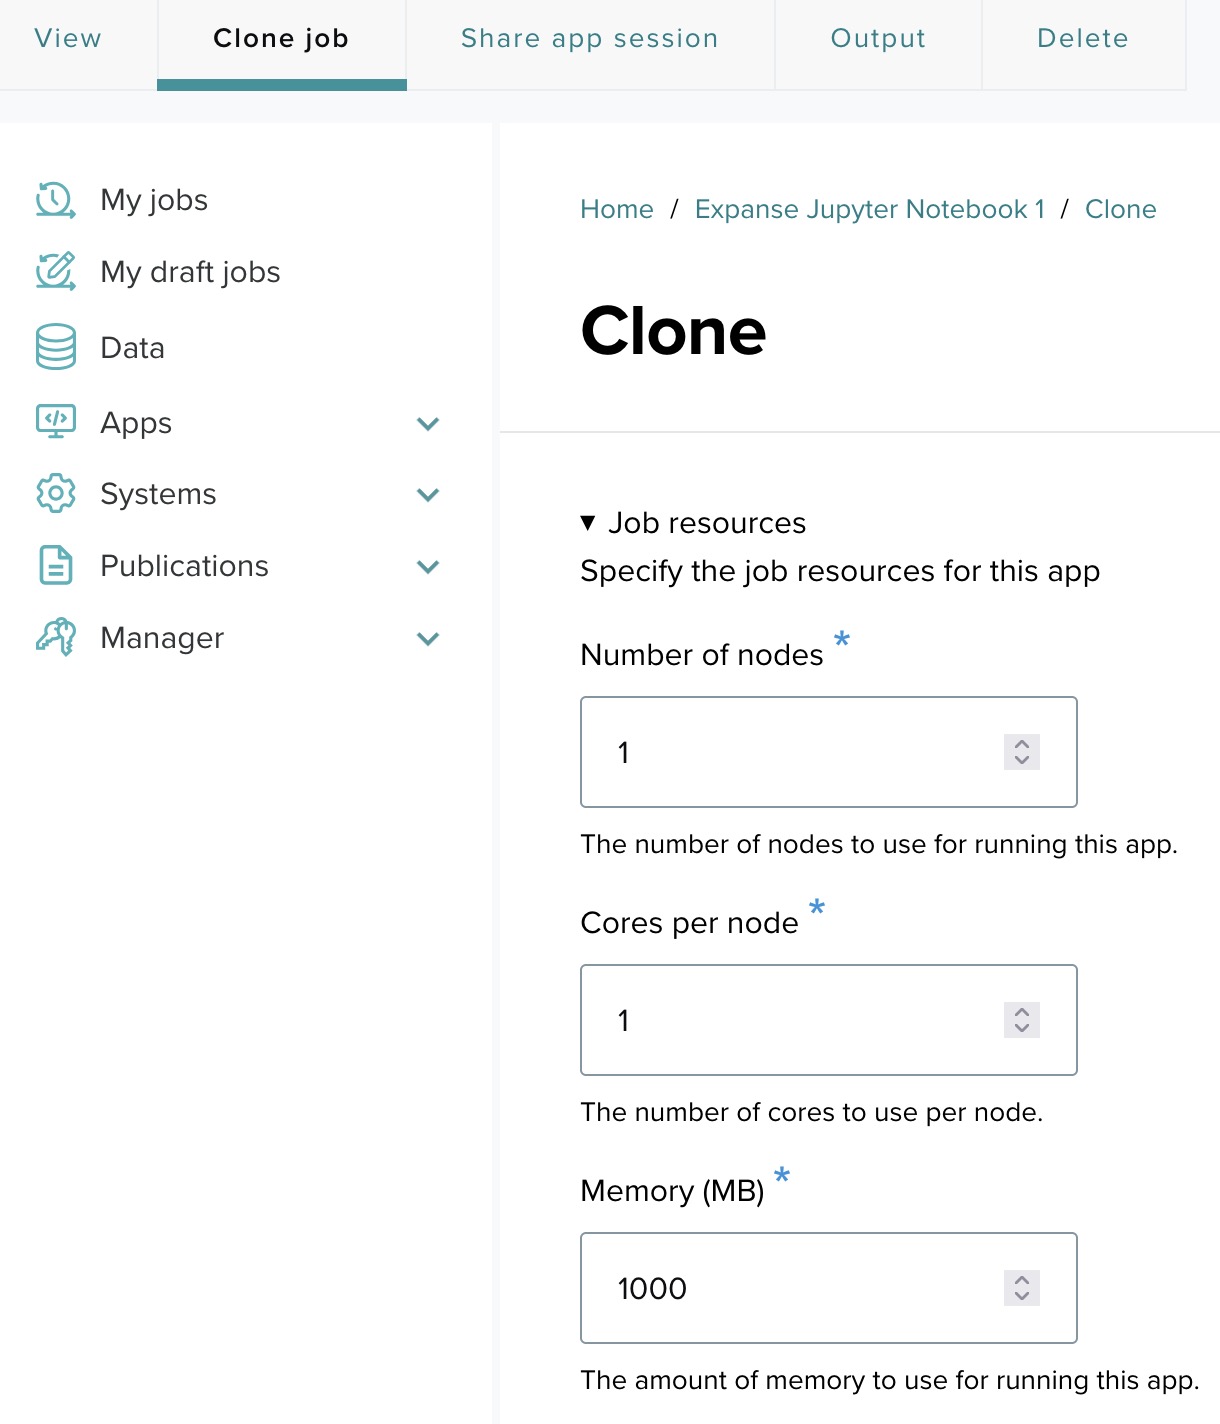
Step 13-6: The final app form
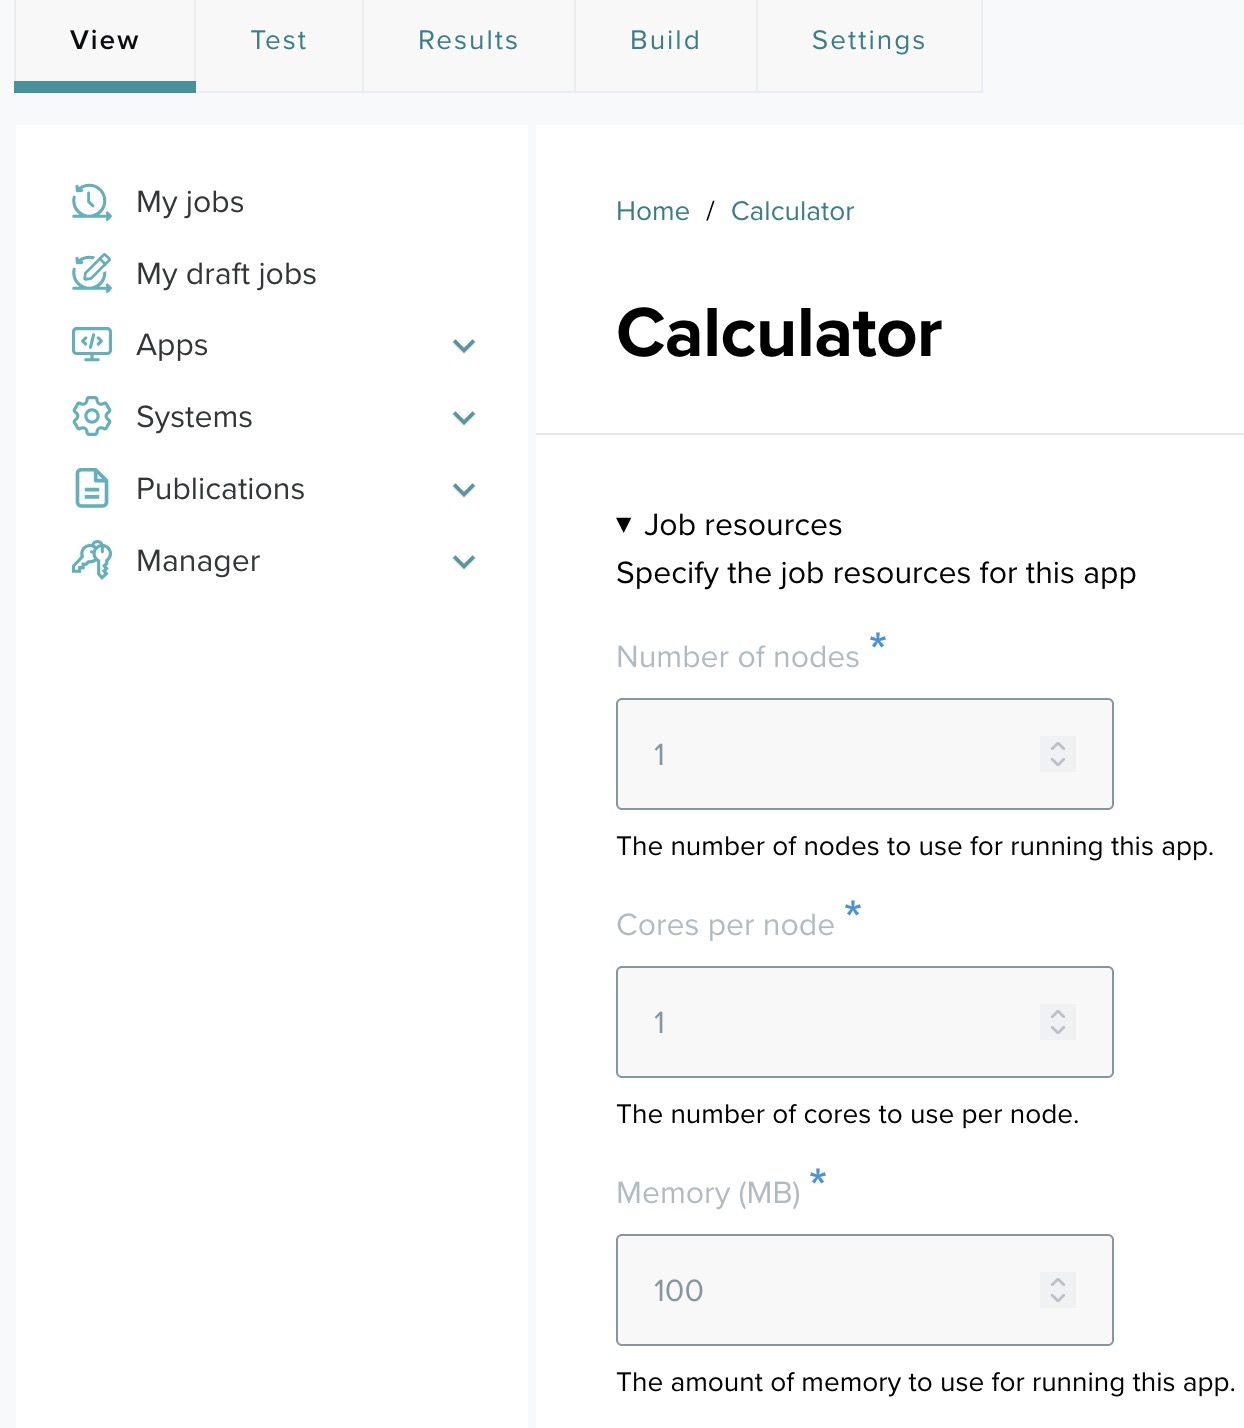
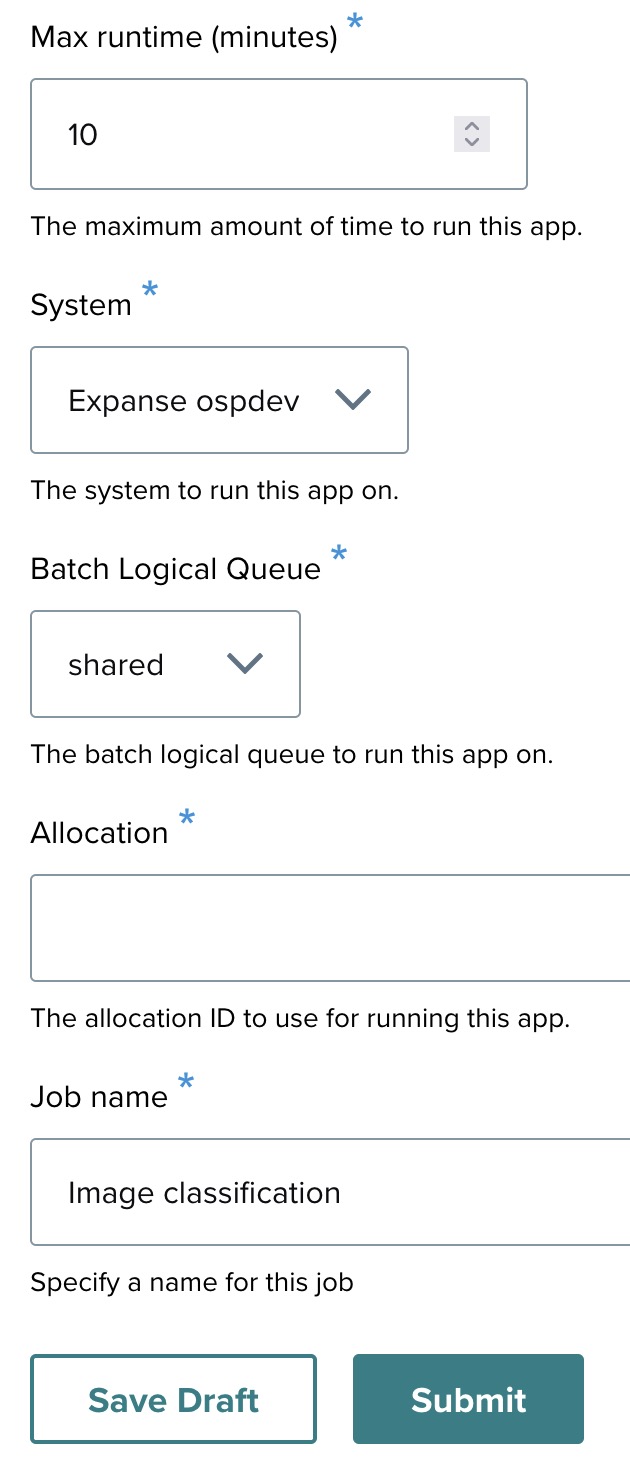
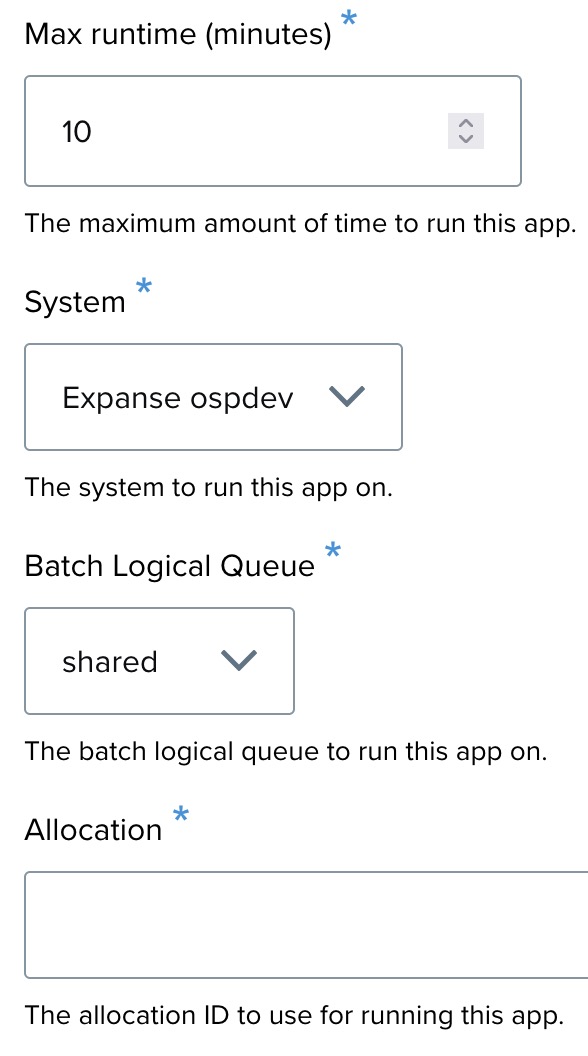
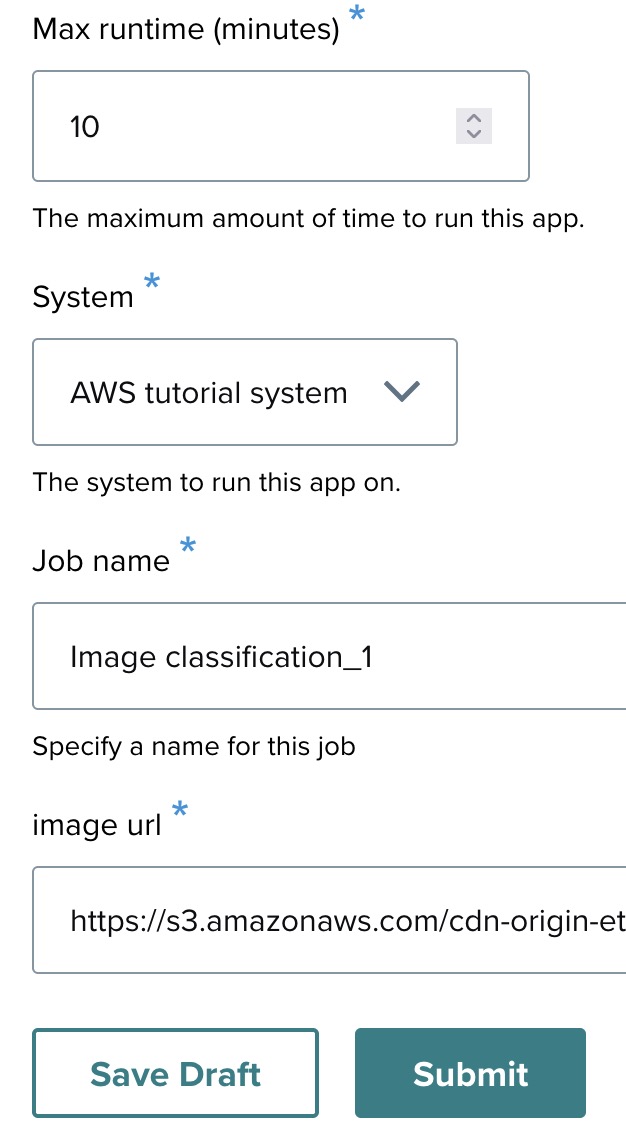
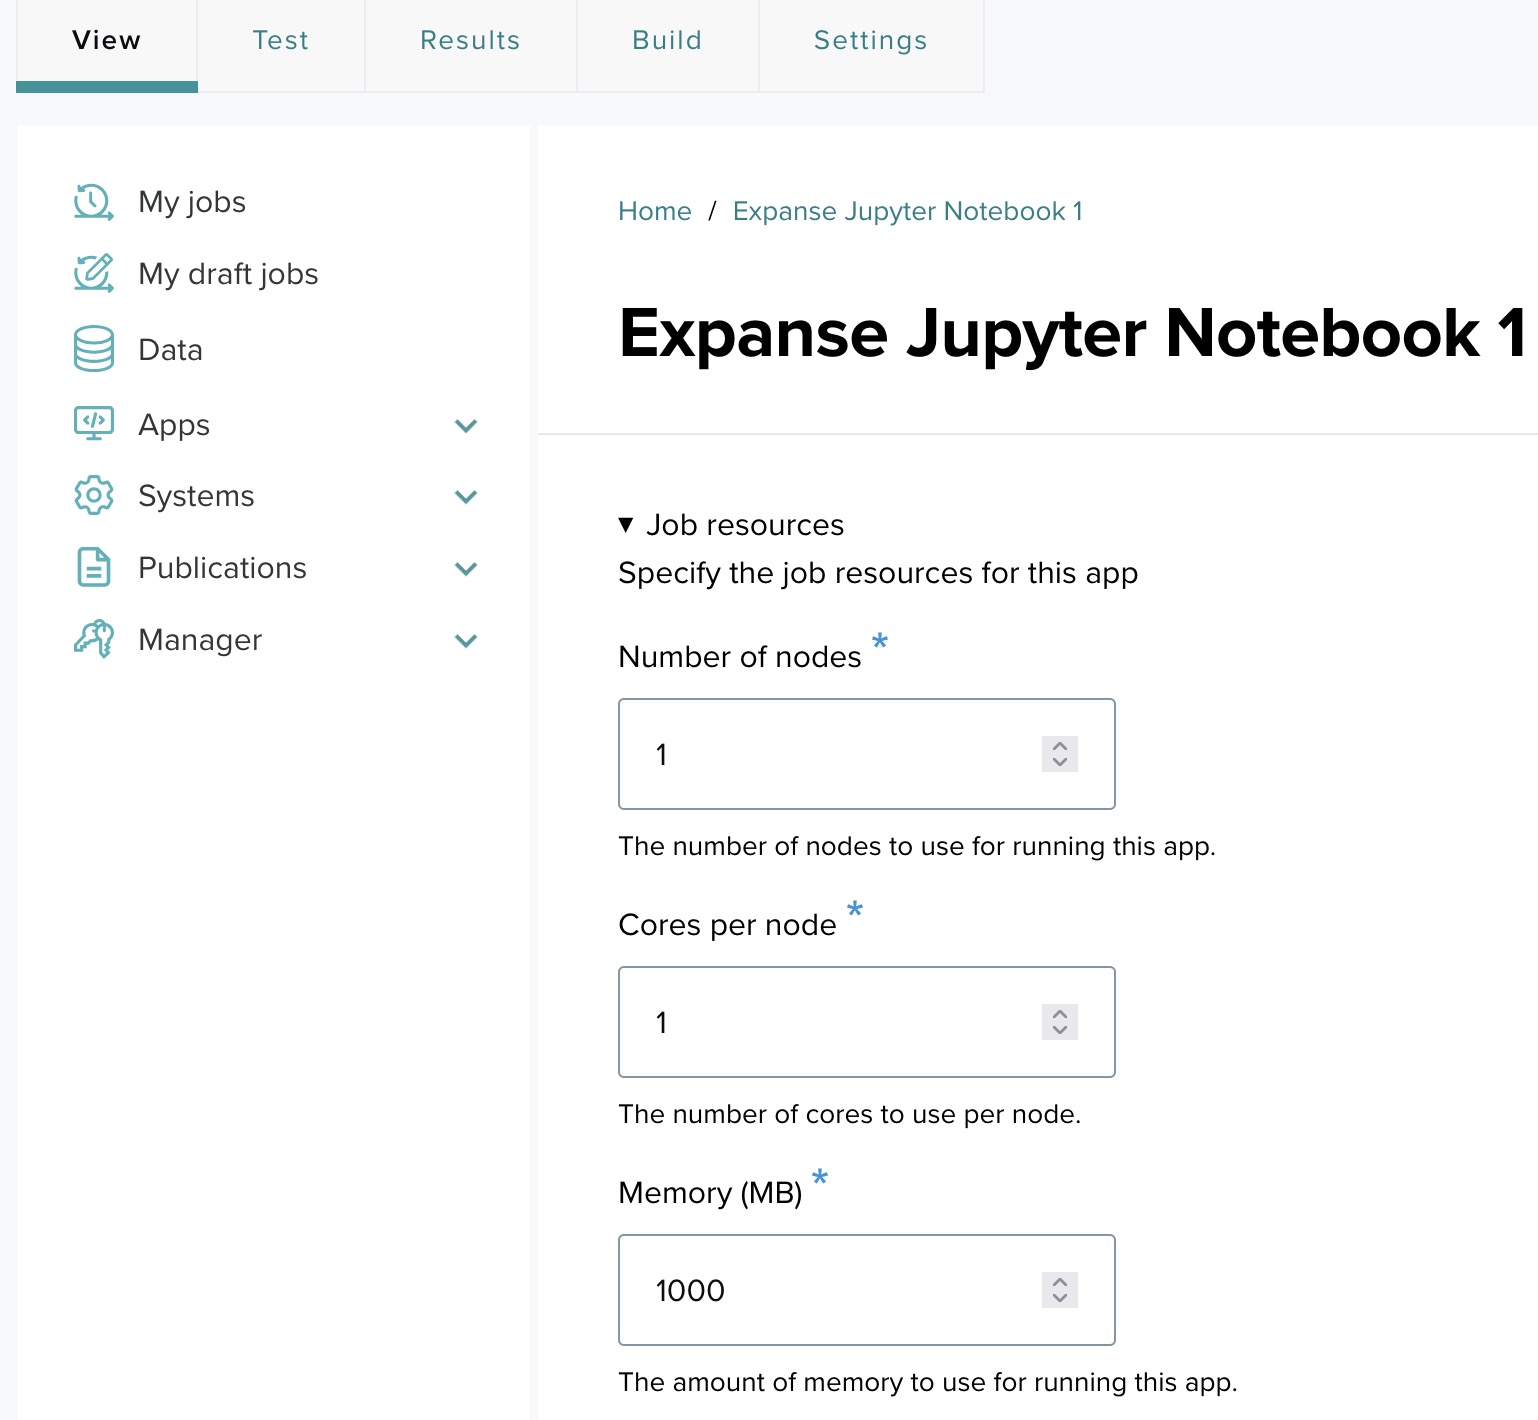
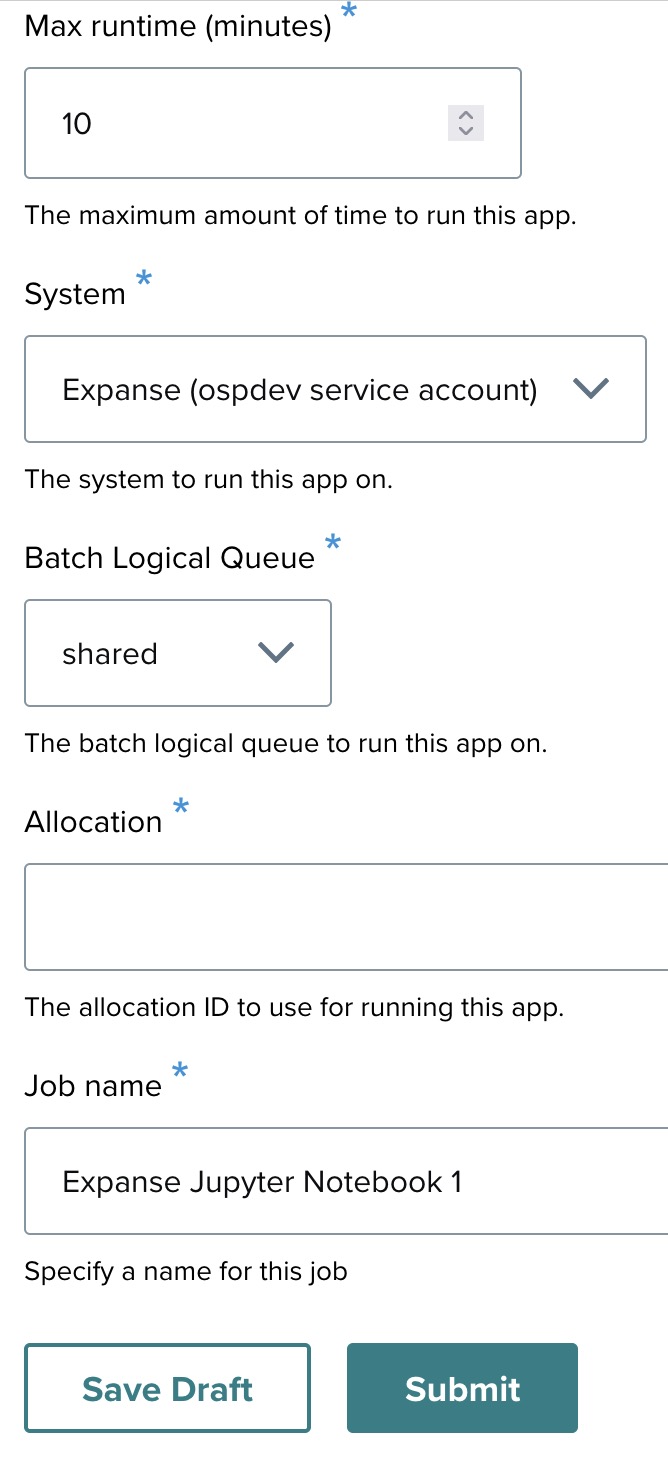
Click View. The completed form displays:
- Number of nodes, Cores per node, Memory (MB), Max runtime (10 minutes).
- System — Expanse (ospdev service account).
- Allocation — provided by the tutorial organizer.
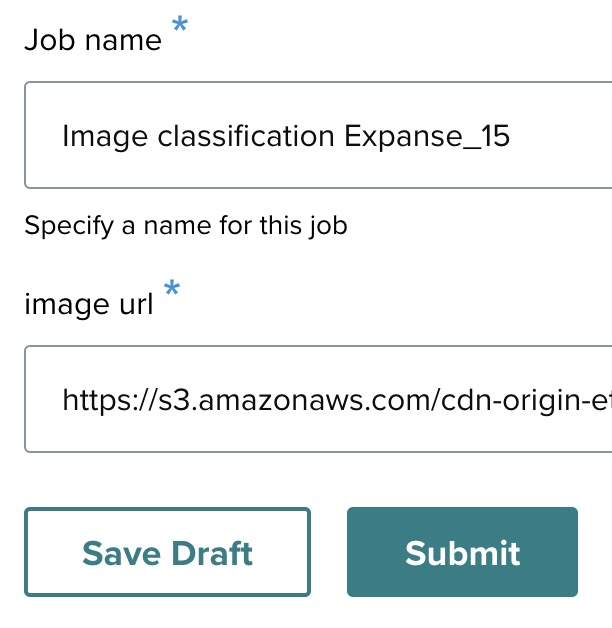
- Job name — Image classification.
- Image URL — any JPEG image URL.
Click Submit to launch the job.

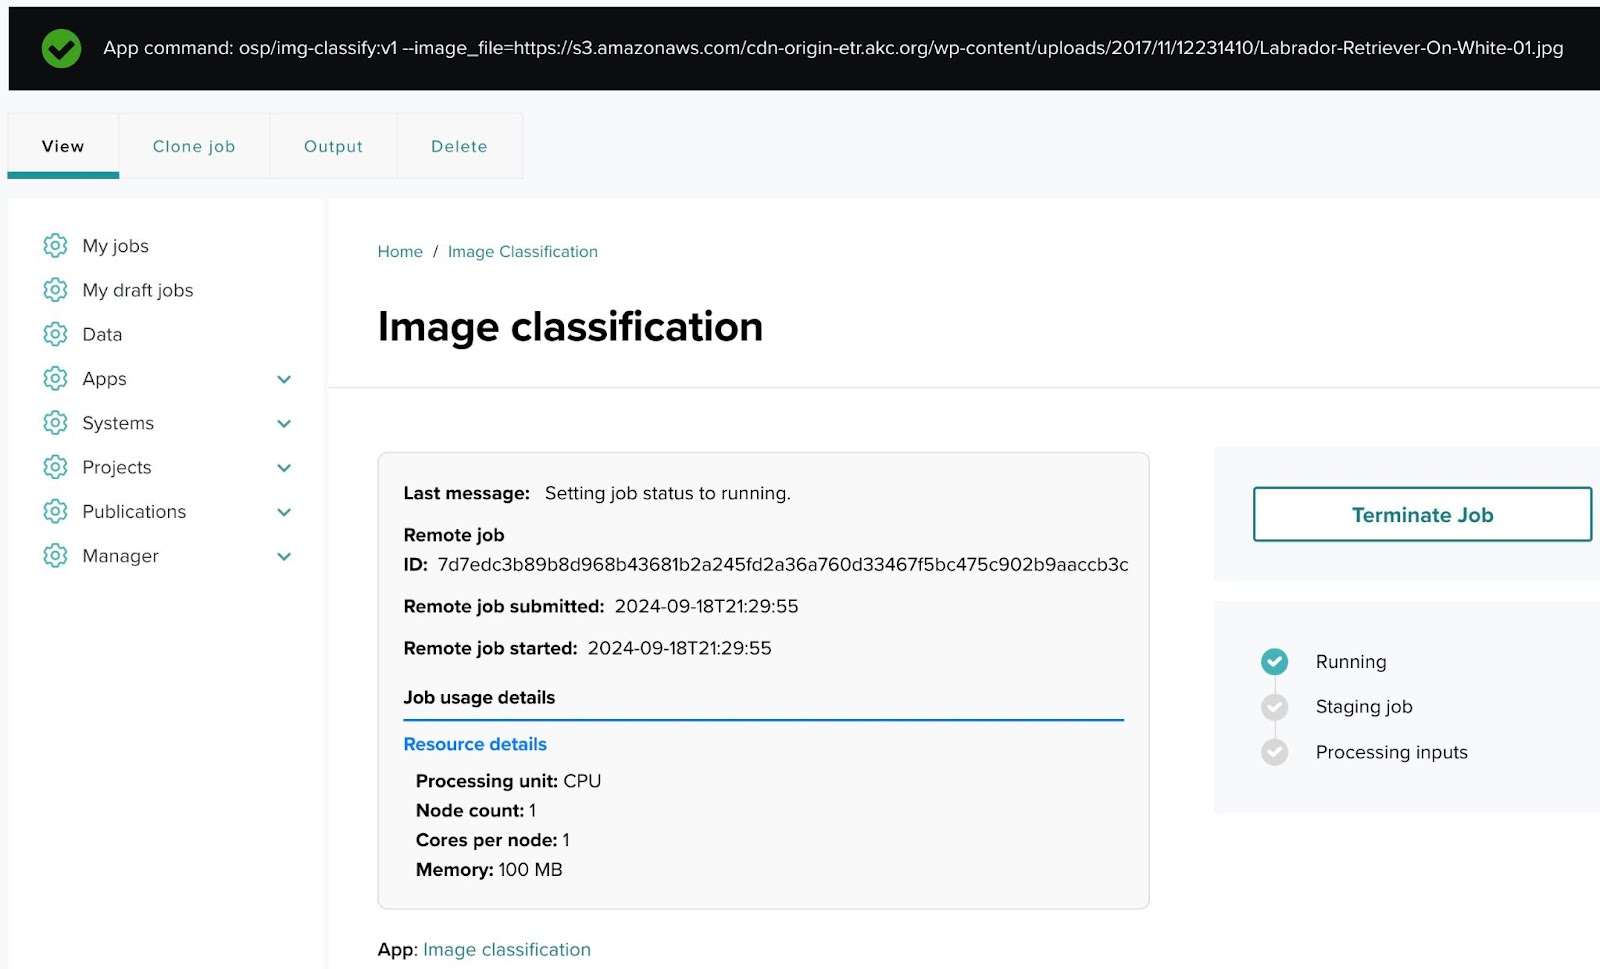
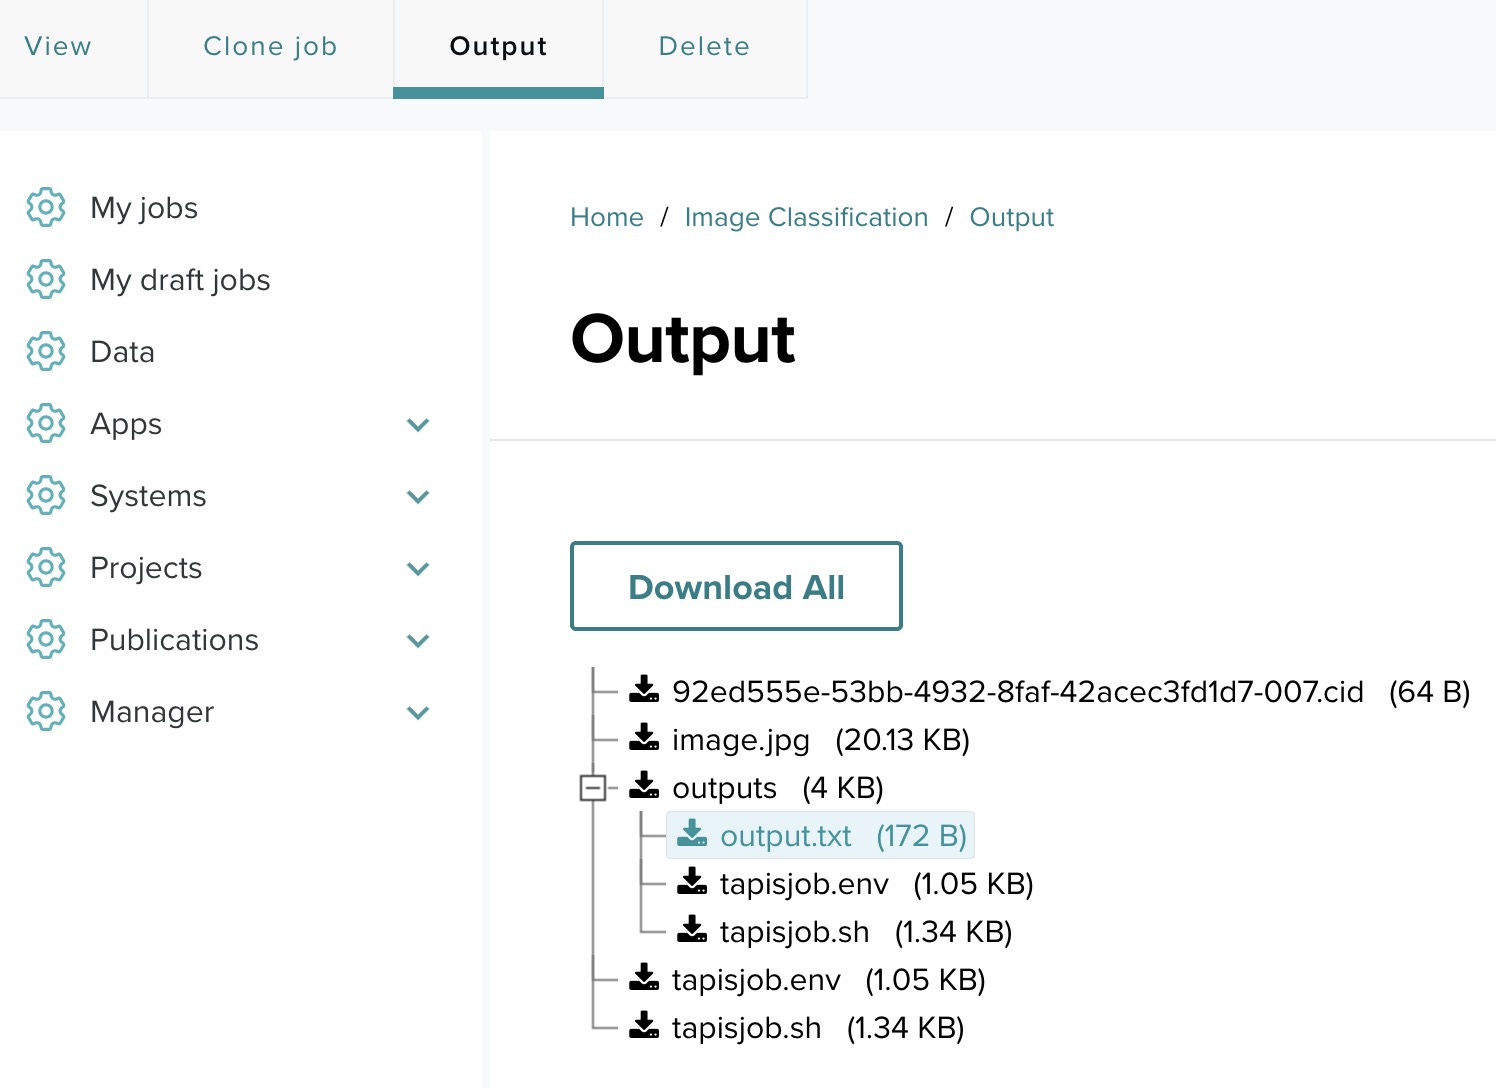
Step 14: Monitoring job status
The status page shows job progress. Click Terminate Job to stop a running job. Click Output to review results.
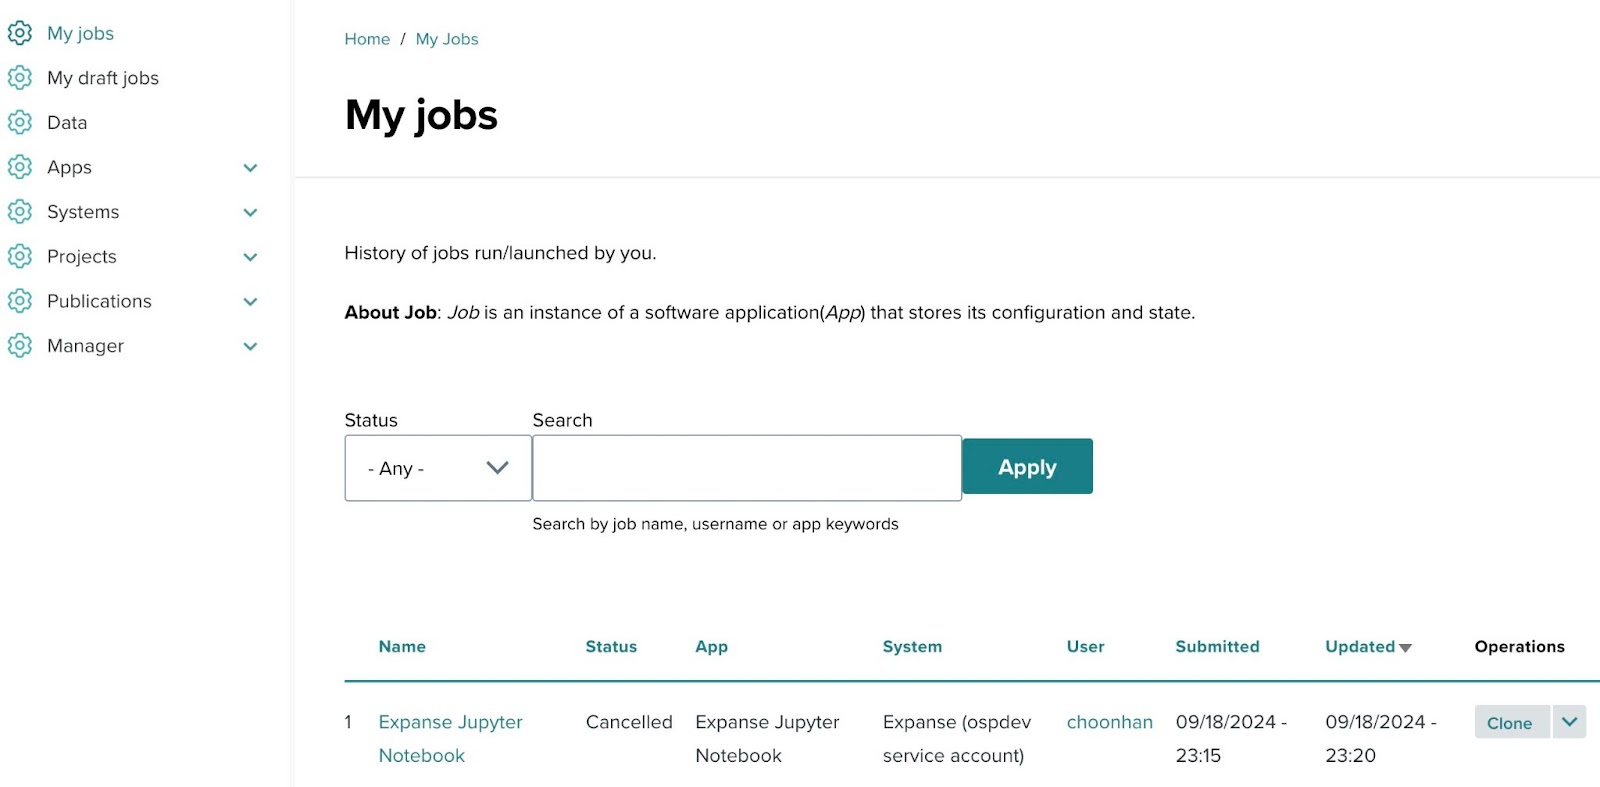
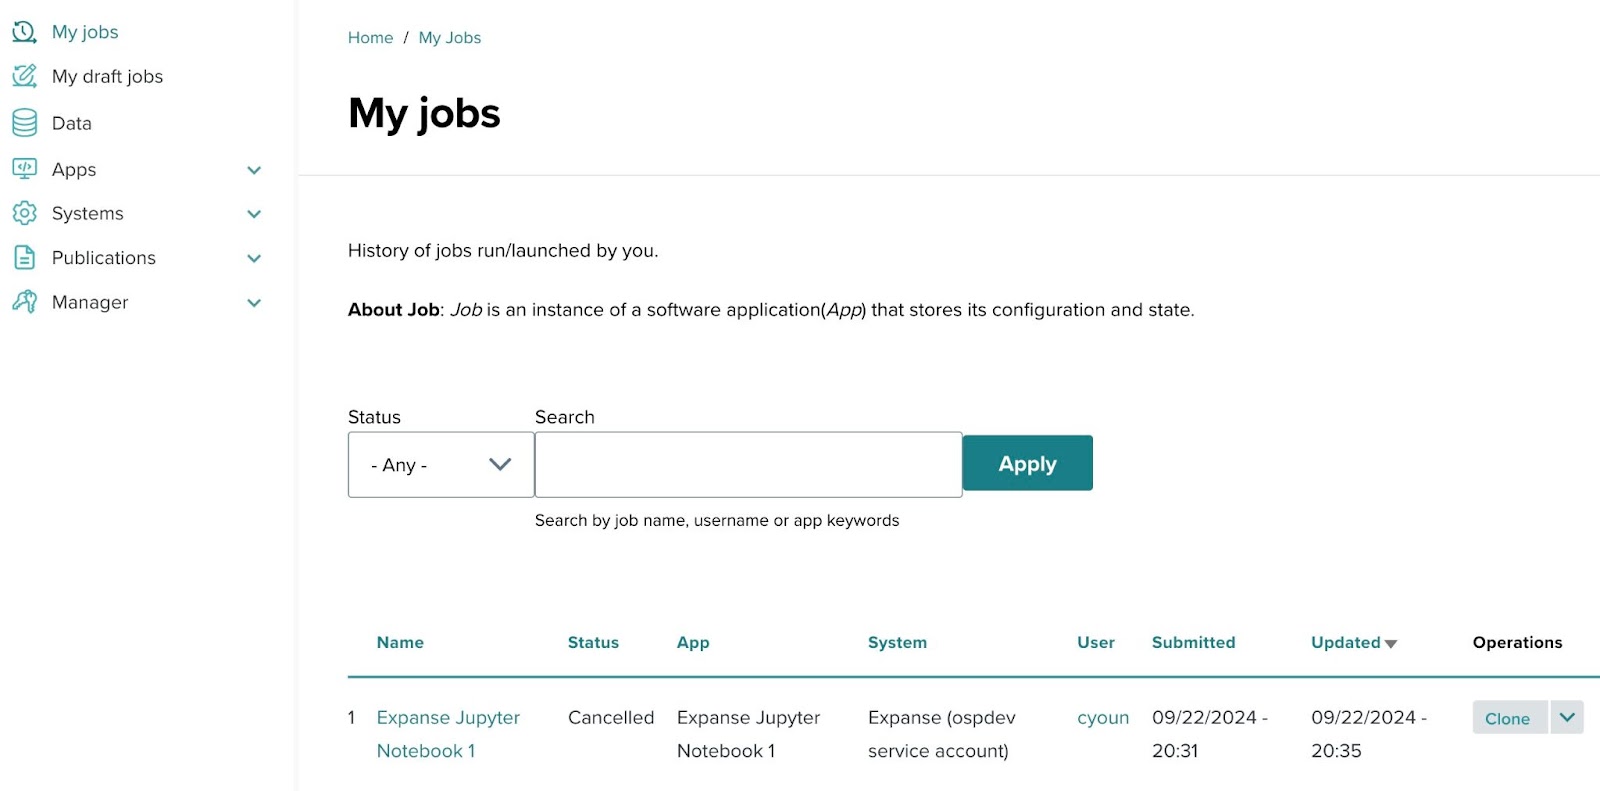
Step 15: Cloning and re-submitting jobs
From My Jobs, click Clone next to any job to re-run with the same or modified parameters.
Tutorial: Jupyter notebook web app on HPC
This tutorial creates an interactive Jupyter notebook web app that runs on the Expanse cluster. It demonstrates the Web app type, including container launch arguments (bind mounts, writable tmpfs) and passing a password token through the launch form.
Application overview
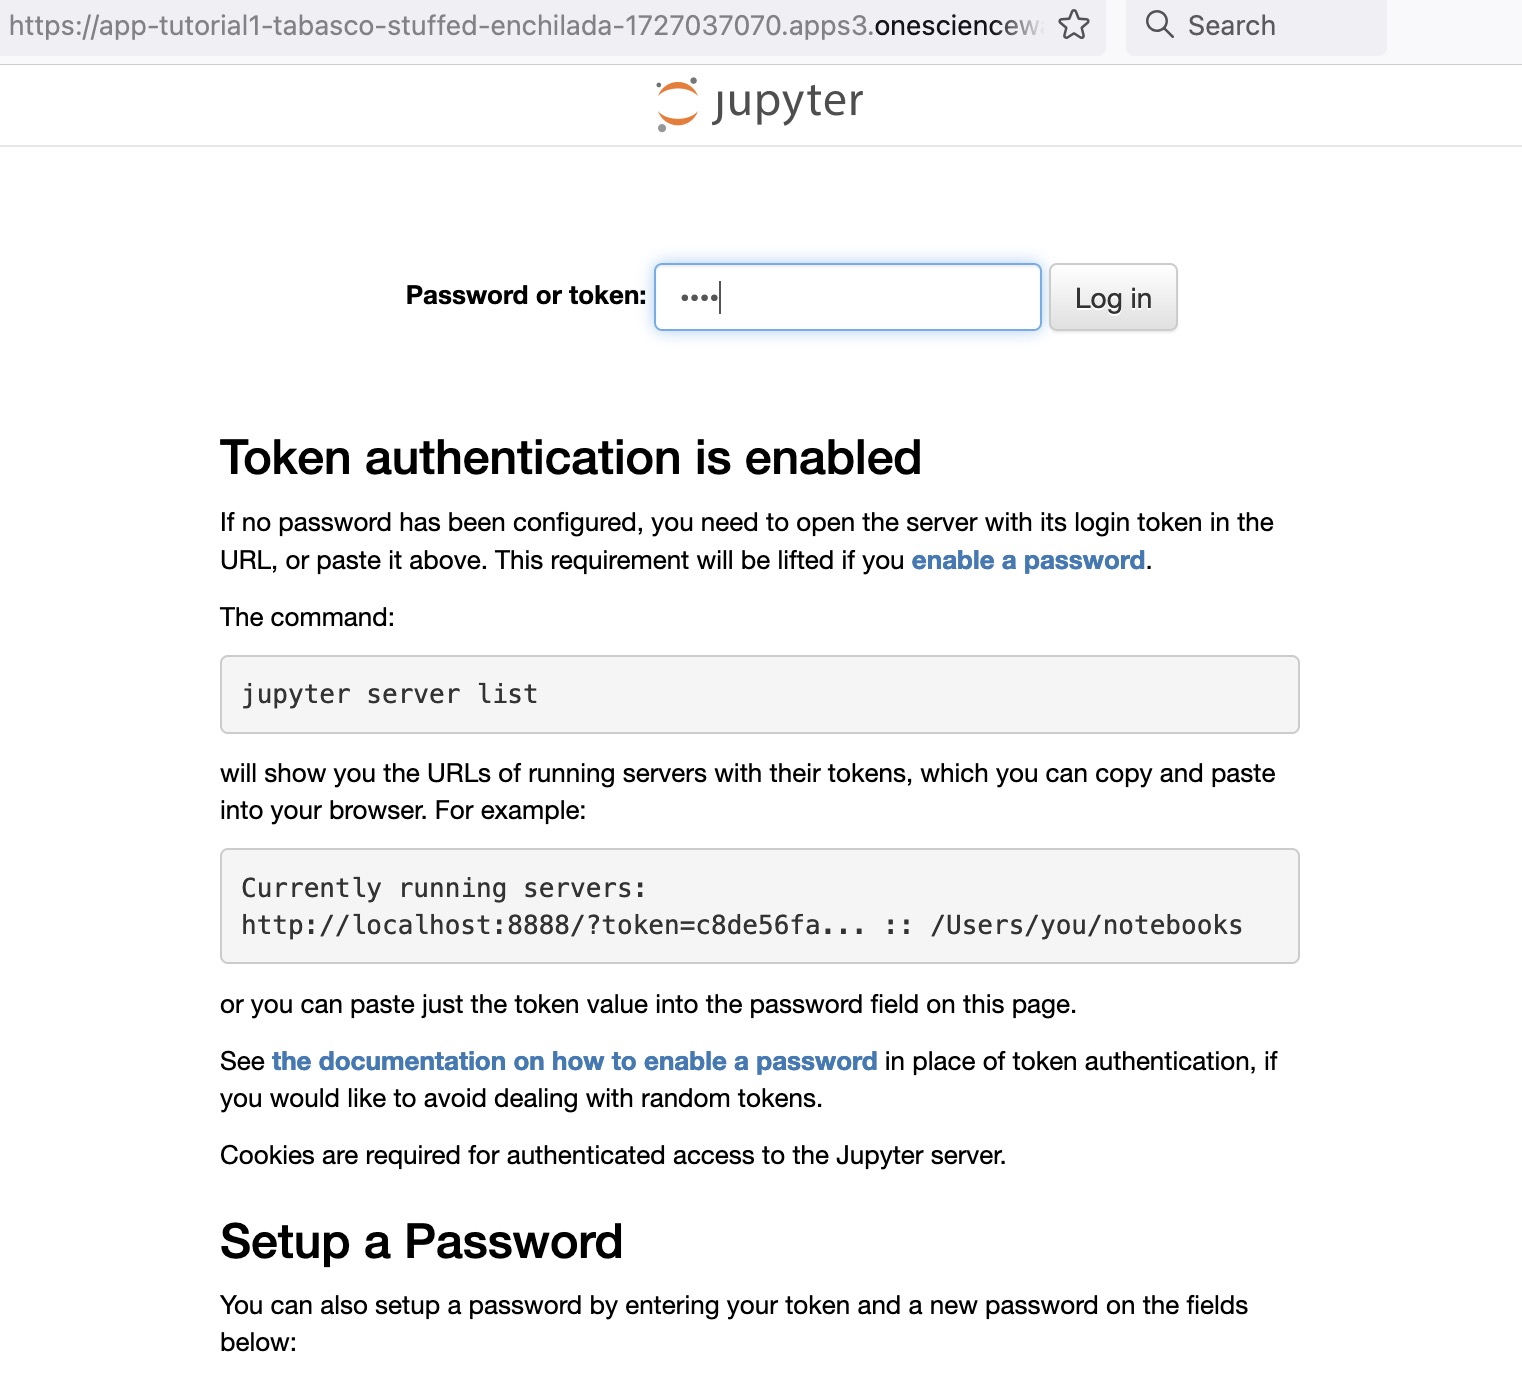
The Jupyter notebook web application launches a Jupyter session on the Expanse cluster. After job submission, an Open app session button lets you access the notebook in the browser. Access requires a password token passed via --NotebookApp.token=.
Test command with a Singularity image:
singularity run \
  --bind "${SCRATCH}:/opt/notebooks" \
  --bind "${SCRATCH}:/home/ospdev" \
  --writable-tmpfs \
  /home/ospdev/sample_jupyter/jupyter_v3.sif \
  --NotebookApp.token=test
Step 1: Accessing the application creation page
- Log in to the OSP deployment.
- Navigate to Apps and click Add app.
Step 2: Set the status
Select Enabled.

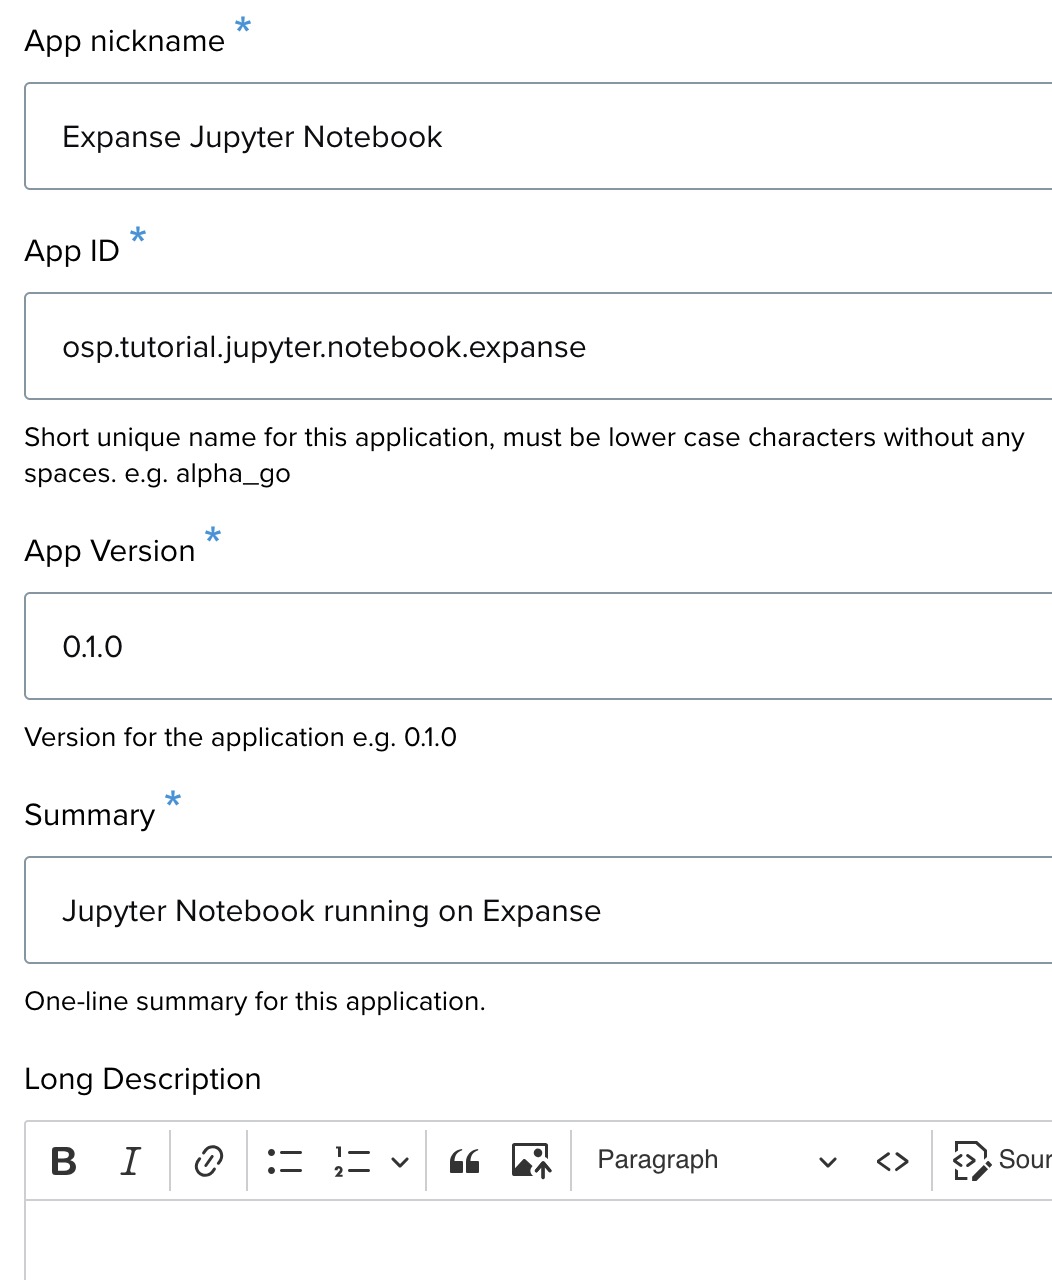
Step 3: Provide app details
- App ID — example:
[youruserid].apps.jupyter_notebook.expanse.1. - App version —
0.1.0. - Summary and Long description.
Step 4: Select app type
Select Web.

Step 5: Miscellaneous settings
Configure as needed.

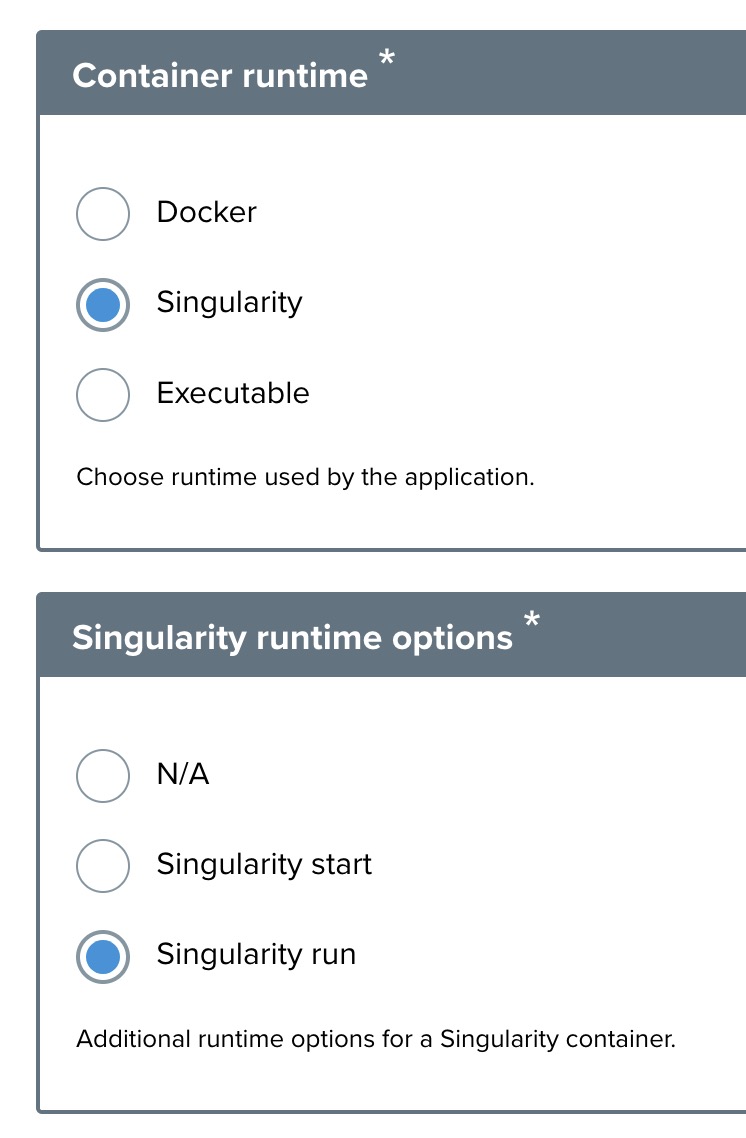
Step 6: Select container runtime
Select Singularity, then Singularity run.
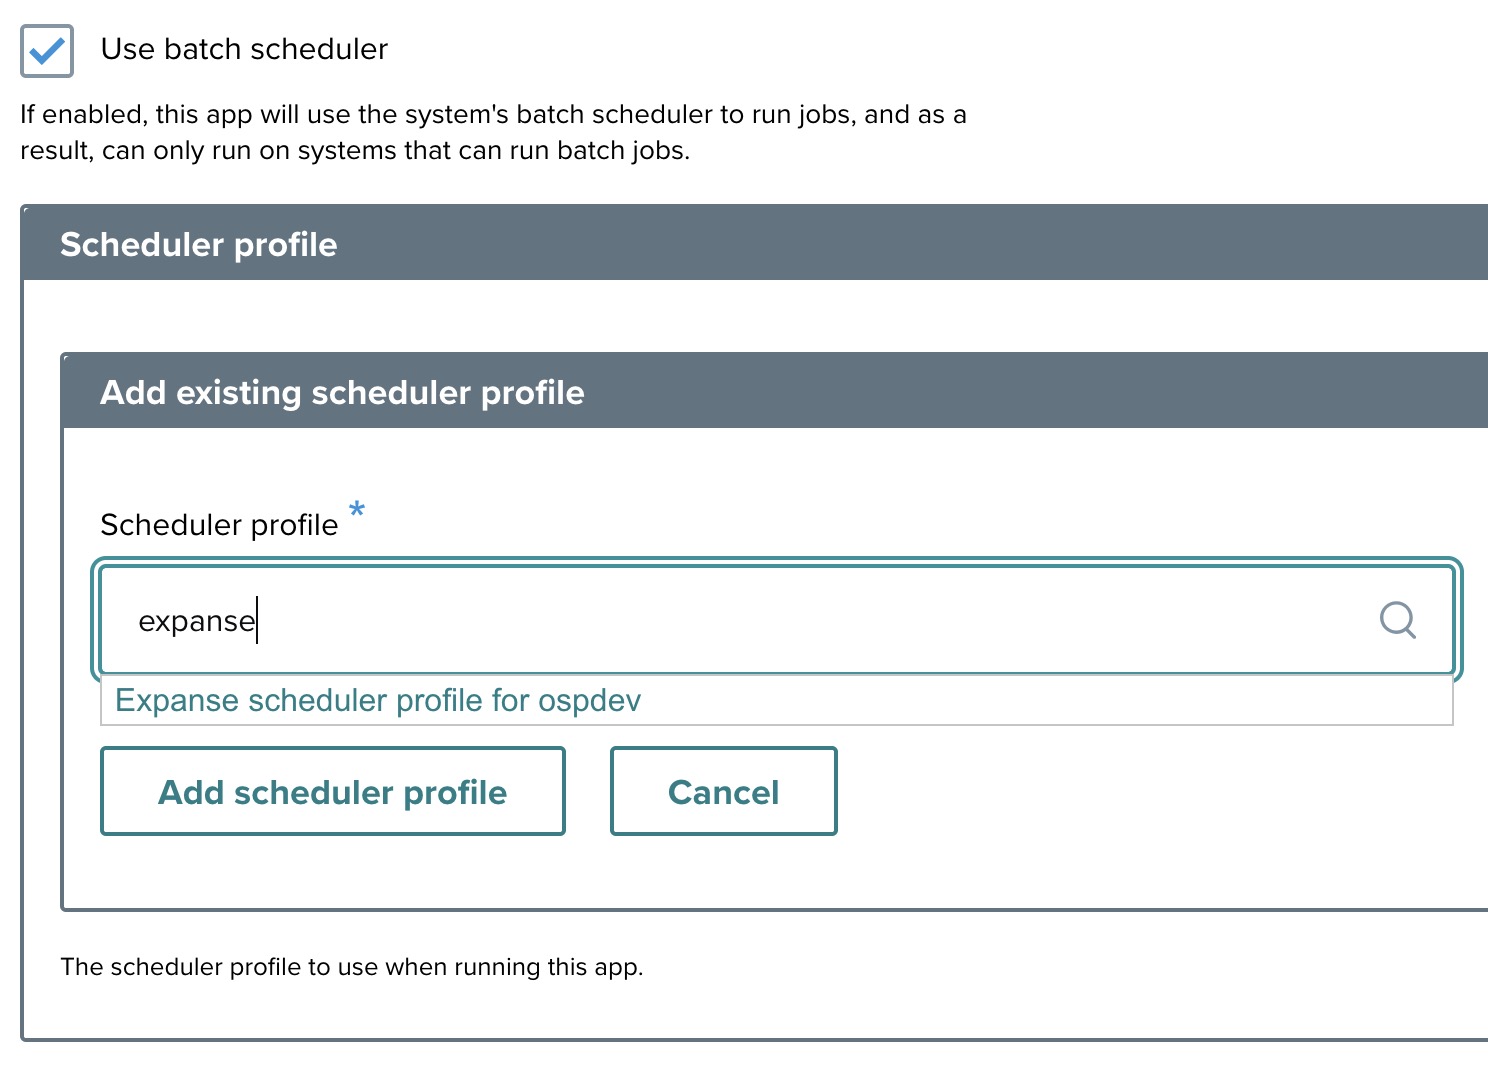
Step 7: Batch scheduler
Check Use batch scheduler. Search for "expanse" in the scheduler profile search box and add the existing Expanse profile.
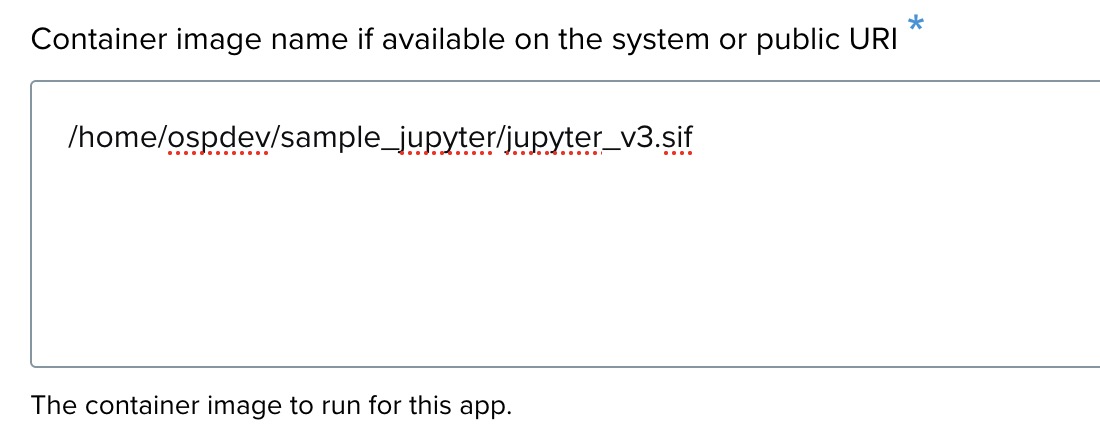
Step 8: Container image setup
Select Public image and enter the image URI: /home/ospdev/sample_jupyter/jupyter_v3.sif.
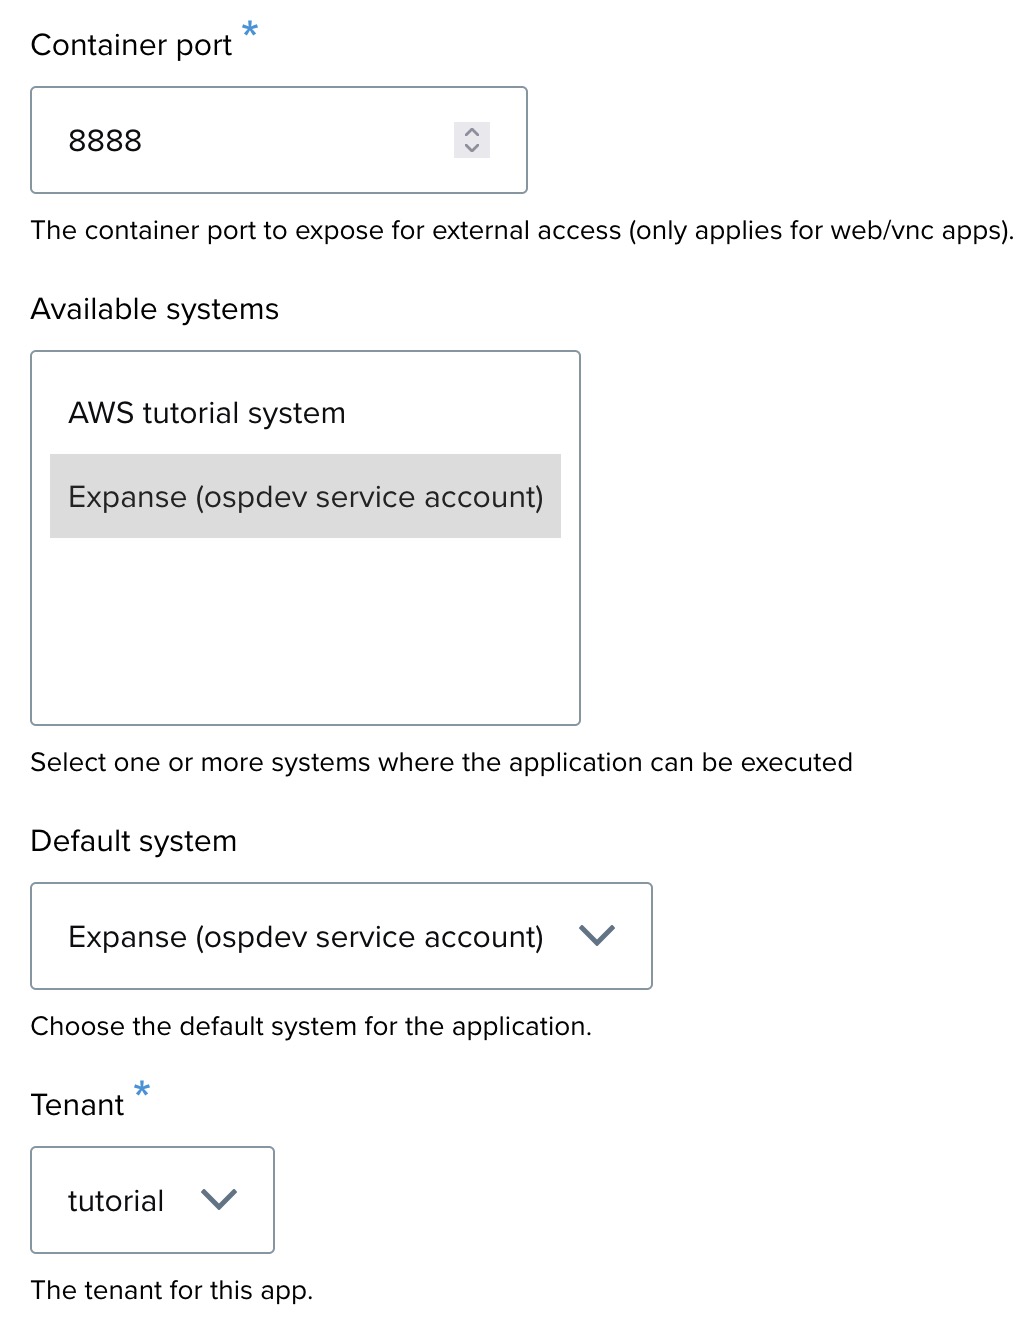
Step 9: System selection
- Container port —
8888. - Available systems and Default system — Expanse (ospdev service account).
- Tenant — tutorial.
Step 10: Input type configuration
Select Form.

Step 11: Input parameters (environment variables, container args, scheduler)
Under the Parameters section, add the following to Container launch arguments:
--bind ${PWD}:/opt/notebooks
--bind ${PWD}:/home/ospdev
--writable-tmpfs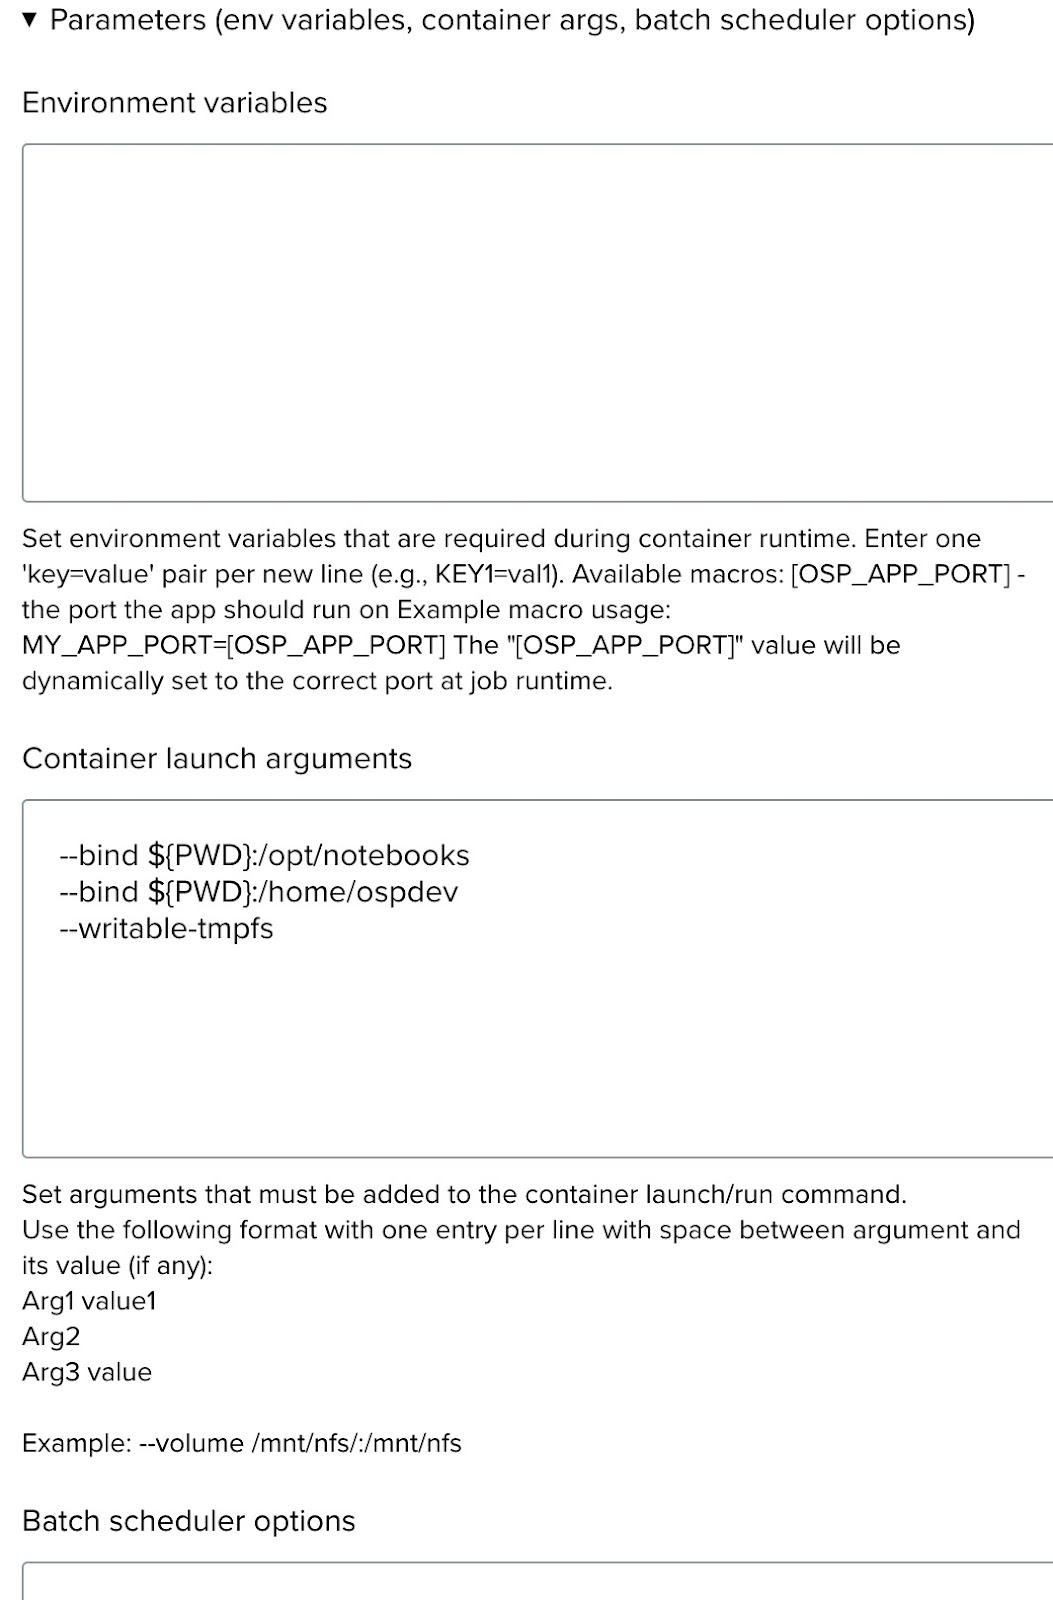
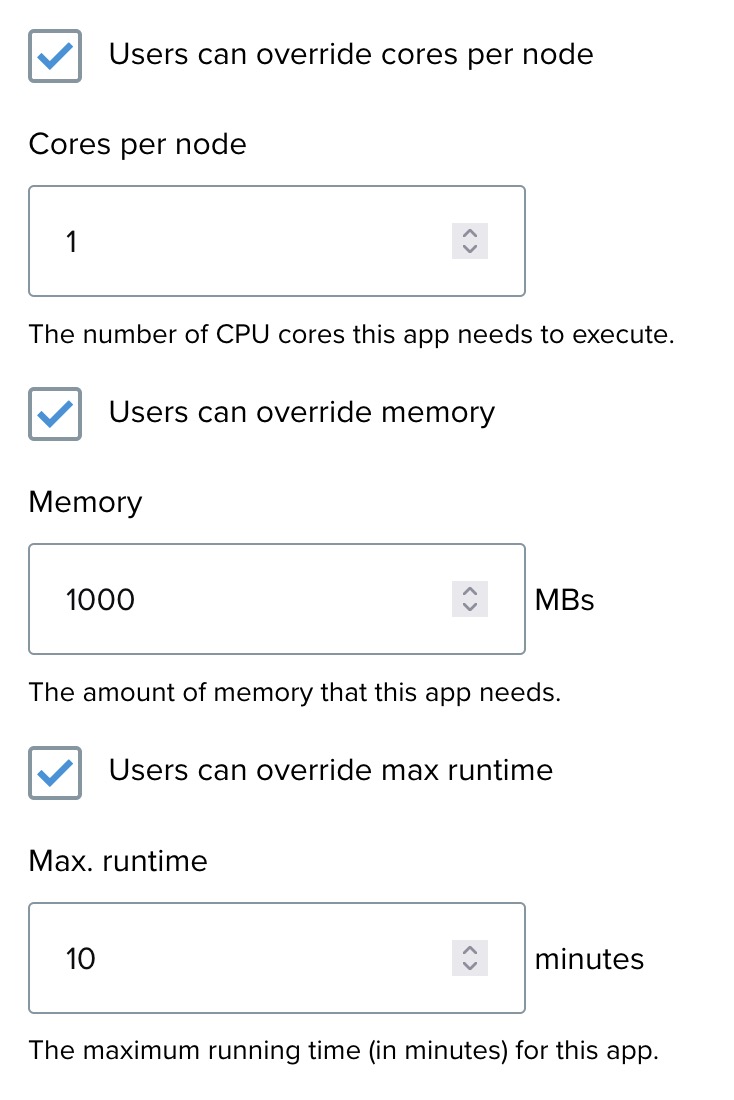
Step 12: Configure resource limits
Set Memory to 1000 MB. Other limits can be adjusted or left at defaults.

Step 13: Finalize and save
- Review all details.
- Click Save to register the application.
Step 14: Creating input elements
Add the password input that will be passed as the Jupyter notebook access token.
Step 14-1: Application created
Step 14-2: Begin configuring the app form
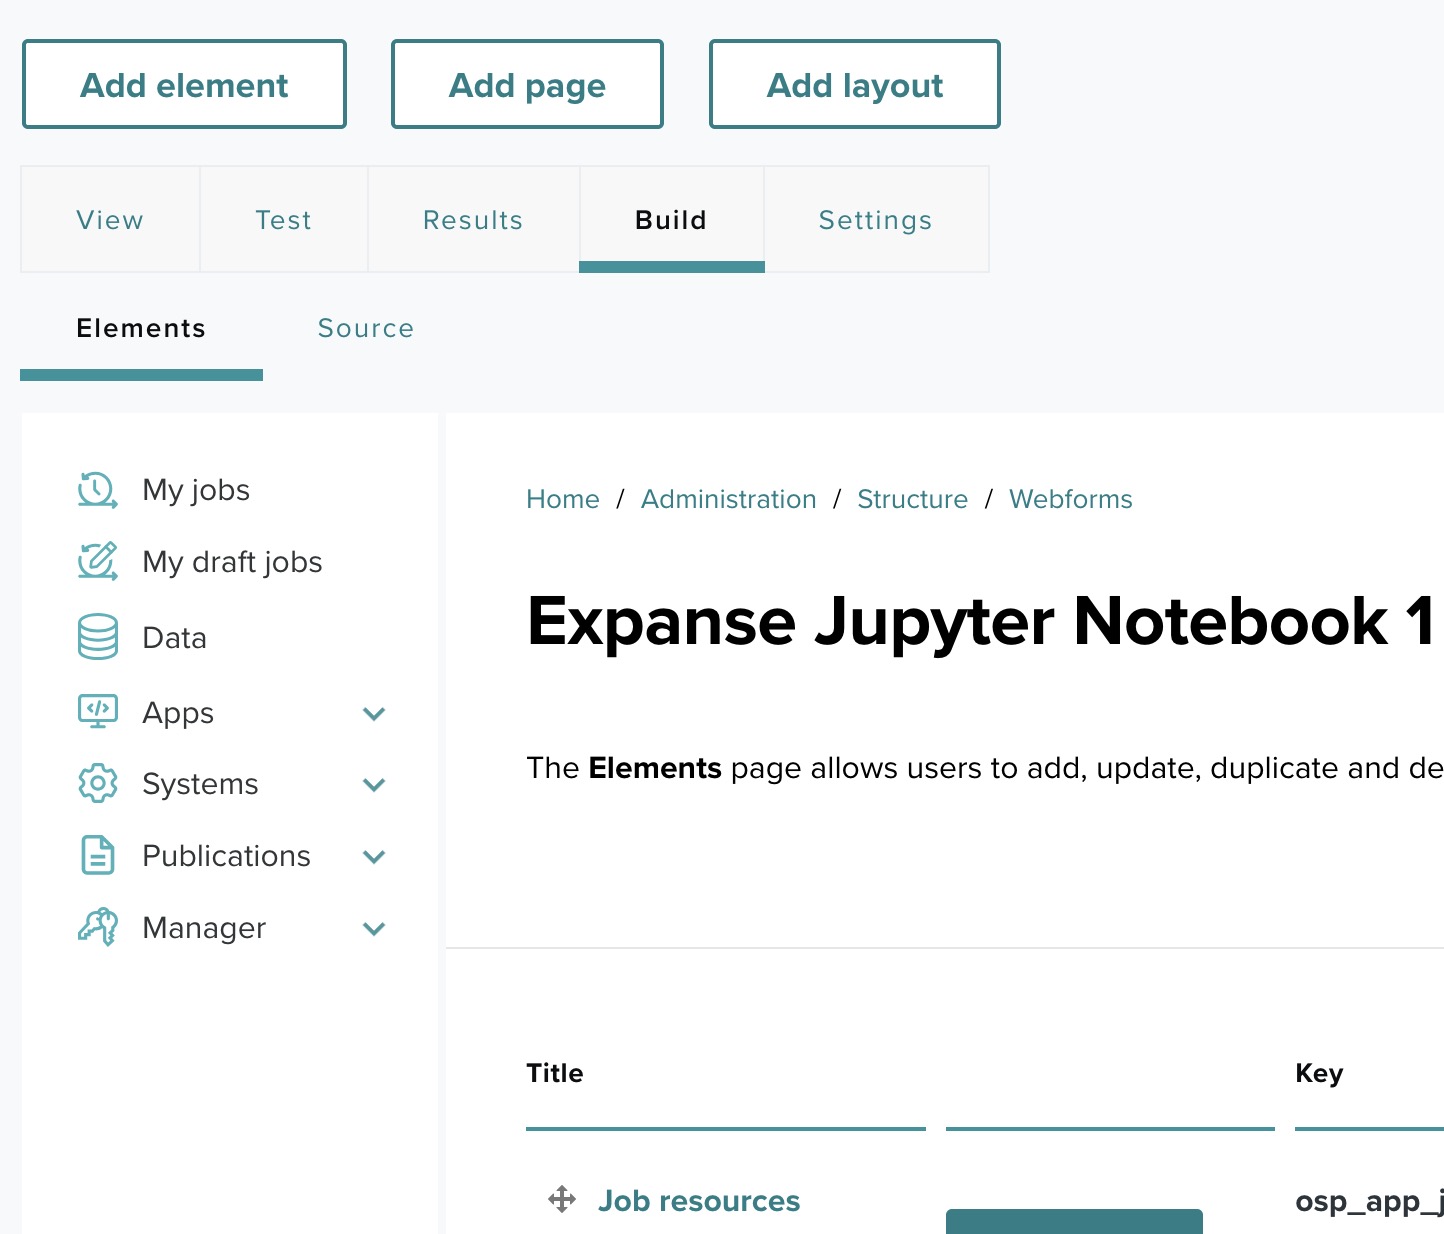
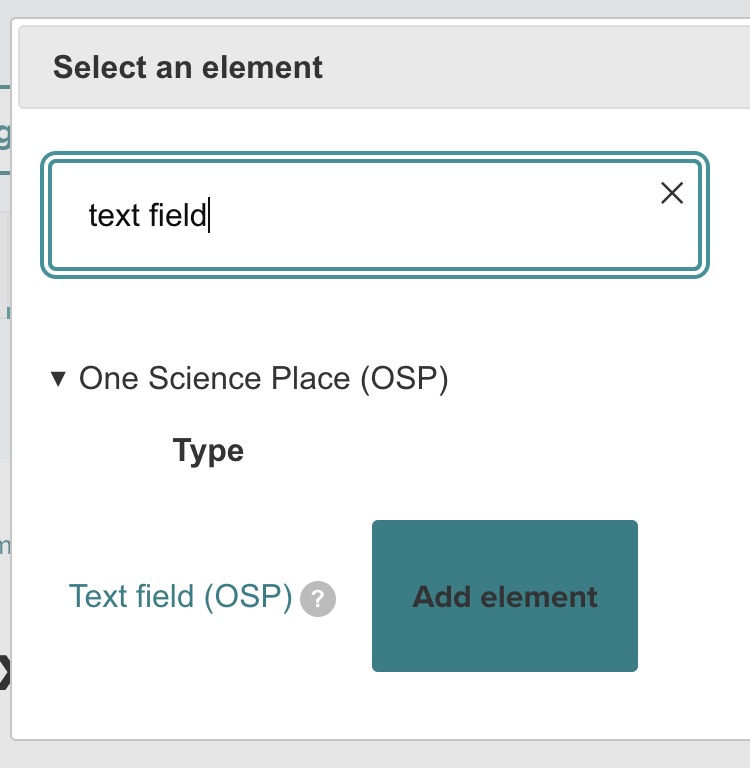
Step 14-3: Search for elements
Click Build, then Add element, search for "text field", and choose Text Field (OSP).
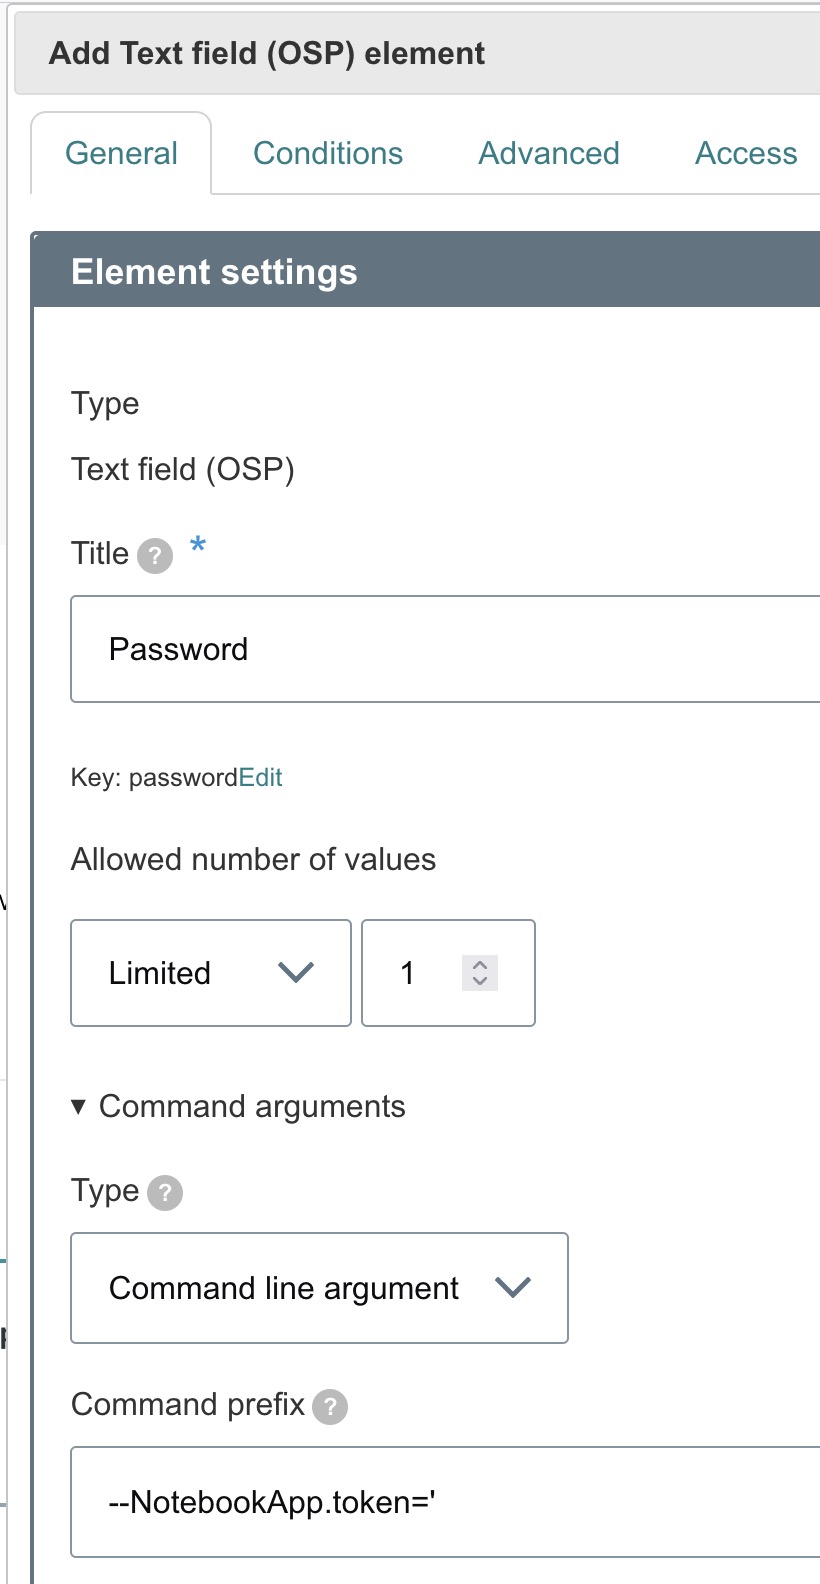
Step 14-4: Add and configure the Text Field
Configure the text field:
- Title — Password.
- Key — auto-generated as
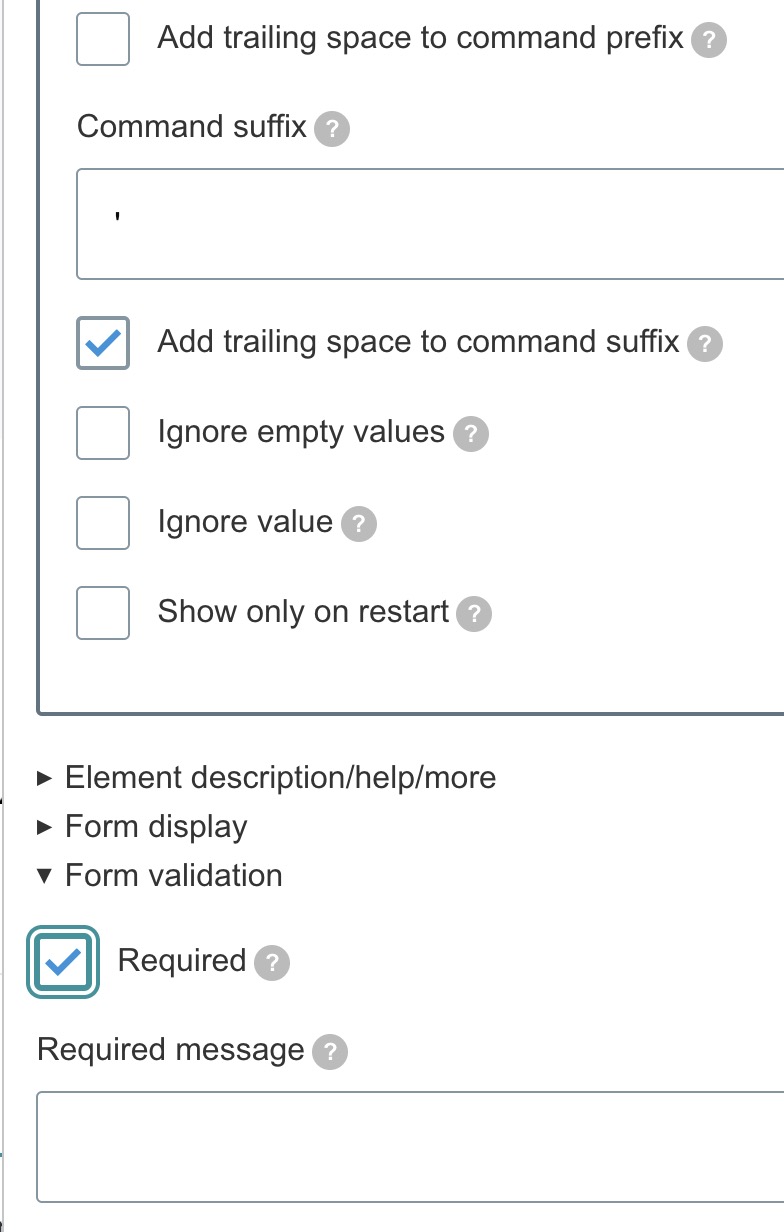
password. - Command arguments — set prefix to
--NotebookApp.token=, trailing space unchecked.
Click Save.
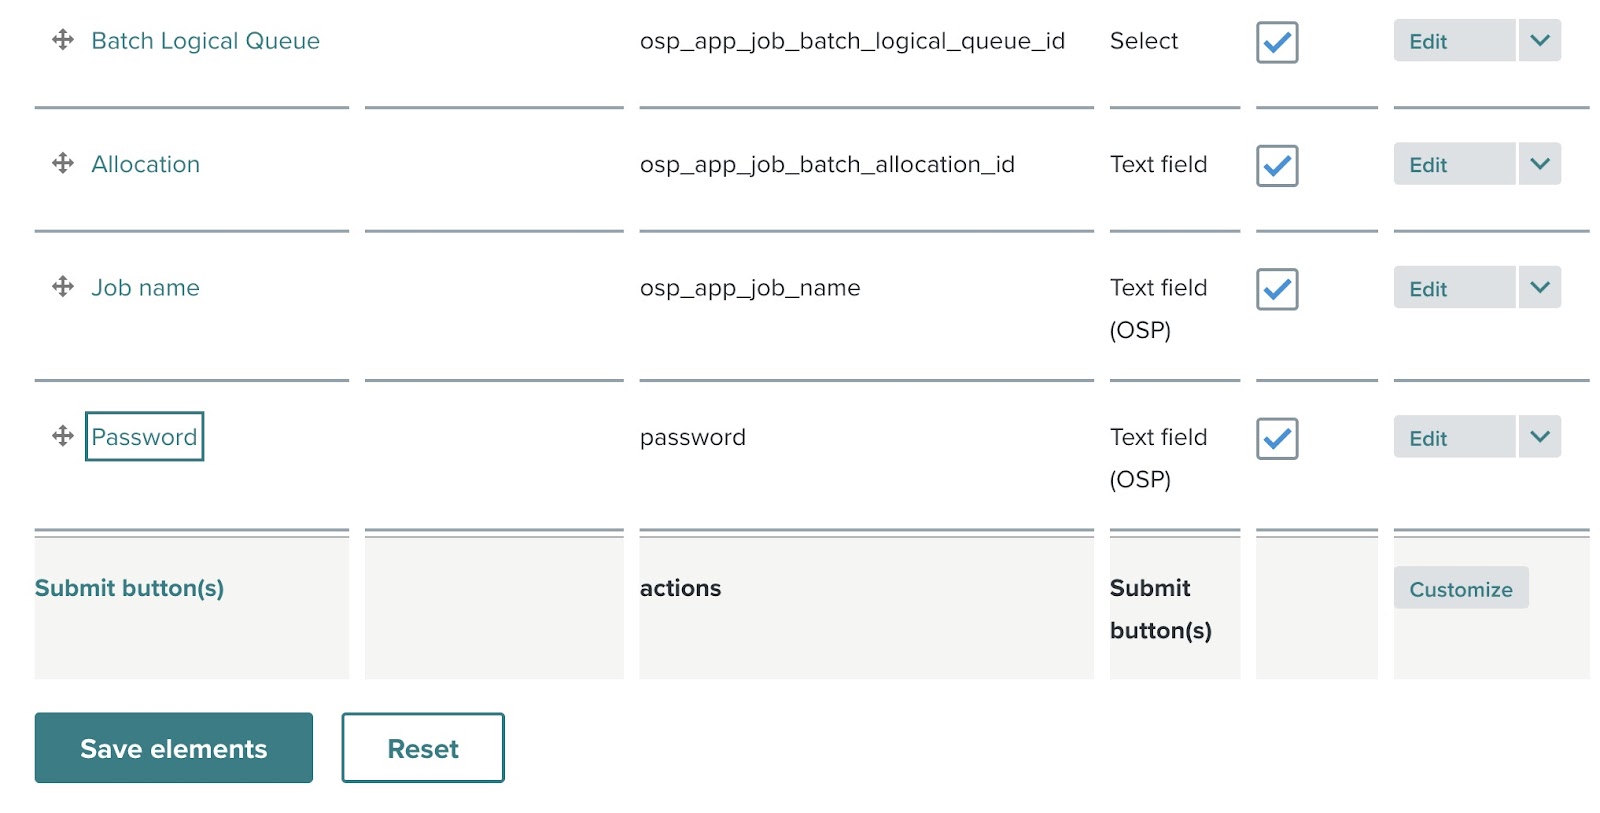
Step 14-5: Review added element
The Password element appears in the element list.
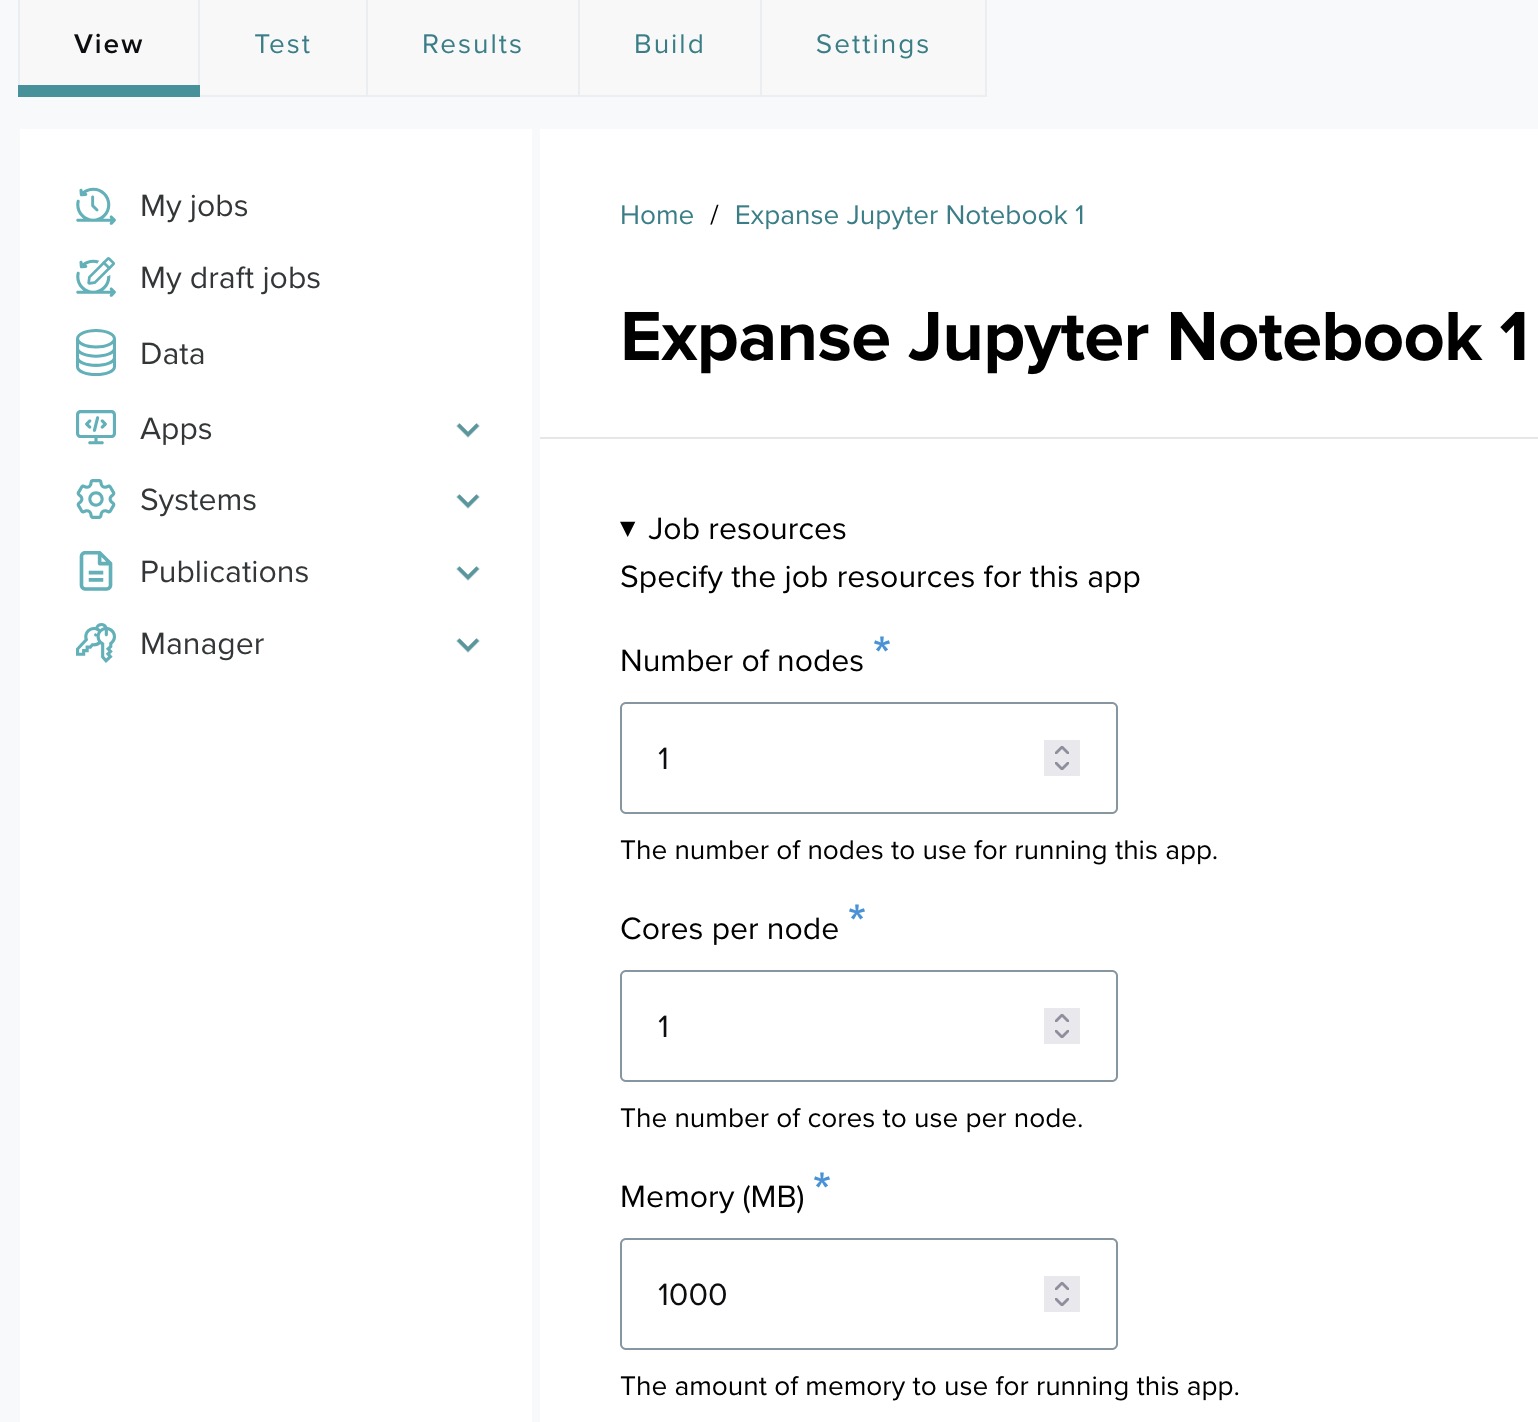
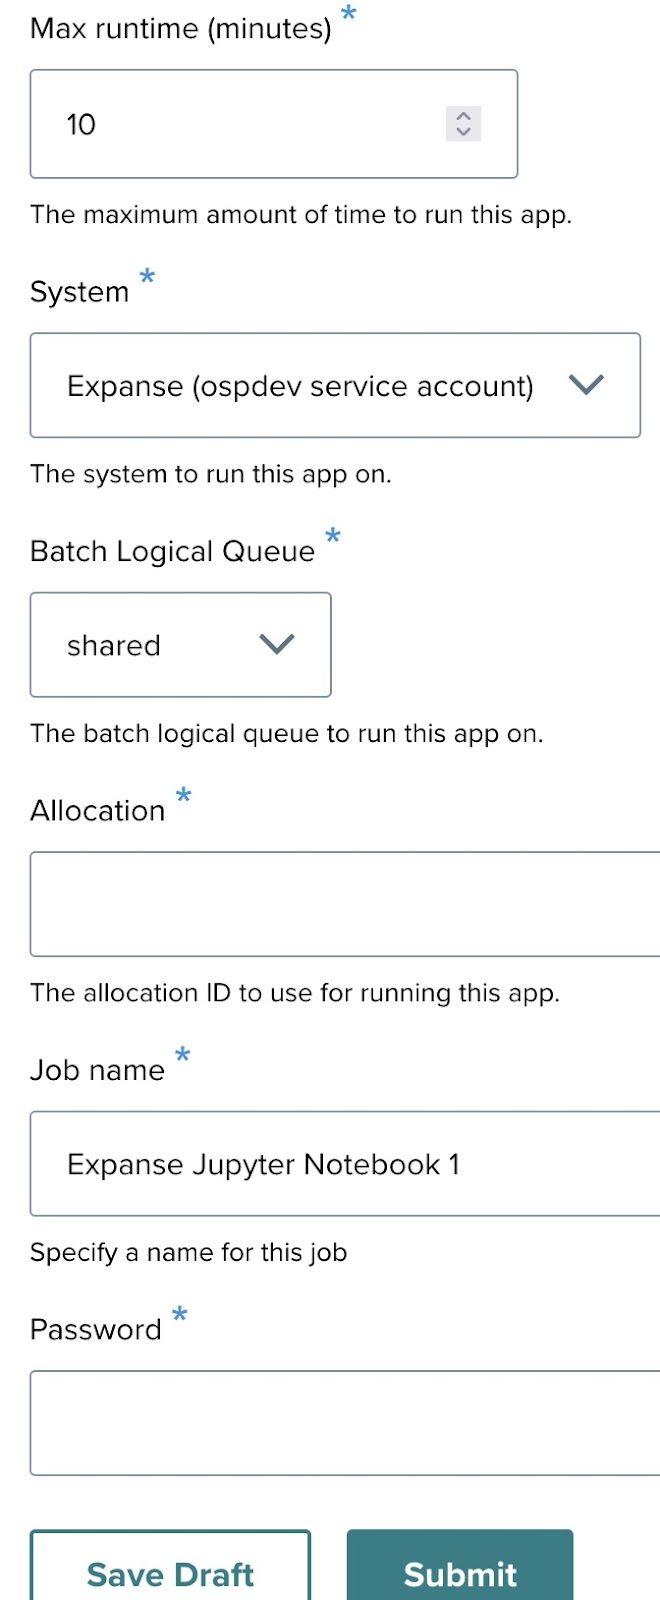
Step 14-6: The final app form
Click View. The completed form displays resources, system, allocation, job name, and password. Click Submit to launch.
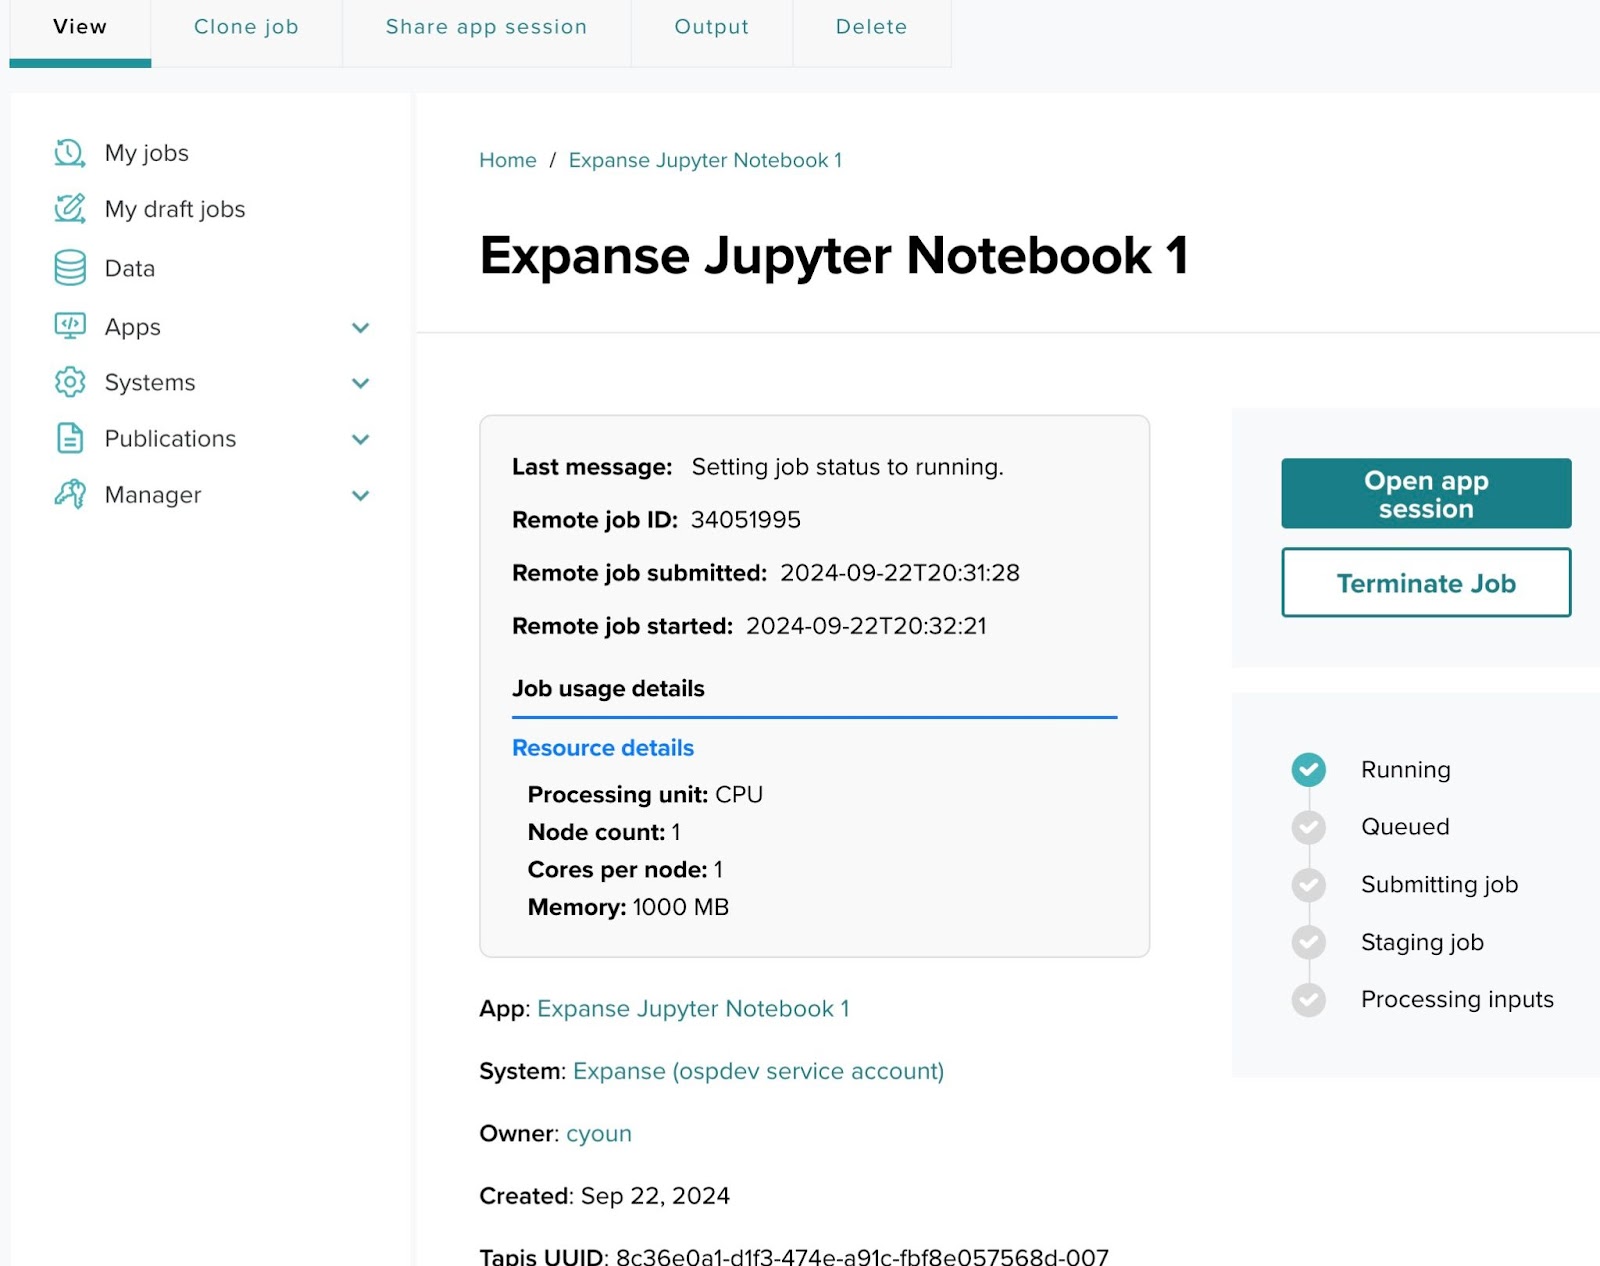
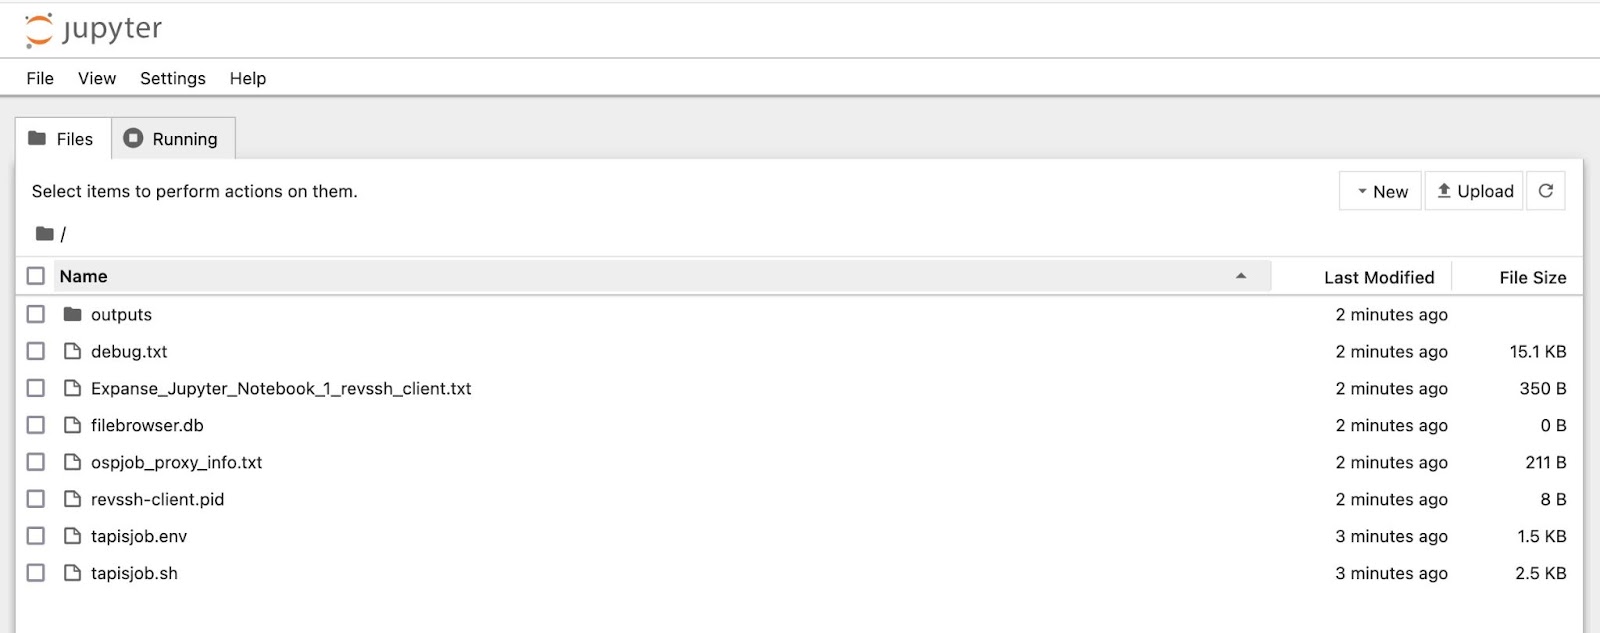
Step 15: Monitoring job status and launching the session
The status page shows job progress. Once the job reaches running state, click Open app session to launch the Jupyter notebook in your browser.
Step 16: Cloning and re-submitting jobs
From My Jobs, click Clone next to any job to re-run with the same or modified parameters.

Previous: ← App Contributor Guide | Next: System Administrator Guide →